

Chevreuse vs Thoma
The Overload specialist vs. the Burgeon master
TL;DR — Quick Pick
Pick Chevreuse if…
- In any team consisting ONLY of Pyro and Electro characters
- To get Kazuha-level buffs without using an Anemo unit
- When you need a healer that also provides massive offensive shred
Pick Thoma if…
- In Dendro-centric Burgeon teams as the reaction trigger
- When you need a shield for a carry who normal attacks frequently
- If you are playing a team with three or more elements
Chevreuse is a far more powerful offensive buffer within her strict Overload niche. Thoma is the go-to for defensive needs and Dendro reactions. Use Chevreuse for raw power in Overload, and Thoma for everything else.
At a Glance
Strengths & Weaknesses
Chevreuse
- Fantastic buffing for Pyro and Electro
- Buffs apply to the whole team
- Great 4 star weapon options
- Restricted team options due to full Pyro Electro team requirement
- Low healing compared to other healers
- Overload reaction can be disruptive due to the knockback
Thoma
- Strong Pyro damage
- Versatile team options
- Requires investment
- Best teams use limited 5-stars
Shared Team Members

With Chevreuse
Raiden Shogun and Chevreuse are the foundation of modern Overload teams, where Raiden's Skill triggers Chevreuse's 'Coordinated Tactics' for massive RES shred. Raiden's Burst damage is significantly amplified by Chevreuse's ATK buff and Pyro/Electro shred, while Raiden herself batteries Chevreuse's healing Burst. This synergy creates a high-damage, energy-efficient rotation that simplifies Overload gameplay.
With Thoma
Raiden Shogun serves as a powerful battery for Thoma, helping him meet the high Energy Recharge requirements for his 80-cost 'Scorching Ooyoroi' Burst. While Thoma is more common in Burgeon, in this duo, Raiden provides the Electro application needed to trigger Overload for Chevreuse's buffs. This setup allows Thoma to focus more on shield strength while Raiden handles the primary damage and energy generation.
Best Builds (Signature)
Weapon
Symphonist of Scents
Artifacts
Noblesse Oblige
Sands
HP% / ATK %
Goblet
HP% or Pyro DMG
Circlet
HP% / CRIT / Healing Bonus%
Substats
ER% > HP% > CRIT > ATK %
Weapon
Kitain Cross Spear
Artifacts
Flower of Paradise Lost
Sands
Energy Recharge / Elemental Mastery
Goblet
Elemental Mastery
Circlet
Elemental Mastery
Substats
Energy Recharge > Elemental Mastery > HP % > HP
Who Should You Pull?
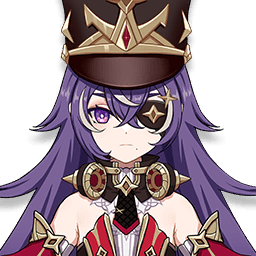
- In any team consisting ONLY of Pyro and Electro characters
- To get Kazuha-level buffs without using an Anemo unit
- When you need a healer that also provides massive offensive shred
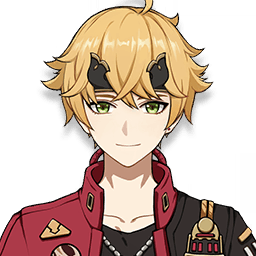
- In Dendro-centric Burgeon teams as the reaction trigger
- When you need a shield for a carry who normal attacks frequently
- If you are playing a team with three or more elements