
Yixuan
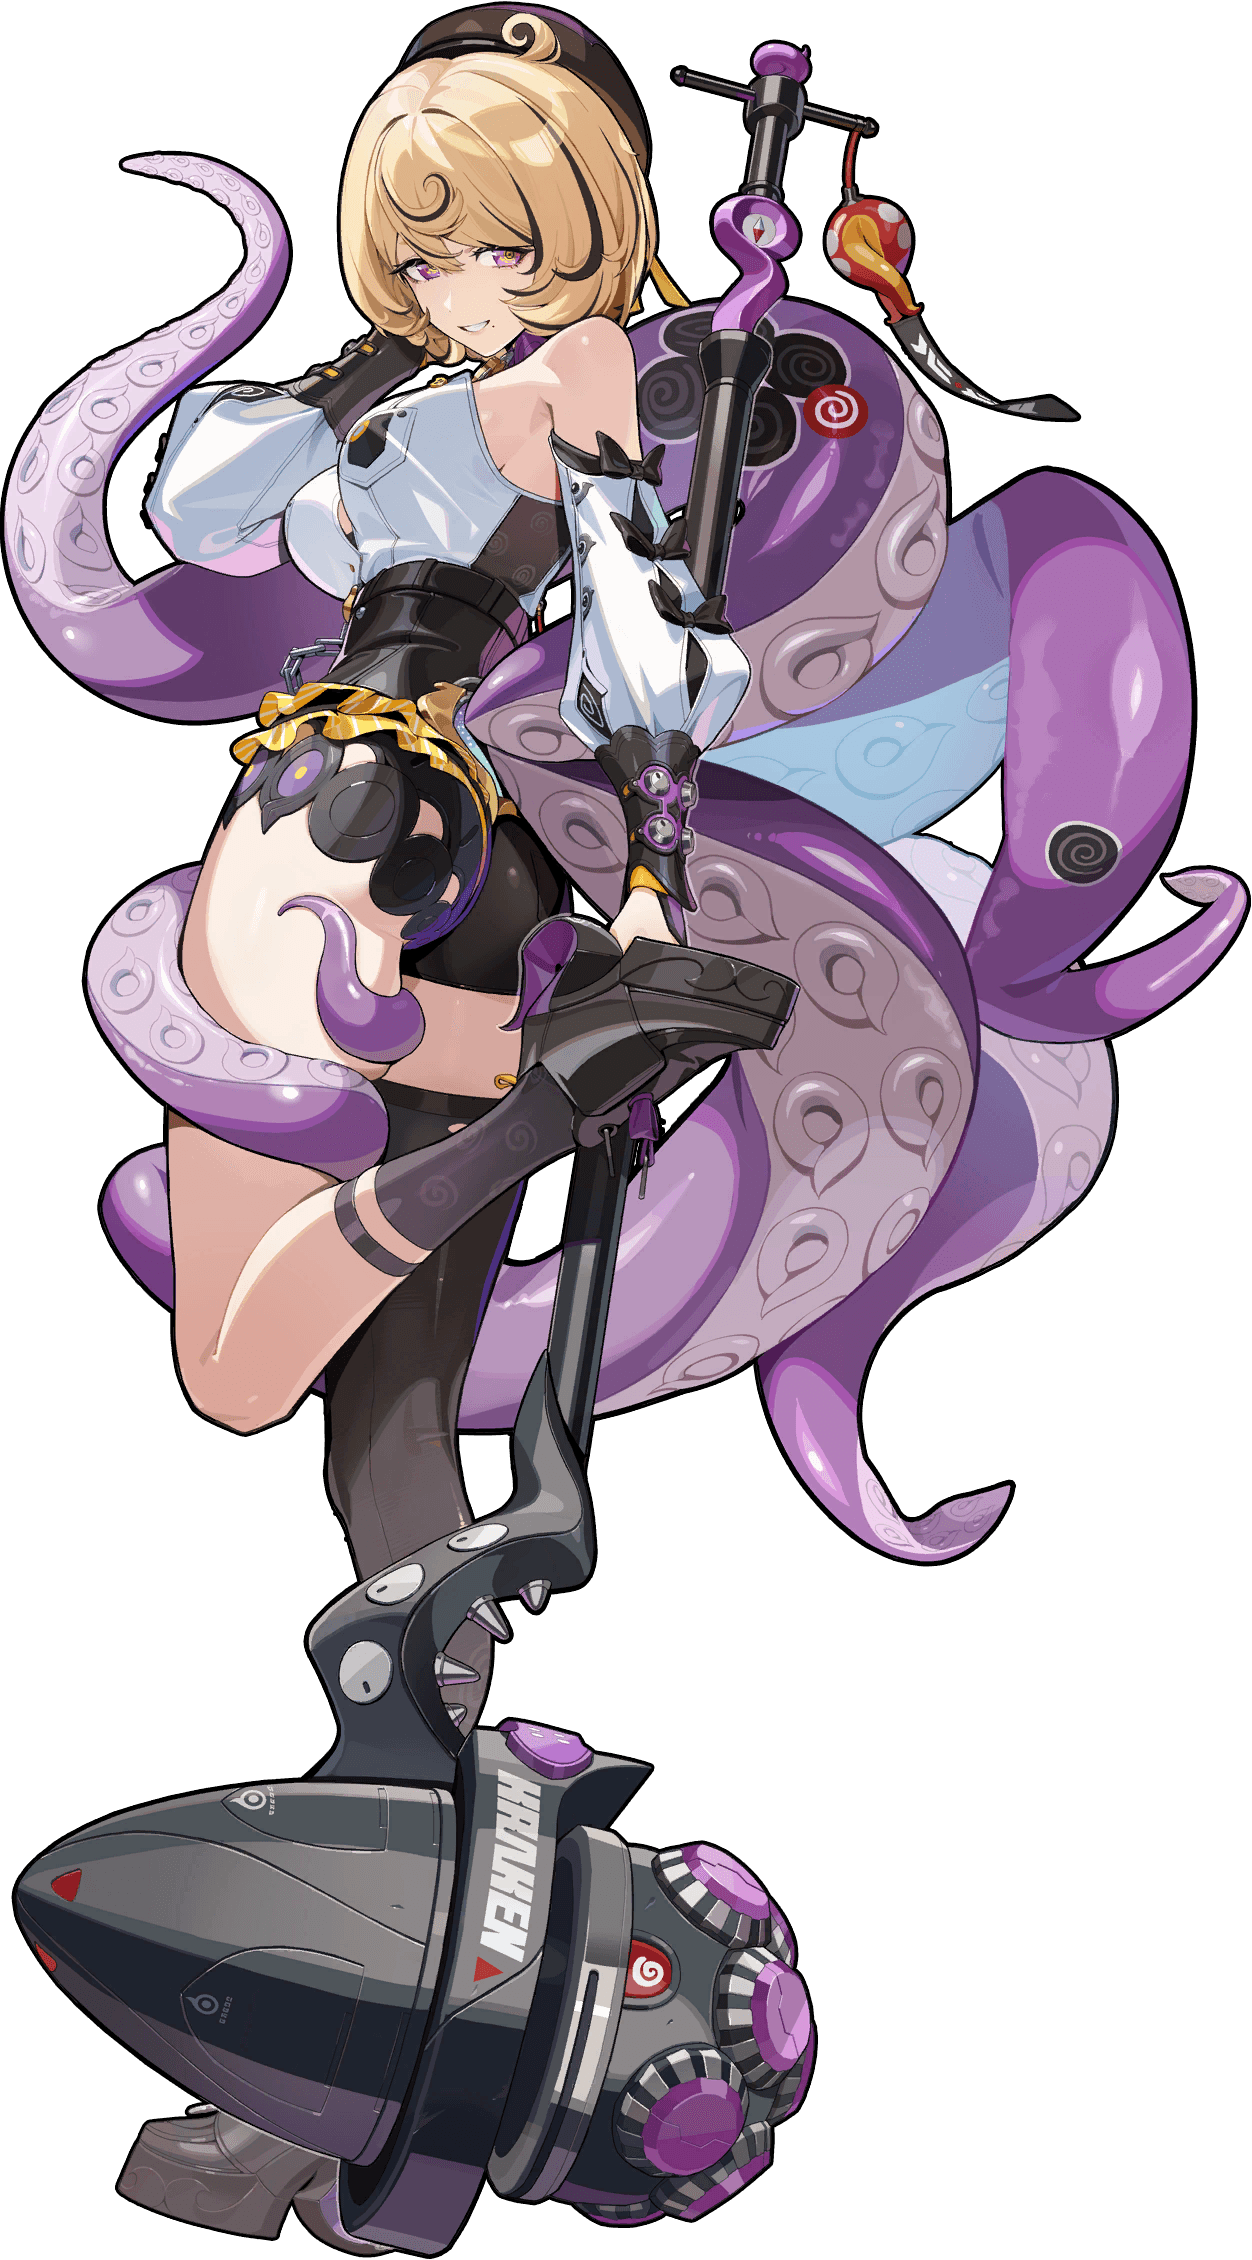
Pull Yixuan if you need a premier Ether Rupture Main DPS. She converts HP into Sheer Force, ignores enemy DEF, and clears endgame as an on-field hypercarry with strong self-survivability from Ultimate HP redistribution. Best with Lucia (or Pan Yinhu) plus an off-field Stun partner like Ju Fufu or Dialyn — without that shell she still works, but her ceiling drops. Skip or delay if your account already has a finished Ether / Rupture carry and you still need Ice Anomaly (Miyabi) or a different attribute gap filled first. M0 is enough to clear; Mindscapes raise ceiling, they are not required to justify the pull.
Yixuan is an S-Rank Ether Rupture Main DPS who converts HP and ATK into Sheer Force, dealing Auric Ink Sheer DMG that ignores enemy DEF. She banks Adrenaline into Technique Points for a dual-Ultimate burst loop, stays on-field through Perfect Dodges and Assists, and brings self-survivability via HP redistribution — but she is the team's damage dealer, not a support flex.
Overview
Quick Build
W-Engine
Qingming Birdcage
S-rank signature — Base ATK, HP%, CRIT Rate, Ether Sheer DMG
Disk Set
Yunkui Tales (4-PC)
4-PC · Best in slot — only set worth farming for her
Disk 4
CRIT Rate% / CRIT DMG%
Main stat
Disk 5
Ether DMG% > HP%
Main stat
Disk 6
HP%
Substats
CRIT Rate = CRIT DMG > HP% > ATK% > Flat HP
Strengths
- Top-tier on-field Rupture DPS with DEF-ignoring Sheer Force damage
- HP scaling makes her naturally tanky while feeding personal damage
- Dual Ultimate loop (Decibel + Technique Point) creates huge stun-window burst
- Perfect Dodge / Assist synergy refunds Adrenaline and enables fluid field control
- Ultimate HP redistribution keeps hypercarry teams alive without a dedicated healer
Weaknesses
- Demands heavy field time to bank Adrenaline and Technique Points before stun
- Reliant on specific teammates (Rupture supports / off-field stunners) for peak output
- PEN, DEF shred, and Energy Regen buffs do little — many generalist supports underperform
- Damage spikes when enemies are aggressive enough for Perfect Dodges / Assists
- Complex resource loop (Adrenaline → Technique Points → dual Ultimates) has a real skill floor
Skill Priority
Largest personal damage multiplier — level first.
Primary EX Special damage during and outside stun.
Dual Ultimates are her biggest stun-window burst tools.
Auric Array / Qingming Eruption still matter for resources and damage.
Utility / Adrenaline from Perfect Dodges — lowest priority.
Stat Priority
Out of stun: build Adrenaline with Basics / Perfect Dodges, spend EX Special: Ink Manifestation on enemy attacks for refunds, and aim for 90–100+ Adrenaline entering stun.
In stun: Cloud-Shaper → Ultimate: Endless Talisman Suppression → Chain to Stunner → Chain back to Yixuan → Ultimate: Qingming Skyshade → more Cloud-Shapers. Reserve Auric Array for post-stun Adrenaline recovery.
Bank Adrenaline into Technique Points before stun, then dump Cloud-Shaper EX Specials and both Ultimates in the stun window. Stunners and Supports exist to enable her field time — she is the damage owner.
W-Engines
S-Rank W-Engines

HP%
CRIT Rate increases by 20/23/26/29/32%. When the equipper launches an EX Special Attack, the character gains 1 stack of Qingming Companion effect, stacking up to 2 times and lasting 15s. On entering combat, immediately gain 2 stacks. Repeated triggers reset the duration. Each stack of the Qingming Companion effect increases the equipper's Ether DMG by 8/9.2/10.4/11.6/12.8%, and increases Ultimate and EX Special Attack Ether Sheer DMG by 10/11.5/13/14.5/16%.
Why it works —Signature BiS. Passive CRIT Rate and HP% feed her Sheer Force scaling, while Qingming Companion stacks directly boost the Ether Sheer DMG on the EX Specials and Ultimates she spams every rotation.

HP%
CRIT Rate increases by 20/23/26/29/32%. When the equipper launches an EX Special Attack, their Fire Sheer DMG increases by 9/10.35/11.7/13.05/14.4%, stacking up to 2 times and lasting 20s. The duration of each stack is calculated separately.
Why it works —Banyue's signature — works as a borrowed Rupture S-rank stick. HP% and the big passive CRIT Rate both feed her kit; Fire Sheer DMG is dead weight on Auric Ink. Temporary bridge until Qingming Birdcage or Cauldron, not a permanent BiS.
A-Rank W-Engines

HP%
When the equipper activates an EX Special Attack, they gain 1 stack of a buff. Each stack increases the equipper's DMG by 4/4.6/5.2/5.8/6.4%, up to 3 stacks, and lasting 20s. This effect can trigger once every 0.5s, and repeated triggers reset the duration. At 3 stacks, the equipper's CRIT Rate increases by 6.5/7.5/8.5/9.4/10.4%.
Why it works —Best non-signature option. Yixuan fires EX Specials constantly for Technique Points, so the 3-stack DMG and CRIT Rate buffs stay maxed with almost no downtime.

HP%
When launching a Chain Attack or Ultimate, the equipper gains 1 stack of a buff effect. Each stack increases the equipper's Sheer Force by 80/92/104/116/128, stacking up to 3 times, and lasting 12s. The duration of each stack is calculated separately.
Why it works —Battle Pass Rupture engine. Flat Sheer Force stacks line up with her Chain + dual-Ultimate stun burst, and the HP% secondary is a real stat for her. Strong if you already own it — still behind Cauldron for most accounts because stacks need Chain or Ultimate uptime.

ATK%
Upon launching an EX Special Attack, the equipper's CRIT DMG increases by 16/18.4/20.8/23.2/25.6% for 12s. Additionally, if the target's current HP is below 50% of their Max HP, EX Special Attack DMG increases by 20/23/26/29/32%.
Why it works —Best freely craftable Rupture pick. Guaranteed CRIT DMG on every EX Special; the extra EX DMG when the enemy is below 50% HP is a free execute bonus. Main trade-off is ATK% secondary instead of HP% — still the strongest free path to her.
B-Rank W-Engines
![[Cinder] Cobalt](/_next/image?url=%2Fzzz%2Fw-engines%2Fcinder-cobalt.png&w=3840&q=75&dpl=dpl_7nf99CdjzekhTXFkkY95RyLEo3au)
HP%
Upon entering combat or switching in, the equipper's ATK increases by 7.2/8.2/9.3/10.4/11.5% for 10s. This effect can trigger once every 20s.
Why it works —Starter B-rank Rupture engine. HP% secondary is the real reason to equip it; the ATK buff on switch-in is minor. Use only until Puzzle Sphere or Cauldron is available.
Disk Drives
Disk 4
CRIT Rate% / CRIT DMG%
Disk 5
Ether DMG% > HP%
Disk 6
HP%
Team Compositions

Yixuan
Main DPS

Dialyn
Stun

Lucia
Support
High-usage endgame shell featuring Yixuan, Dialyn, Lucia. Built around Yixuan's Main DPS role with teammates covering stun, buffs, or secondary damage.

Primary Main DPS — owns the damage / utility identity of this squad.

Opens stun windows so Yixuan can dump burst damage safely.

Buffs and enables Yixuan with low field time and strong team utility.
Skills & Mindscapes
Skills
Perform up to five attacks forward, dealing Auric Ink DMG. This skill's Anti-Interrupt Level increases during the 3rd and 4th hit.
Deploy a Grand Tai Chi Formation, dealing Auric Ink DMG. When the skill ends, automatically launch the 5th hit of Basic Attack: Cirrus Strike. Anti-Interrupt level is increased while using this skill, and DMG received is reduced by 40%.
With Auric Ink Point, activate Dodge: Nimbus Step, then tap Basic Attack, or with Auric Ink Point, hold Dodge to activate: Deploy an array, continuously dealing Auric Ink DMG. When the skill ends, it automatically triggers Basic Attack: Qingming Eruption. While channeling, continuously recover Adrenaline, recovering 7/s, for up to 3s. Character is invulnerable while using this skill, and enters the Vital View state.
Automatically activates when Basic Attack: Auric Array reaches the max duration: Spreads her wings to launch an explosive attack, dealing massive Auric Ink DMG. Character is invulnerable while using this skill.
A quick dash dodge. Character is invulnerable while using this skill.
Launch a dashing attack at enemies in front, dealing Auric Ink DMG.
When dragging the stick/joystick, hold Dodge to activate. Enter a high‐speed Light as Air state. While in the Light as Air state, automatically collect from all resource pickup points within range. While in the Light as Air state, use the stick/joystick to steer. Release the stick/joystick to stop. Character is invulnerable at the moment this skill activates.
Launch a series of attacks on enemies ahead, dealing Auric Ink DMG. Character is invulnerable while using this skill.
Swiftly retreat, then attack forward, dealing Auric Ink DMG. While retreating, a Perfect Dodge can be triggered, but cannot be followed up with a Dodge Counter. Anti-Interrupt level is increased while using this skill.
Charge continuously, and release Special Attack to launch an upward wing attack, dealing massive Auric Ink DMG; While charging, incoming attacks are automatically blocked and will activate the upward wing attack; If hit at the exact moment of activation, it triggers a Perfect Block effect, negating the DMG and increasing the skill's Interrupt Level to match a Heavy Defensive Assist, and recovering 10 Adrenaline; When an upward wing strike hits an enemy with a red flash or yellow flash, a Perfect Block can be triggered, negating the hit and increasing the skill's Interrupt Level to match a Heavy Defensive Assist, and recovering 10 Adrenaline; The Perfect Block effect can occur at most once every 0.5s; If charged until flashing or when triggering the Perfect Block effect, the upward wing attack can be followed by an additional Talisman Attack; After using this skill, press Special Attack to launch [EX Special Attack: Celestial Cloud Blitz - Break]; After [EX Special Attack: Celestial Cloud Blitz - Break], and with enough Adrenaline, press Special Attack to consume another 20 Adrenaline to launch [EX Special Attack: Qingming Eruption - Break]; After [EX Special Attack: Celestial Cloud Blitz - Break], with enough [Auric Ink Point], hold Dodge to quickly chain into [Basic Attack: Auric Array]; Character is invulnerable when activating this skill, and Anti-Interrupt Level is increased while charging.
Continuously charge up, channeling energy around enemies to deal damage over time, up to a max of 2s, dealing massive Auric Ink DMG. Once fully charged or if interrupted, automatically trigger EX Special Attack: Ashen Ink Becomes Shadows. At the moment the skill is activated, a Perfect Dodge can be triggered, and then enter the Vital View state. Character is invulnerable while using this skill.
Triggers automatically during EX Special Attack: Cloud-Shaper: When the energy orb appears and collapses, it deals Auric Ink DMG. Character is invulnerable while using this skill.
When a Chain Attack is triggered, select the character to activate: Rapidly dash forward and attack, followed by an explosive wing burst, dealing massive Auric Ink DMG. Character is invulnerable while using this skill.
Launch a barrage of wing attacks, then guide countless talismans to attack, dealing massive Auric Ink DMG; Upon activating this skill, Yixuan evenly redistributes the squad's HP; After using this skill, if Auric Ink Point is sufficient, hold Dodge to quickly chain into Basic Attack: Auric Array; Character is invulnerable while using this skill.
Spreads her wings, then guides countless talismans to attack, dealing massive Auric Ink DMG; With both enough Technique Points and Decibels, this skill triggers with priority; After using this skill, if Auric Ink Point is sufficient, hold Dodge to quickly chain into [Basic Attack: Auric Array]; Character is invulnerable while using this skill.
Press Basic Attack after a Defensive Assist to activate: Quickly dash forward and attack, dealing Auric Ink DMG. Character is invulnerable while using this skill.
When the character on field is about to be attacked, press Assist to activate. Parries the enemy's attack, dealing massive Daze. Character is invulnerable while using this skill.
When the active character is launched, press Assist to activate. Launch a series of attacks on enemies ahead, dealing Auric Ink DMG. Character is invulnerable while using this skill.
Mindscapes
Upon entering combat, CRIT Rate increases by 10% and immediately gain 120 Technique Points. In Investigation Zone Mode, this effect can only trigger once every 180s. When any squad member lands a hit on an enemy, Yixuan automatically summons an extra lightning strike, dealing DMG equal to 50% of her Sheer Force and restoring 5 additional Adrenaline. This can trigger once every 6s.
Is it worth getting?
Solid CRIT upgrade — helps hit thresholds and raises personal damage cleanly.
When an Ultimate or EX Special Attack deals DMG, it ignores 15% of the target's Ether RES; Triggering Ultimate: Qingming Skyshade extends all enemies' Stunned state by 3s, enemies can only be affected by this effect once per Stunned state, and similar effects cannot stack; Additionally, when using Ultimate: Endless Talisman Suppression, gain one stack of Condensed Ink effect. After Basic Attack: Qingming Eruption or EX Special Attack: Ashen Ink Becomes Shadows, press the Basic Attack button, or after EX Special Attack: Qingming Eruption - Break, press the Special Attack button to launch EX Special Attack: Endless Talisman Suppression - Break, dealing DMG up to 1,200% of Sheer Force. Only one stack of Condensed Ink can be held at a time.
Is it worth getting?
Meaningful Rupture / HP-scaling bump — worth it if this agent is your main carry.
Basic Attack, Assist, Dodge, Special Attack, and Chain Attack Lv. +2
Is it worth getting?
Skill-level bump only — fine on the path to higher Mindscapes, not a pull goal by itself.
Activating an Ultimate grants one stack of Tranquillity, up to a max of 2 stacks. For each stack of Tranquillity, the next EX Special Attack: Cloud-Shaper DMG and EX Special Attack: Ashen Ink Becomes Shadows DMG increase by 30%.
Is it worth getting?
Straightforward damage bump — nice vertical investment, not mandatory at M0.
Basic Attack, Assist, Dodge, Special Attack, and Chain Attack Lv. +2
Is it worth getting?
Skill-level bump only — fine on the path to higher Mindscapes, not a pull goal by itself.
After using Ultimate: Qingming Skyshade, gain a stack of the Regulated Breathing effect. While under this effect, you can ignore the Technique Point cost to launch Ultimate: Endless Talisman Suppression once. The Regulated Breathing effect ends after Ultimate: Endless Talisman Suppression is used. This effect can only be gained once every 30s. Only one stack of Regulated Breathing can be held. Additionally, while in the Meditation state, Yixuan's Sheer DMG is increased by 20%.
Is it worth getting?
Meaningful Rupture / HP-scaling bump — worth it if this agent is your main carry.
M0 Yixuan is already a top-tier Main DPS. Mindscapes raise ceiling; they are not required to clear endgame. First stop: M2. Endgame target: M2.
Alternatives to Yixuan
Not sure Yixuan is right for you? Compare against other Rupture agents to find your best pull.

You need an Ice Anomaly / Disorder hypercarry for endgame.
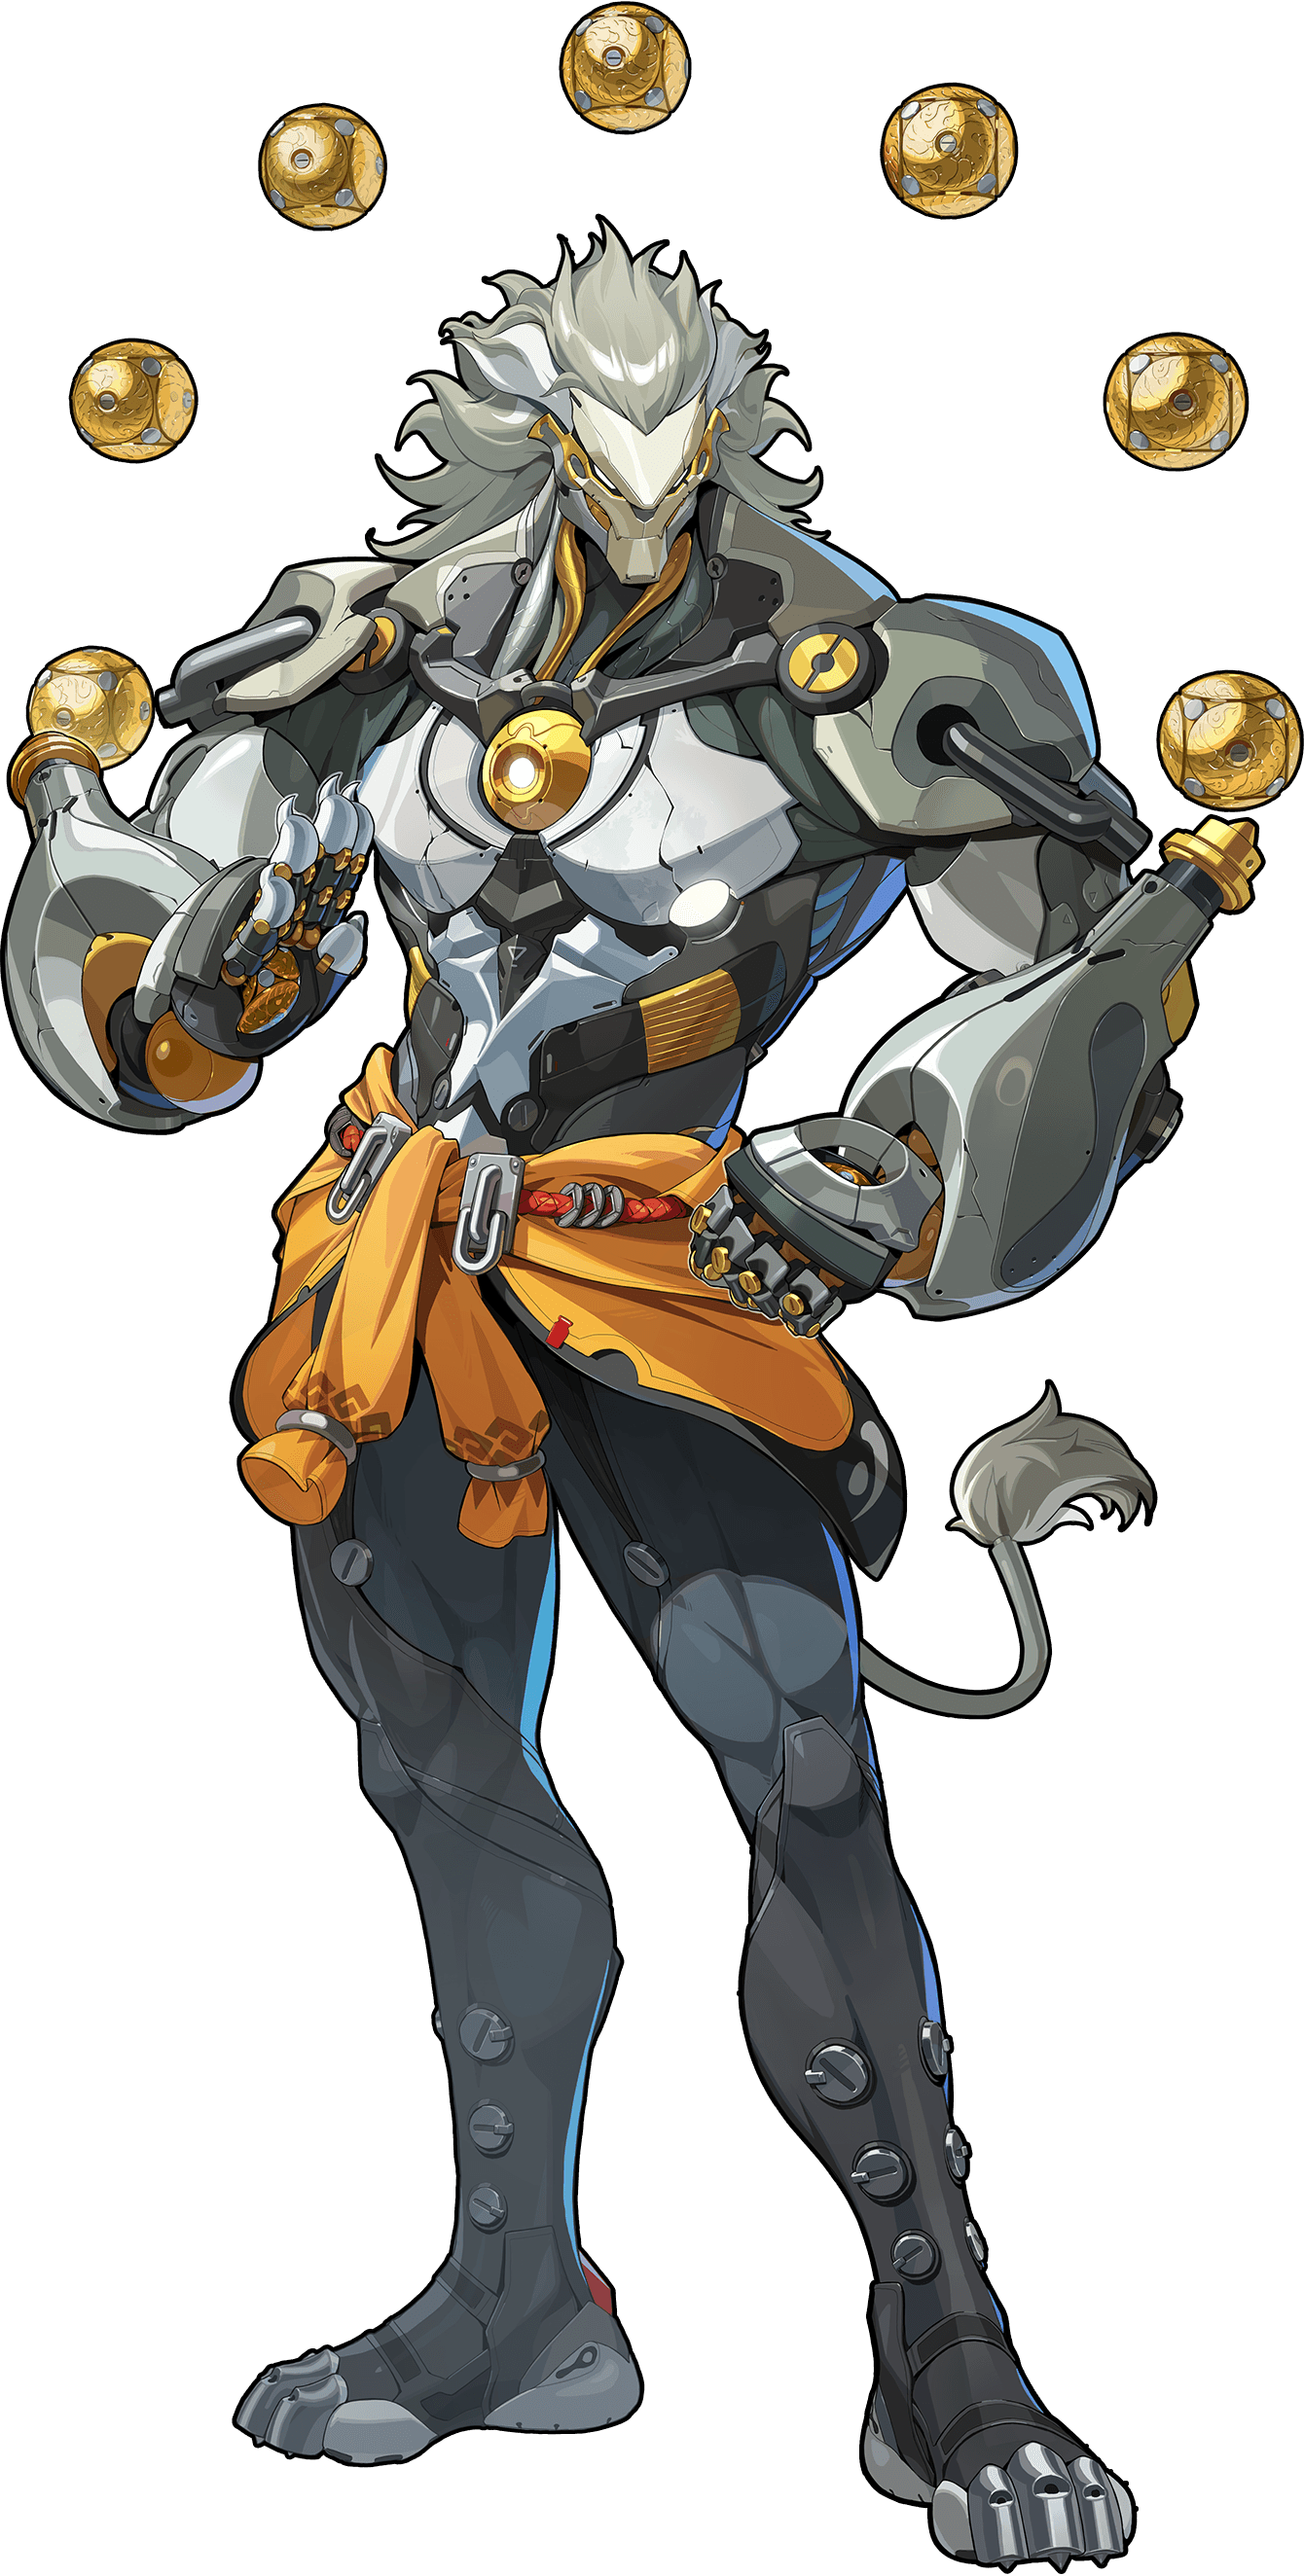
You need a Fire Rupture agent and Banyue's kit matches your account gap.
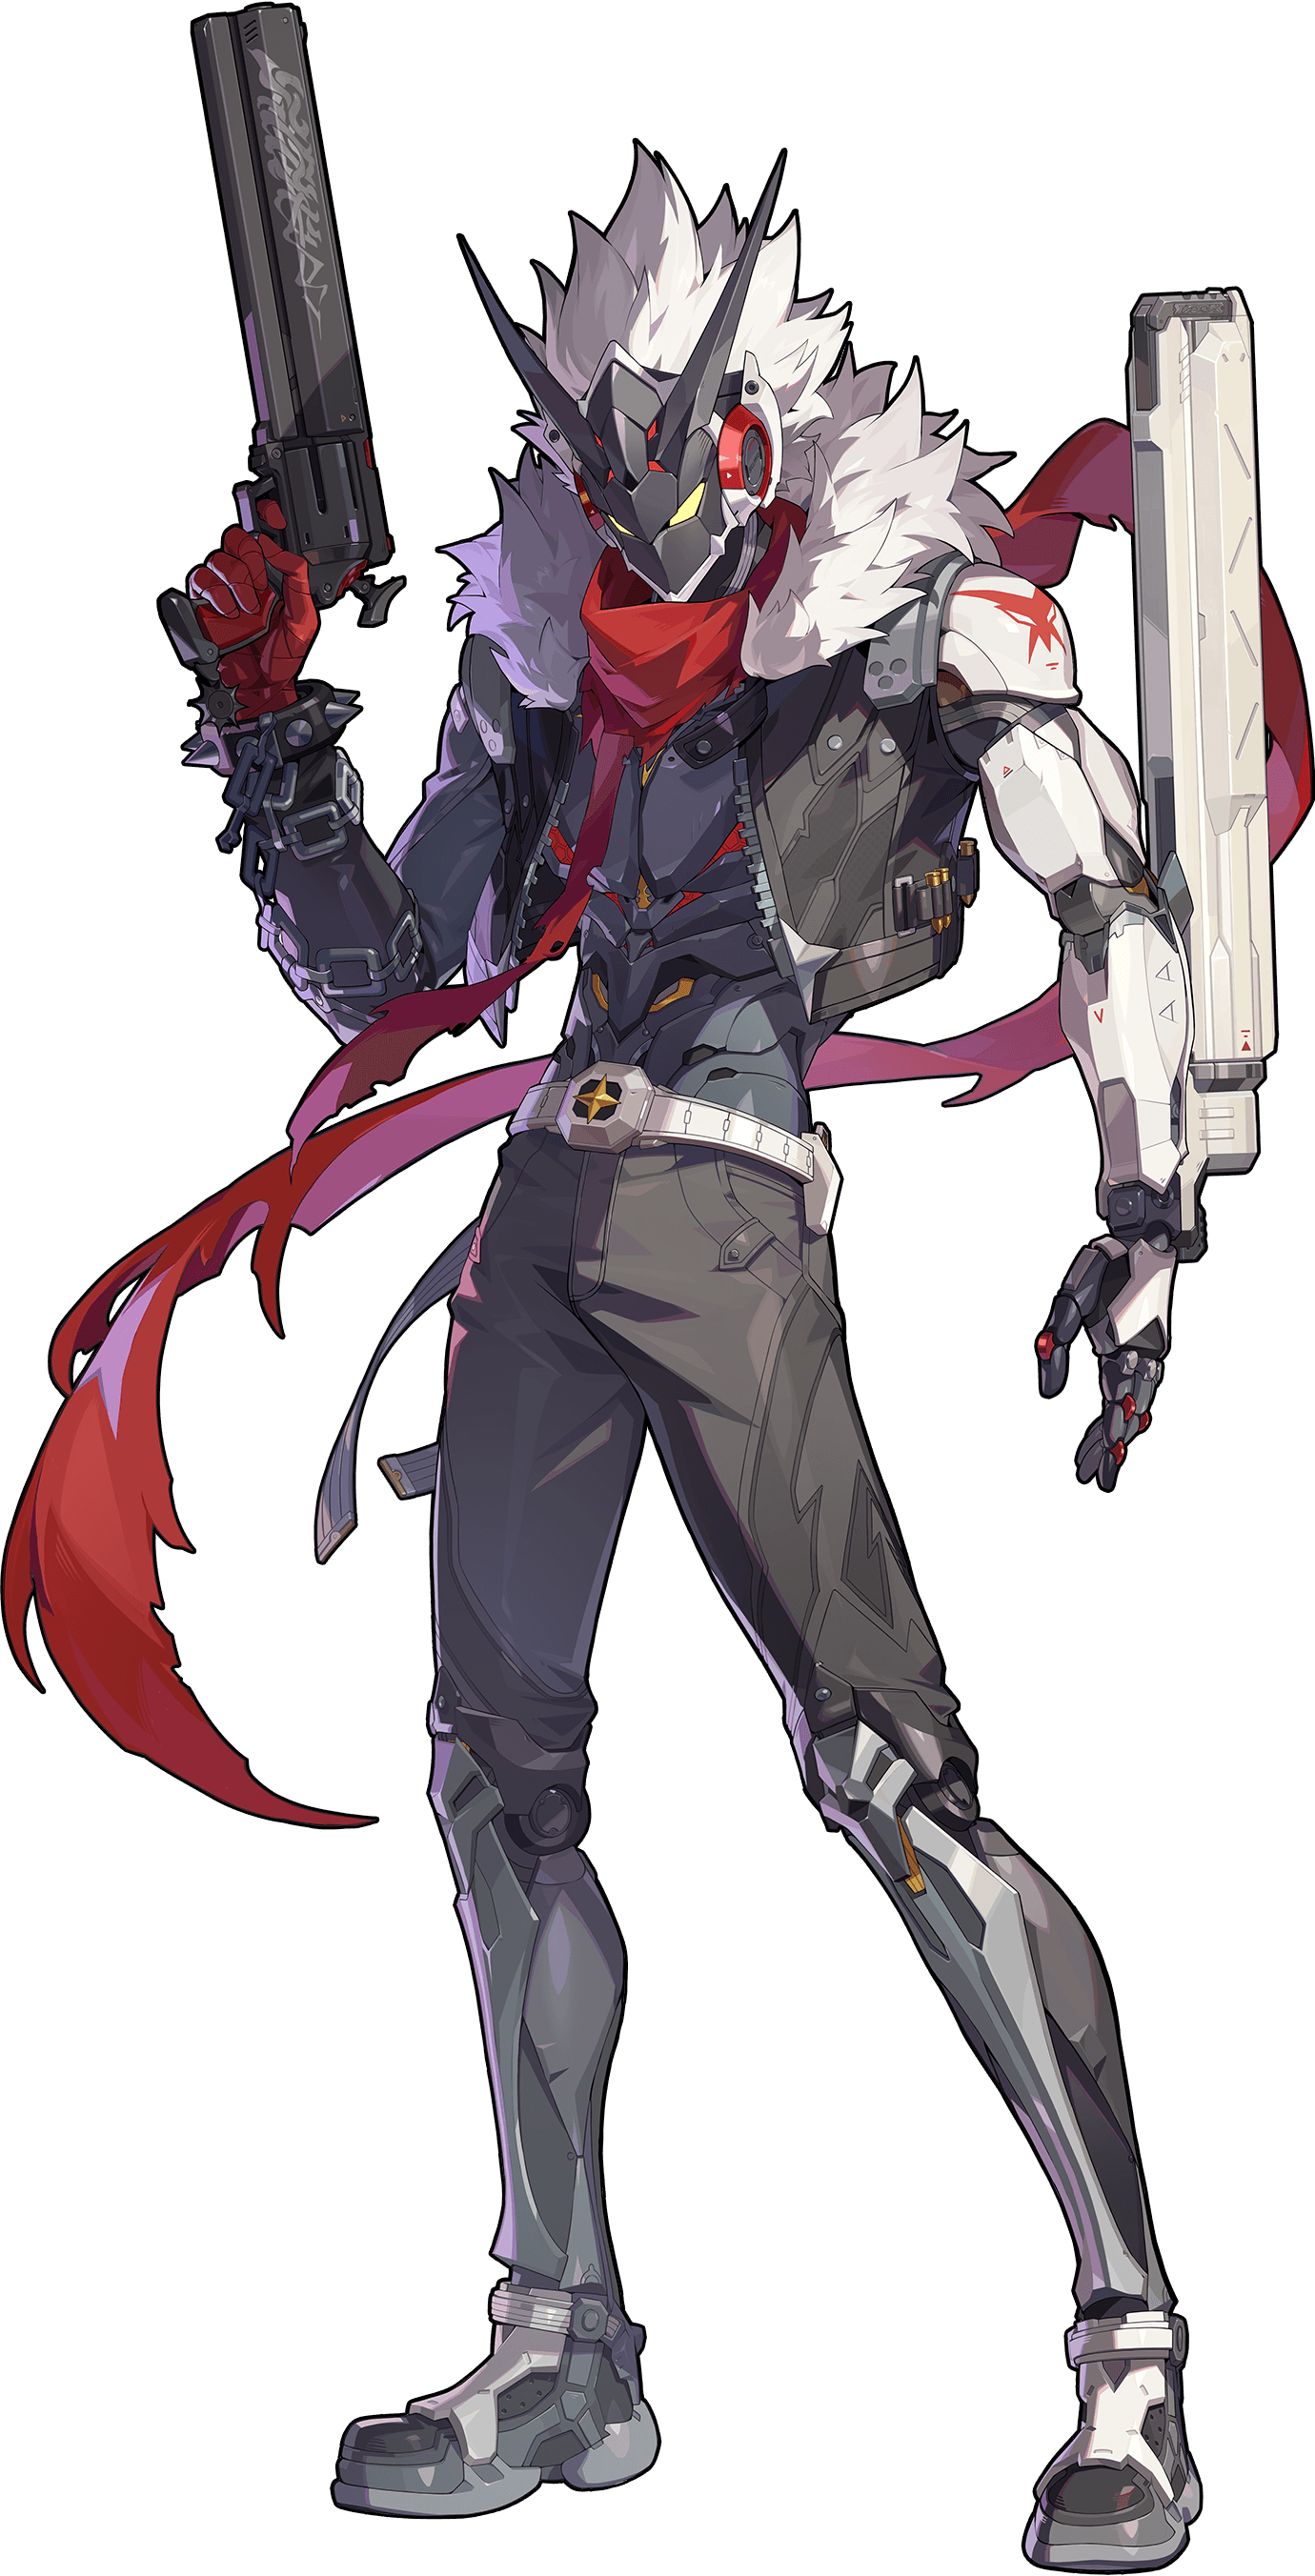
You need a Physical Rupture agent and Billy - Starlight's kit matches your account gap.
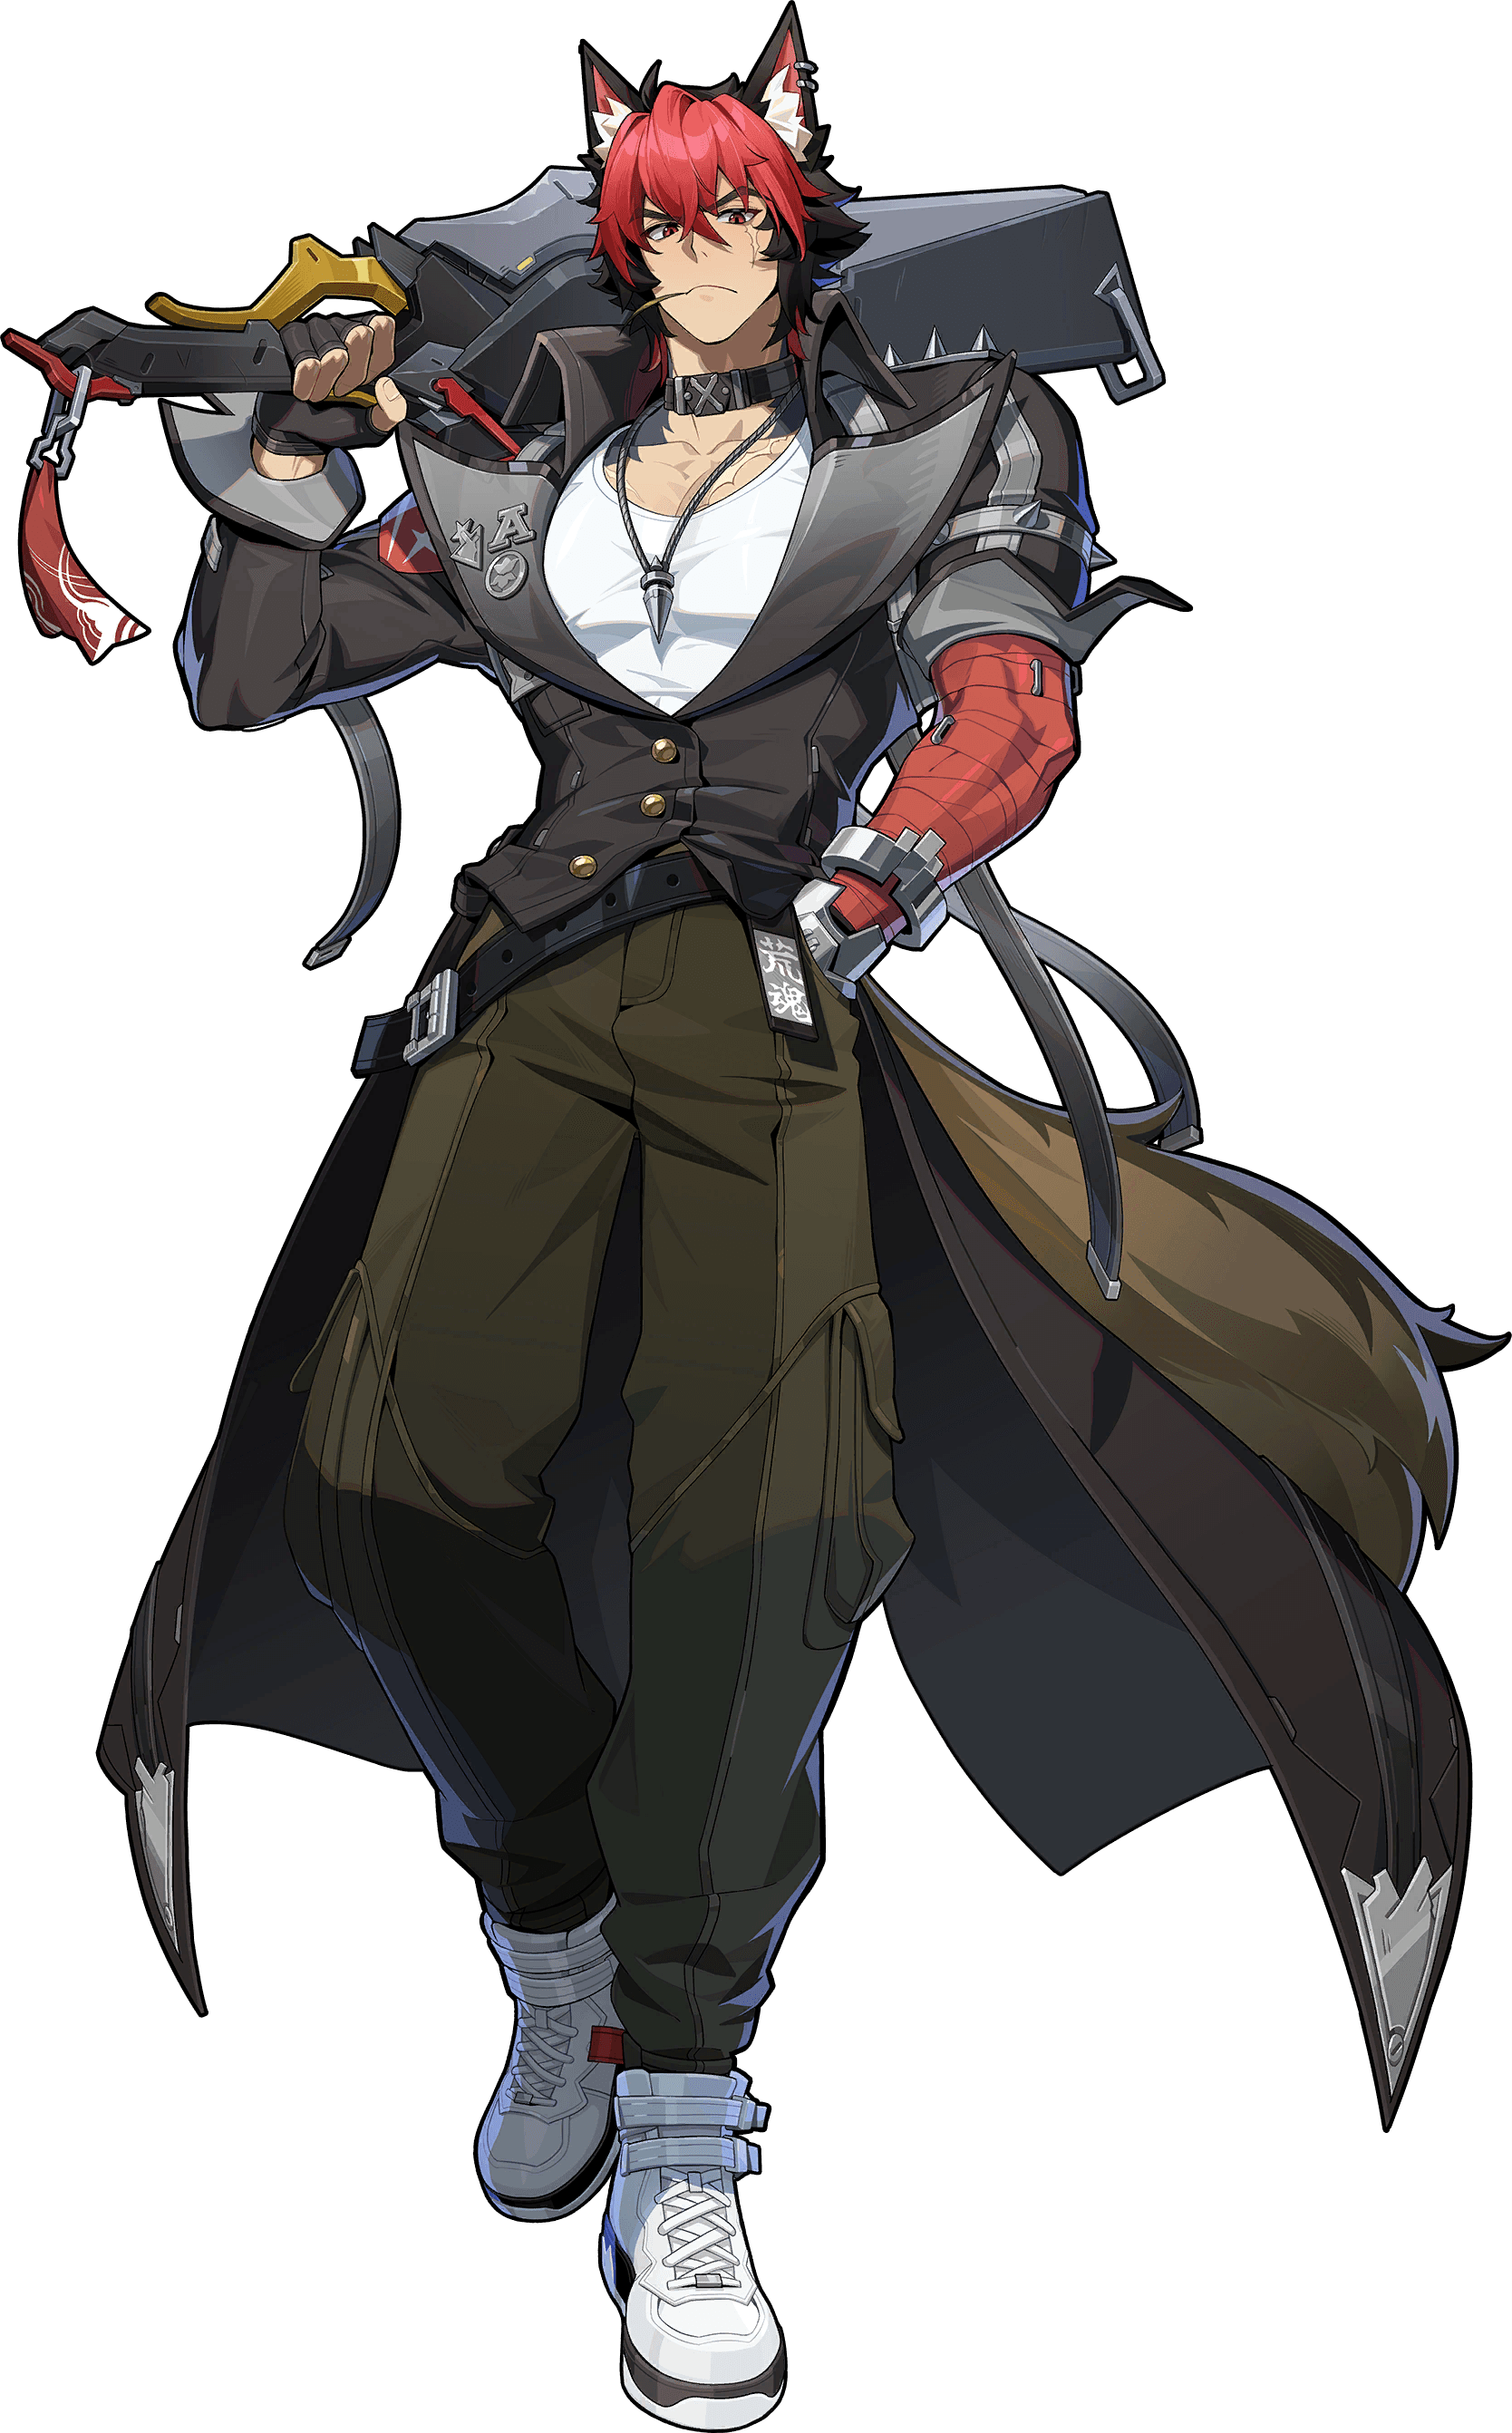
You need a Fire Rupture agent and Manato's kit matches your account gap.
You need a Ice Rupture agent and Yidhari's kit matches your account gap.