Anton vs Billy
Anton vs Billy — two Attack agents competing for the same roster slot.
TL;DR — Quick Pick
Pick Anton if…
- You need a Electric Attack agent and Anton's kit matches your account gap.
- You prefer Electric Attack DPS gameplay over Billy's DPS identity.
- Anton is a serviceable Electric DPS for players lacking premium alternatives, performing adequately at M0.
Pick Billy if…
- You need a Physical Attack agent and Billy's kit matches your account gap.
- You prefer DPS gameplay over Anton's Electric Attack DPS identity.
- Billy is a solid, accessible Physical attacker who excels at mid-to-long-range sustained damage.
Anton and Billy are both Attack investments that answer different account needs. Anton (Electric, Electric Attack DPS) shines when Anton is a serviceable Electric DPS for players lacking premium alternatives, performing adequately at M0. Billy (Physical, DPS) is the better commit when Billy is a solid, accessible Physical attacker who excels at mid-to-long-range sustained damage. Compare signature builds, team requirements, and your existing supports before pulling either.
At a Glance
Strengths & Weaknesses
Anton
- Extended invulnerability windows during EX Special and Chain attacks
- Synergizes effectively with Shock-based team compositions
- High interrupt resistance during key drill animations
- Burst Mode uptime is strictly limited by Energy management
- Significant damage drop-off when Energy is depleted
- Animation commitments can be risky against aggressive bosses
Billy
- Safe mid-to-long-range attack distance
- High AoE damage potential with piercing shots
- Increased damage output while in Crouching Shot
- Stationary playstyle leaves him vulnerable to knockback
- Core passive damage buff lost if repositioning incorrectly
- Requires proper team synergy to maximize Ultimate potential
Shared Team Members


Best Builds (Signature)
W-Engine
Heartstring Nocturne
Disk Set
Thunder Metal
Disk 4
CRIT Rate% >= CRIT DMG%
Disk 5
Electric DMG%
Disk 6
ATK%
Substats
CRIT RATE = CRIT DMG > ATK% > PEN = ATK
W-Engine
The Brimstone(S5)
Disk Set
Woodpecker Electro(4-PC)
Disk 4
CRIT Rate%
Disk 5
Physical DMG%
Disk 6
ATK%
Substats
CRIT Rate >= CRIT DMG = ATK%
Who Should You Pull?
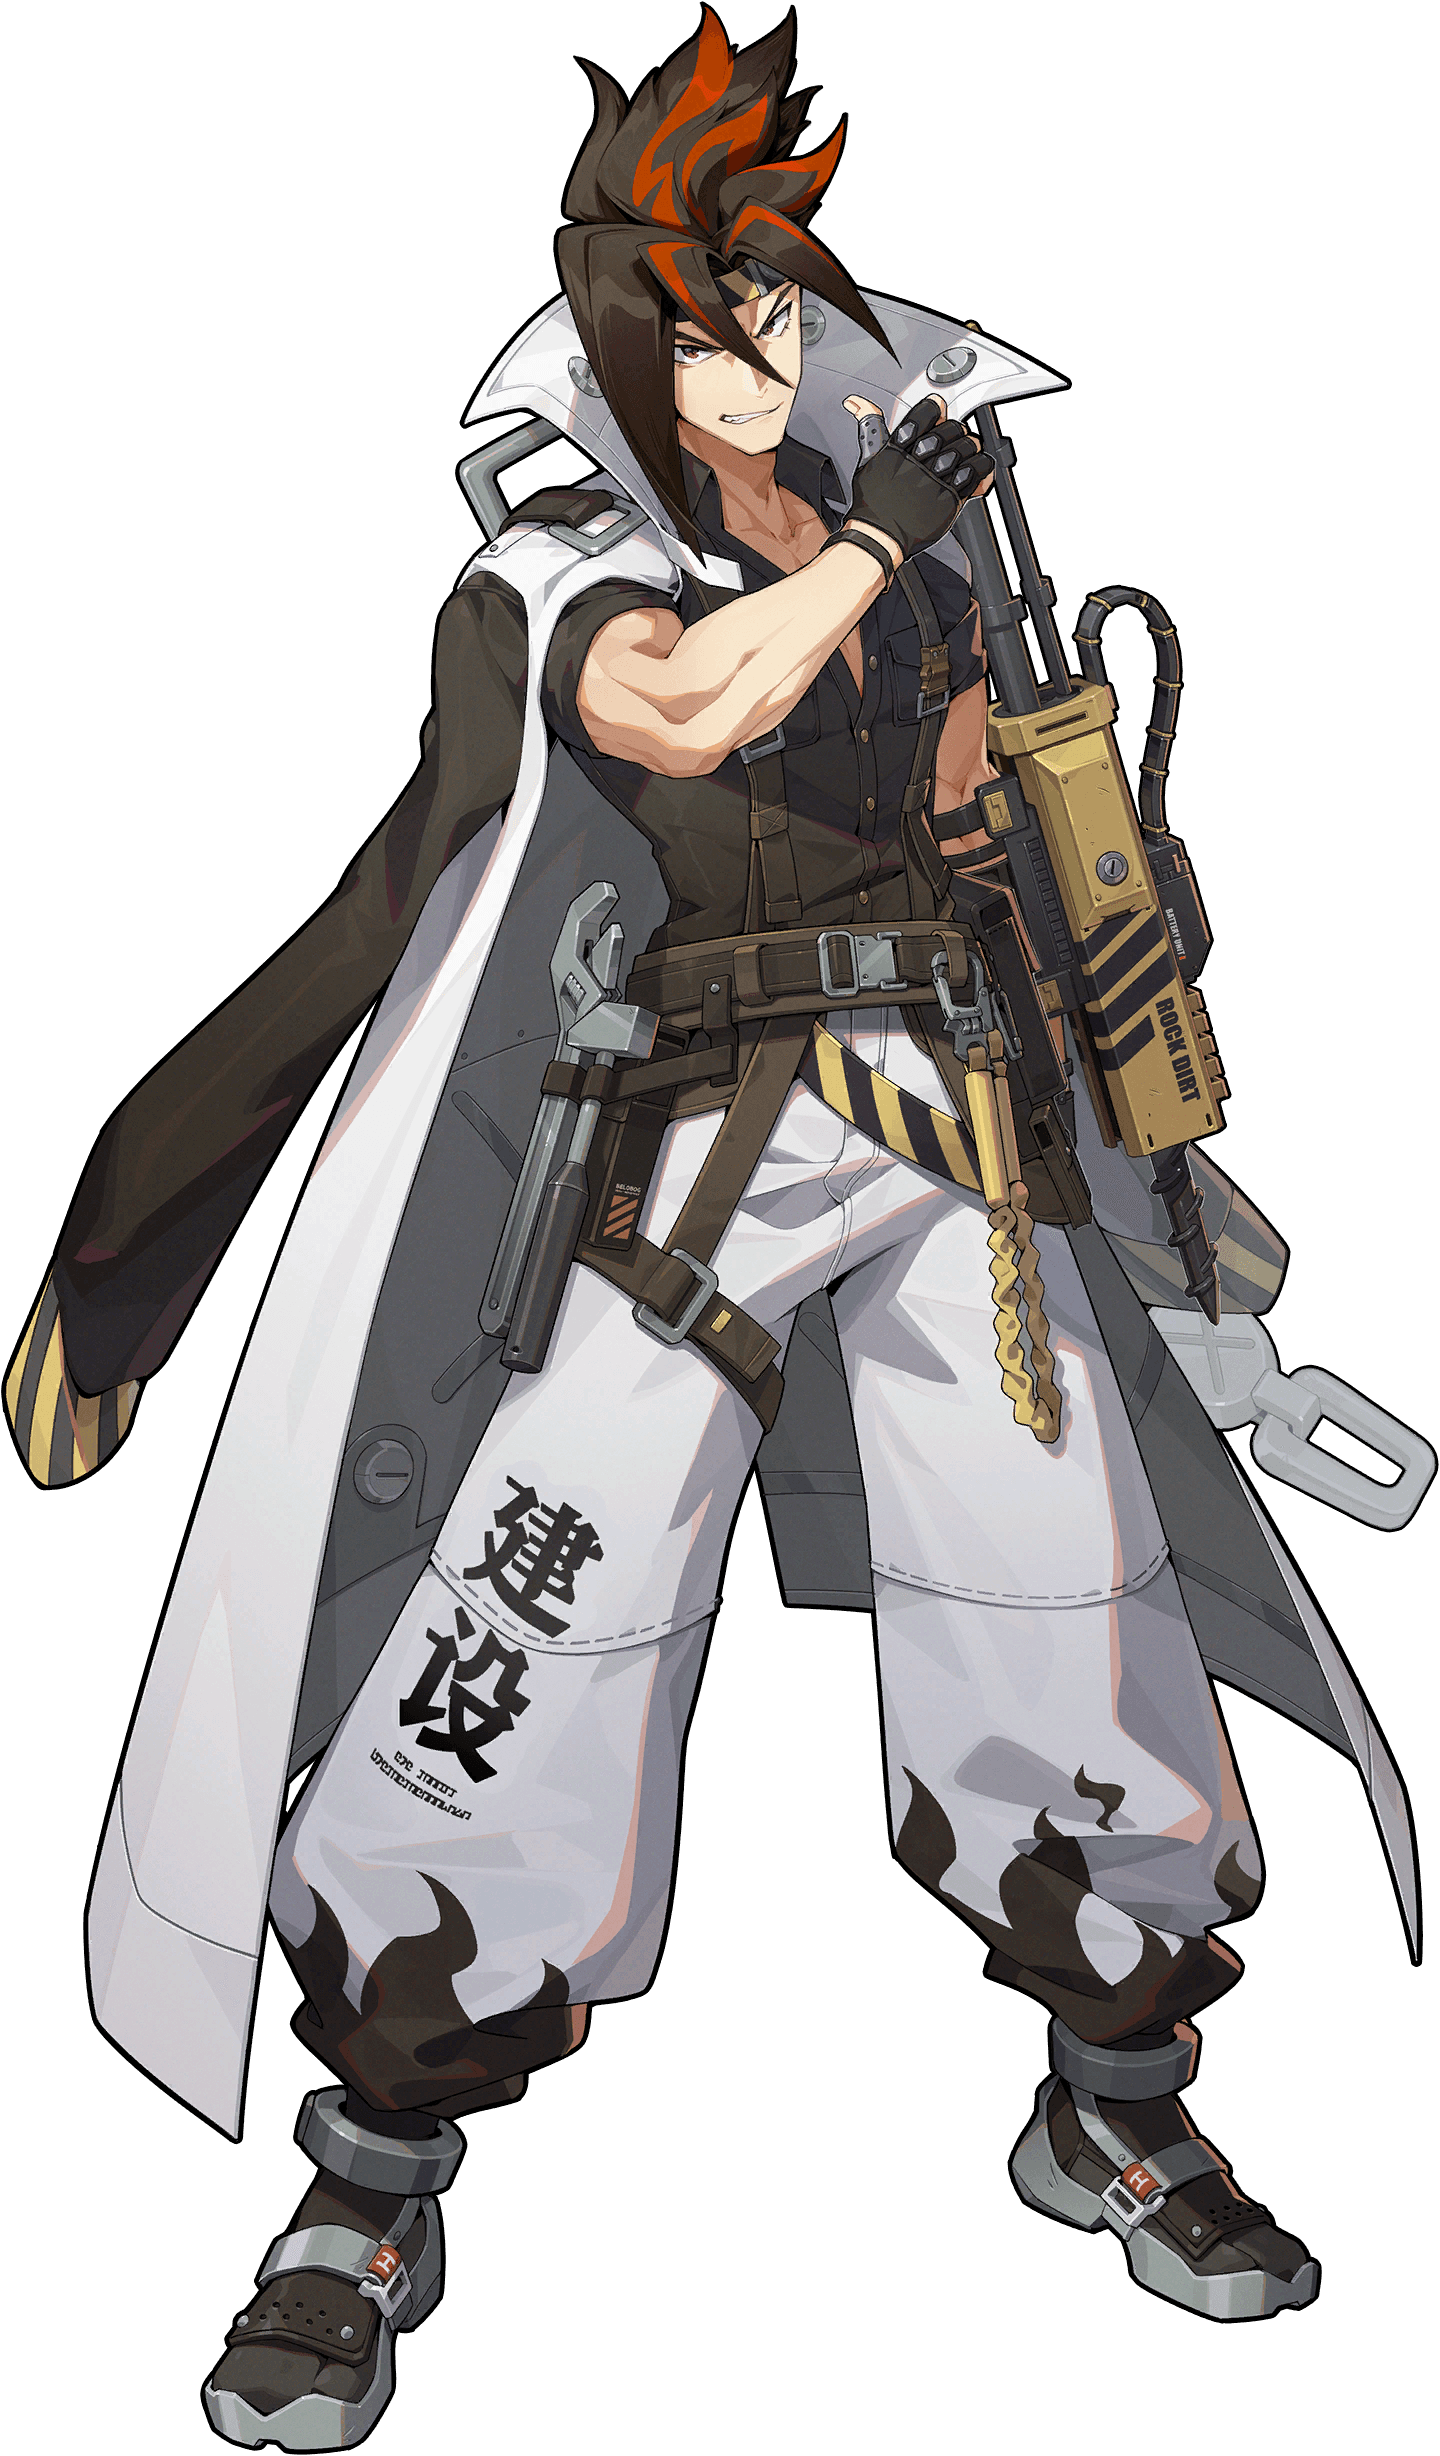
- You need a Electric Attack agent and Anton's kit matches your account gap.
- You prefer Electric Attack DPS gameplay over Billy's DPS identity.
- Anton is a serviceable Electric DPS for players lacking premium alternatives, performing adequately at M0.
- He functions as a solid mid-tier carry, though he lacks the high-end ceiling compared to limited S-rank attackers.
- Extended invulnerability windows during EX Special and Chain attacks.

- You need a Physical Attack agent and Billy's kit matches your account gap.
- You prefer DPS gameplay over Anton's Electric Attack DPS identity.
- Billy is a solid, accessible Physical attacker who excels at mid-to-long-range sustained damage.
- He is a great investment for new players needing a reliable main DPS before pulling for high-tier limited units.
- Safe mid-to-long-range attack distance.