
Fadia
Bureau of Anomaly Control, ETD-4
Defensive Psyche support with damage-sharing utility. Select when survivability is your account bottleneck.
Fadia is an S-Rank Psyche defender/support from ETD. Her identity is team survivability through damage sharing rather than raw personal DPS.
Overview
Quick Build
Arc
Eternal Waltz
Best Condensate Arc for this kit.
Cartridge
Devil's Blood: Curse (4pc)
Primary endgame Cartridge set.
Main Stats
HP% / DEF% · ATK% · Charge Efficiency
Priority
Substats
HP% → DEF% → ATK%
Farm order
Strengths
- Condensate Arc compatibility keeps gear shared with same-family characters.
- Damage-share and Max HP tools make her the default premium sustain slot.
Weaknesses
- Team comps above cover premium, alt, and budget shells — swap partners by what you own.
- Pull targets are editorial — weigh against your account needs and limited banner plans.
Skill Priority
Damage-share / Max HP sustain Ult — her whole identity.
Existence Skill that sets up the guilt furnace loop.
Guilt and seize rules that keep the front line alive.
Negation filler — fund after sustain tools.
Stat Priority
Basics / Skill to set up resources → Ultimate when ready → weave QTE on swap windows.
Exact timings vary by enemy and Arc — treat this as the intended loop, not a frame-perfect script.
Arcs
S-Rank · HP
Increases Max HP by 20/23/26/29/32%. Increases Mental DMG dealt by 10/12/14/16/18% for 10s after the wearer casts an Ultimate.
Best shared Condensate Arc for this kit.
S-Rank · ATK · CRIT DMG
Increases CRIT DMG by 12/14/16/18/20% for 5s when the wearer's HP is reduced without taking damage, up to 4 stacks. Unlocks Arc: Silent Garden. Consumes 5% of current HP and randomly performs one of the following attacks (CD 25s) in Arc: Silent Garden: Harsh Rebuke: Rains merciless rebukes like leaves in a storm, dealing 5 instances of Incantation DMG of 24/28/32/36/40% ATK. Incessant Nagging: Pierces targets with sharp, cutting words like thorns, dealing 6 instances of Incantation DMG of 18/21/24/27/30% ATK; the final instance deals double damage.
Competitive Condensate alternative when rank-1 is unavailable.
S-Rank · ATK · CRIT DMG
Increases wearer's CRIT DMG by 4/4.8/5.6/6.4/7.2% for 10s after landing a critical hit, up to 10 stacks. Resets the duration when triggered again.
Competitive Condensate alternative when rank-1 is unavailable.
A-Rank · HP
Grants the wearer 10/12/14/16/18% ATK, 10/12/14/16/18% DEF, and 10/12/14/16/18% HP when the team has at least 3 different Esper Types.
Strong F2P / early Condensate stop while chasing S-Rank options.
A-Rank · ATK
Increases ATK by 18/21/24/27/30% while the wearer has a Shield.
Strong F2P / early Condensate stop while chasing S-Rank options.
Cartridges
4pc · Cartridge + matching Modules
2pc: Psyche DMG +10%. / 4pc: Increases wearer's DMG by 18%. The bonus becomes 36% against units affected by Nova or Stain.
Primary attribute set for Psyche damage — default 4pc for this kit.
4pc · Cartridge + matching Modules
2pc: DEF +15%. / 4pc: Increases wearer's shields by 20%.
Shield strength — pairs with damage-share / survivability.
4pc · Cartridge + matching Modules
2pc: HP +10%. / 4pc: Increases wearer's Max HP by 4% when taking damage, up to 10 stacks. Each stack lasts 10s. Casting Ultimate instantly grants 10 stacks.
HP stacking — helps HP-scaling sustain kits.
4pc · Cartridge + matching Modules
2pc: HP +10%. / 4pc: Restores 20% of the wearer's Max HP upon casting Ultimate. CD: 20s.
Starter Cartridge — replace with an endgame 4pc ASAP.
Team Compositions
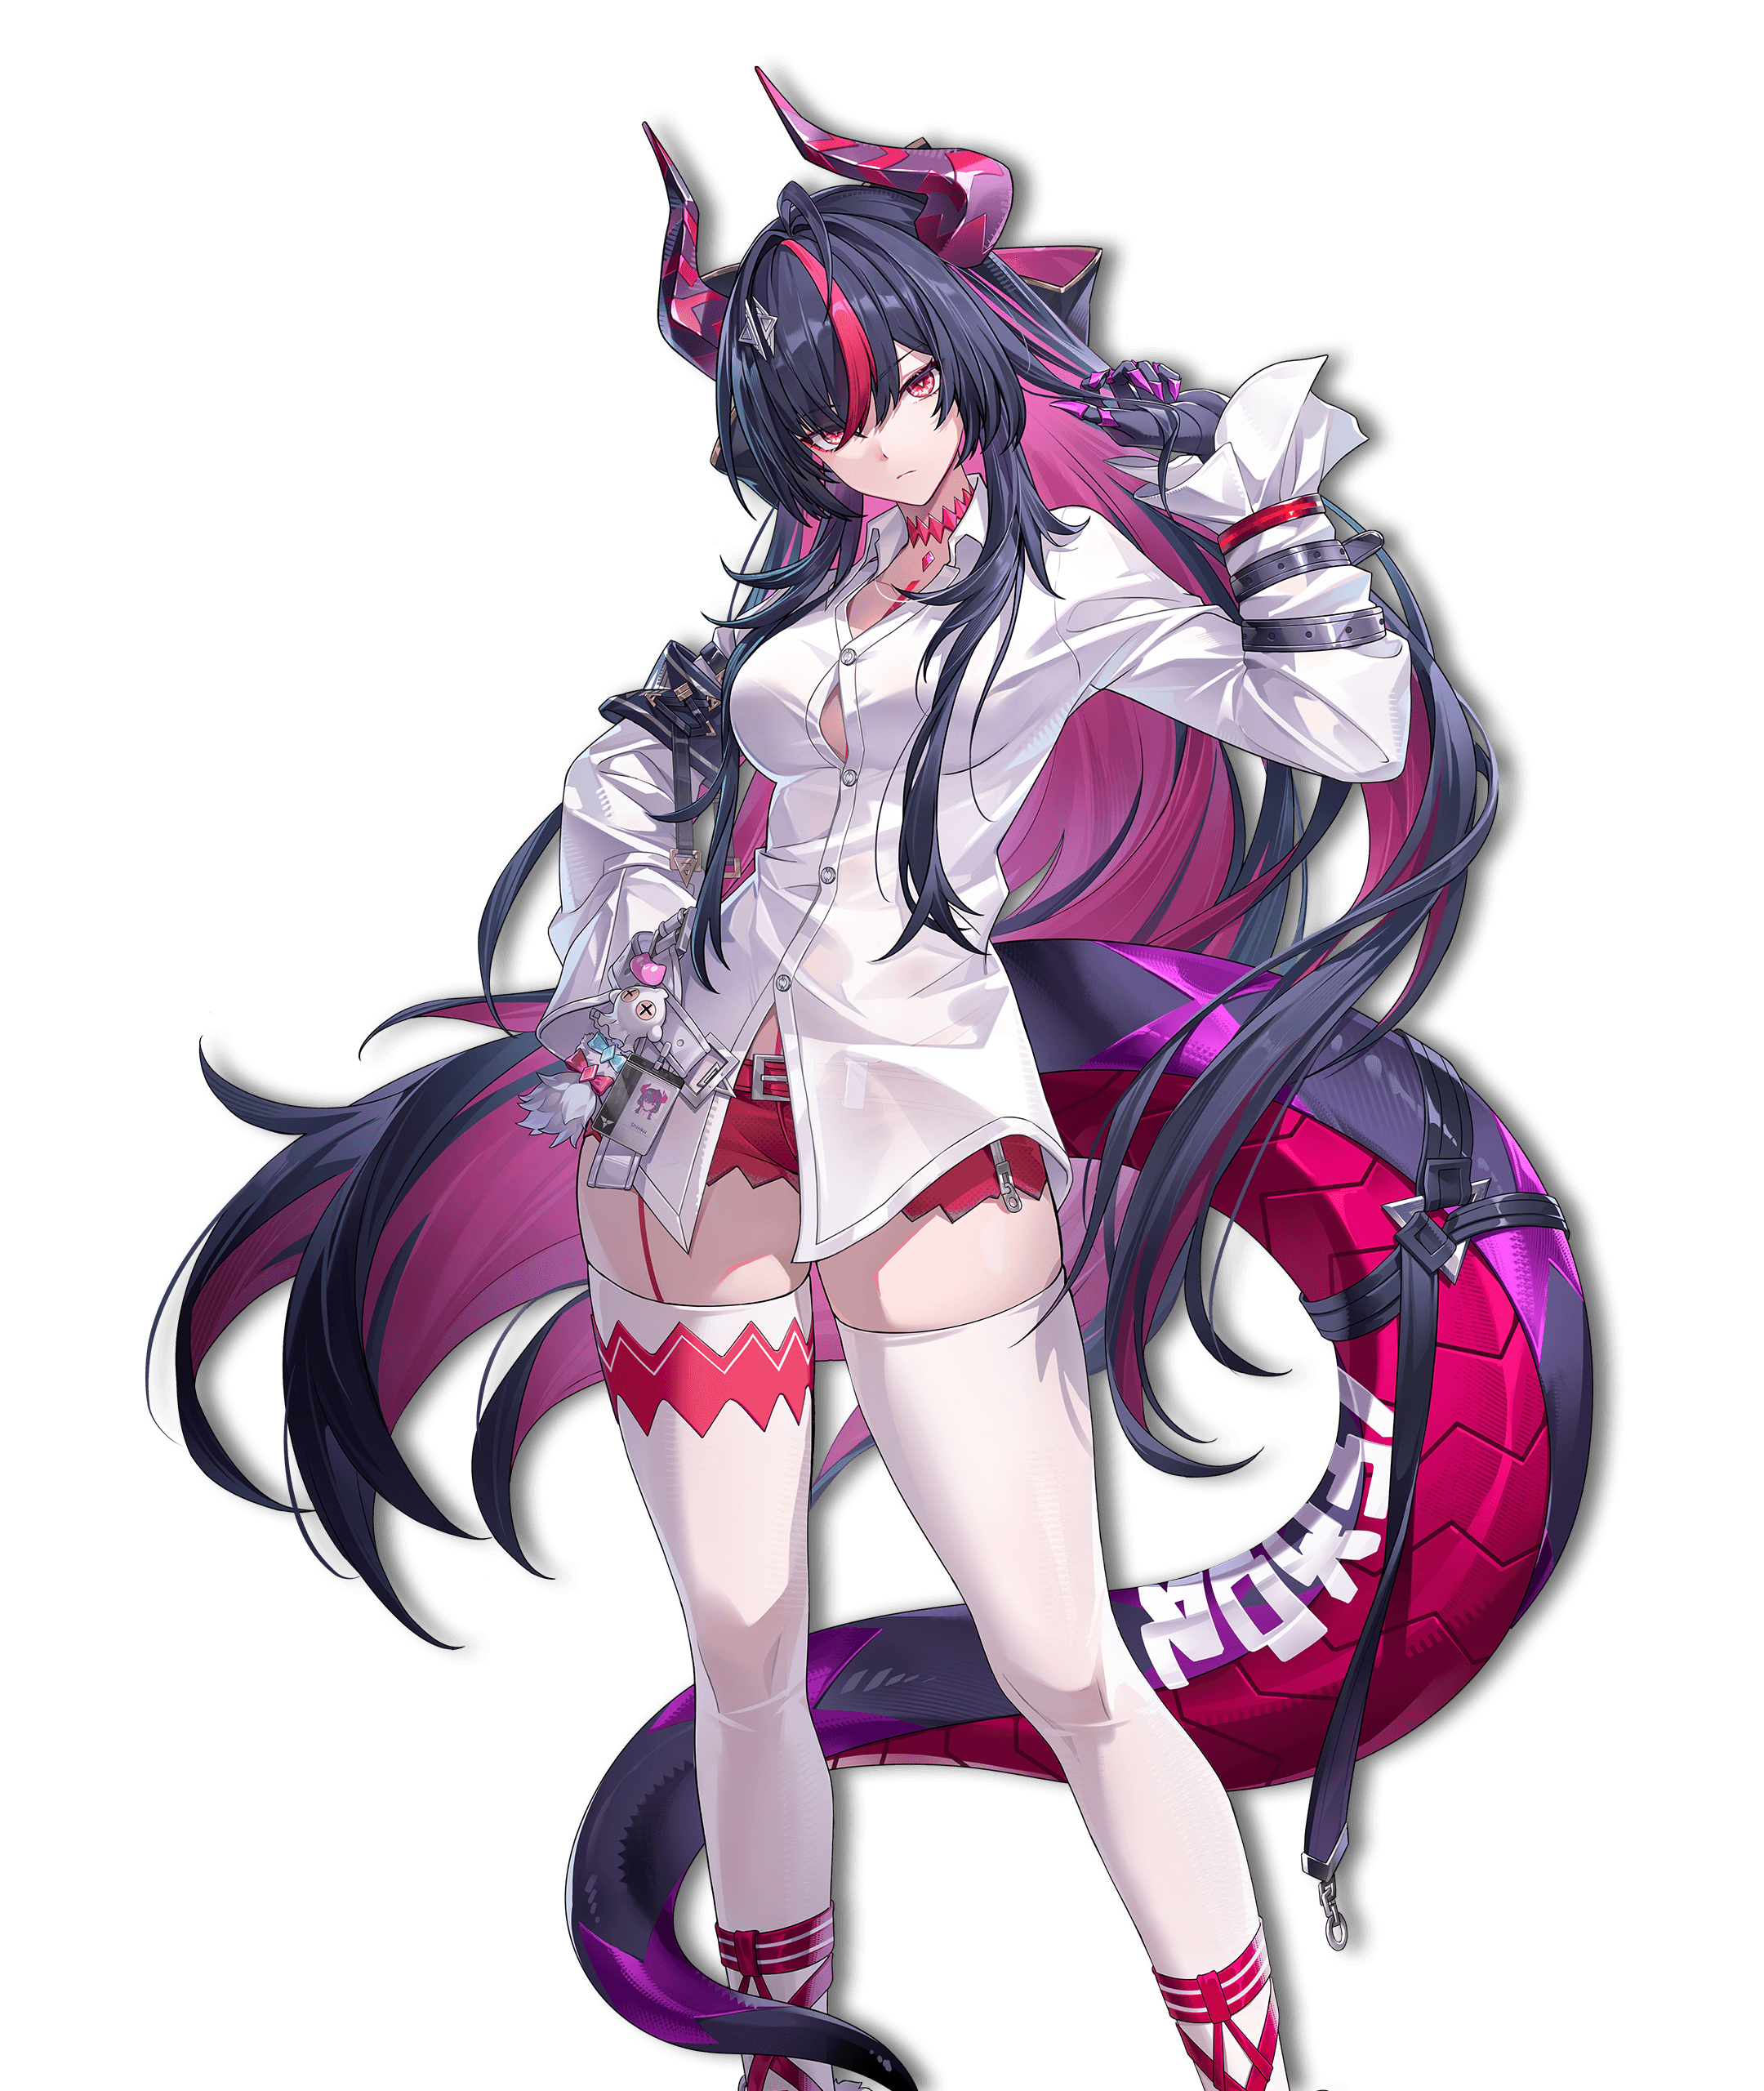

Fadia as the sustain pillar for a limited hypercarry. Shinku + Sakiri is the cleanest premium; Hotori adds recorded burst.
Kit & Awakenings
Kit
Up to 5 Psyche hits with her shaped cross-shield.
AoE Psyche damage, then applies Ruin Experience to the highest Max-HP enemy in range. While active, that enemy shares a portion of damage Fadia takes. Removes when the share cap is reached, duration ends, or combat ends.
Enters God-Foe and deals 6 Psyche hits while healing. In God-Foe, recast Basic for up to 5 chase hits. Reaching Ruin Threshold refills Ultimate energy; casting at/above Threshold amps damage and healing. Ends when God-Foe expires, chase hits finish, or she swaps.
Darkstar Enhancement: when Darkstar ends, the team drains Max HP from the target based on Fadia’s innate Max HP. While Fadia is on the team, all allies gain +10% Max HP. She can also share pre-shield damage for teammates while above 1 HP.
Cross-shield swing for AoE Psyche damage.
Awakenings
Fadia’s damage-share ratio rises to 75%.
Is it worth getting?
Worth taking if you already own them — early comfort / power stop.
Ruin Experience reflects up to 600% of taken DMG, cap 25% of Fadia’s Max HP. When removed, deal the remaining gap to the cap as damage.
Is it worth getting?
Worth taking if you already own them — early comfort / power stop.
On combat entry, Fadia’s Max HP +30% (lost when leaving combat).
Is it worth getting?
Skip as a goal unless you are intentionally maxing vertical investment.
In God-Foe state, heal ratio rises to 30% Max HP (60% when lost HP ≥ Ruin Frequency).
Is it worth getting?
Pull if you want the mid vertical spike; skip as a hard goal otherwise.
In God-Foe state, Fadia’s CRIT Rate +50%.
Is it worth getting?
Skip as a goal unless you are intentionally maxing vertical investment.
Skill: Proof of Existence can apply Ruin Experience to up to 10 targets, each with independent duration and damage cap.
Is it worth getting?
Skip as a goal unless you are intentionally maxing vertical investment.
A0 Fadia is playable from the base kit. Awakenings add comfort and vertical damage — not a broken incomplete character. First stop: A2. Endgame target: A4.
Alternatives to Fadia
Not sure Fadia is right for you? Compare against other Support Characters.
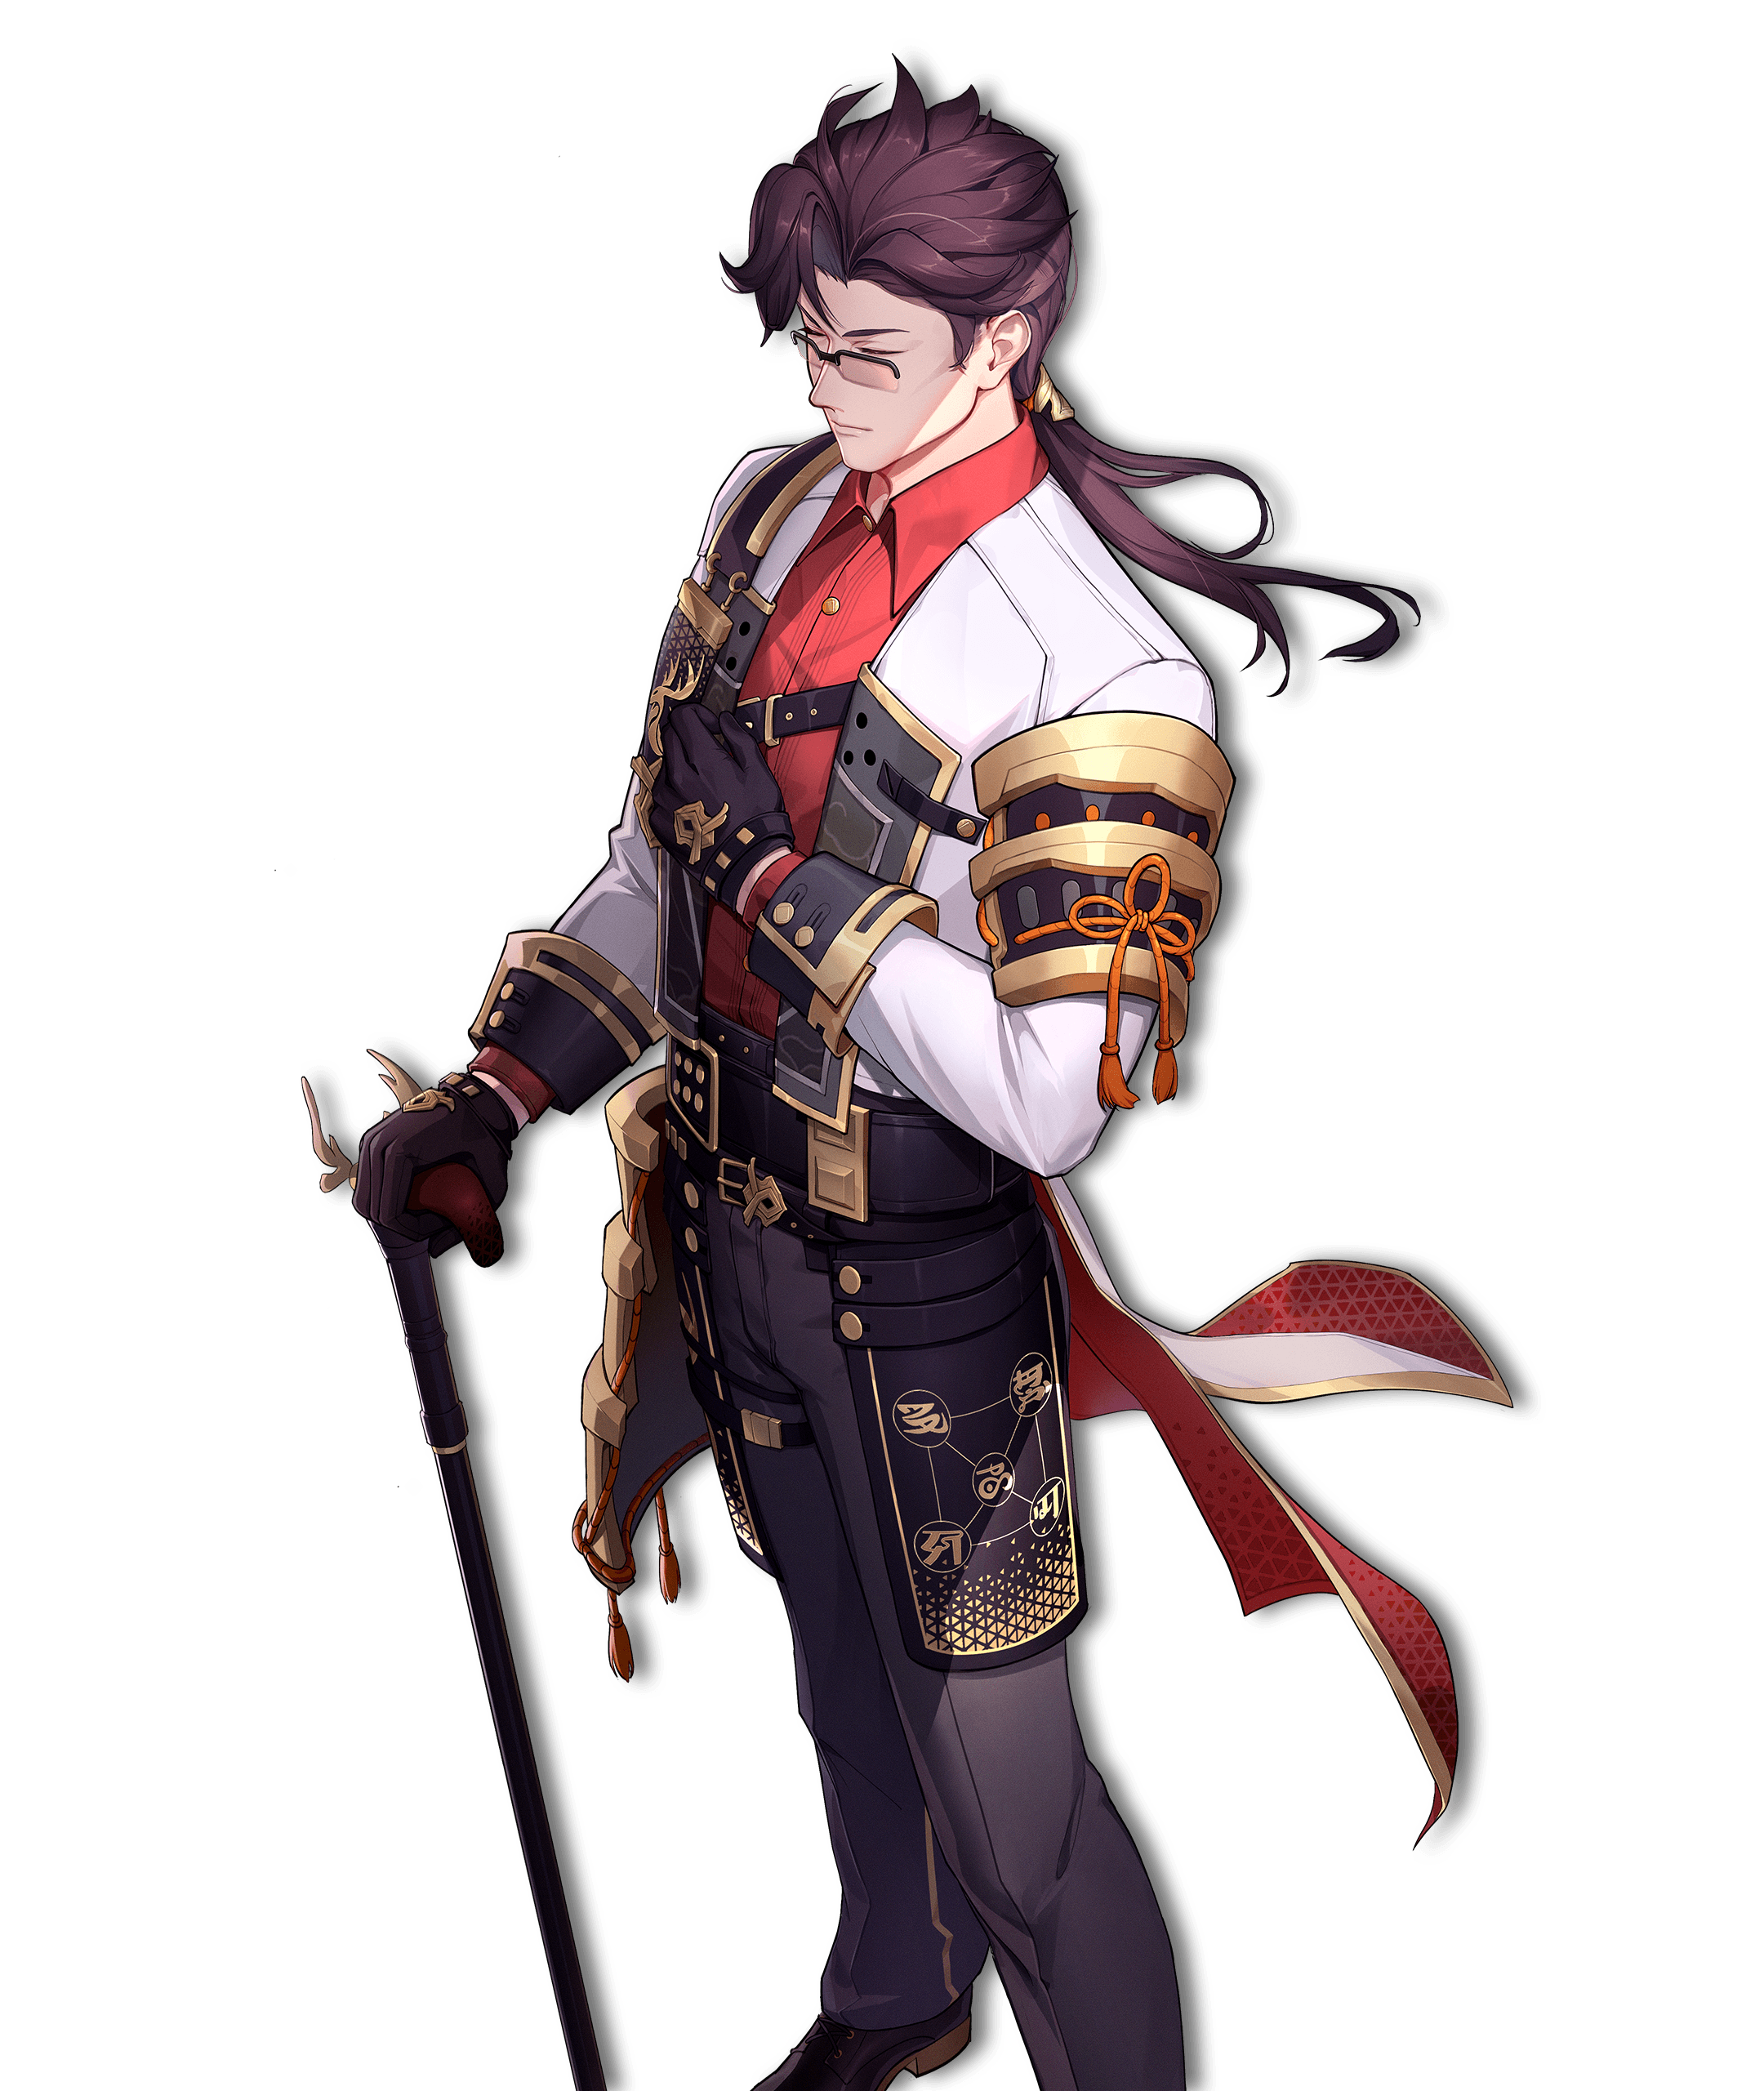
Your roster needs an Incantation Support more than another Psyche Support.

You want Aurelia's Polyphonic Round + Darkstar take on Psyche Support over Fadia's Pain Gives Way to Ecstasy + Damage Share.

Your roster needs a Cosmos Support more than another Psyche Support.
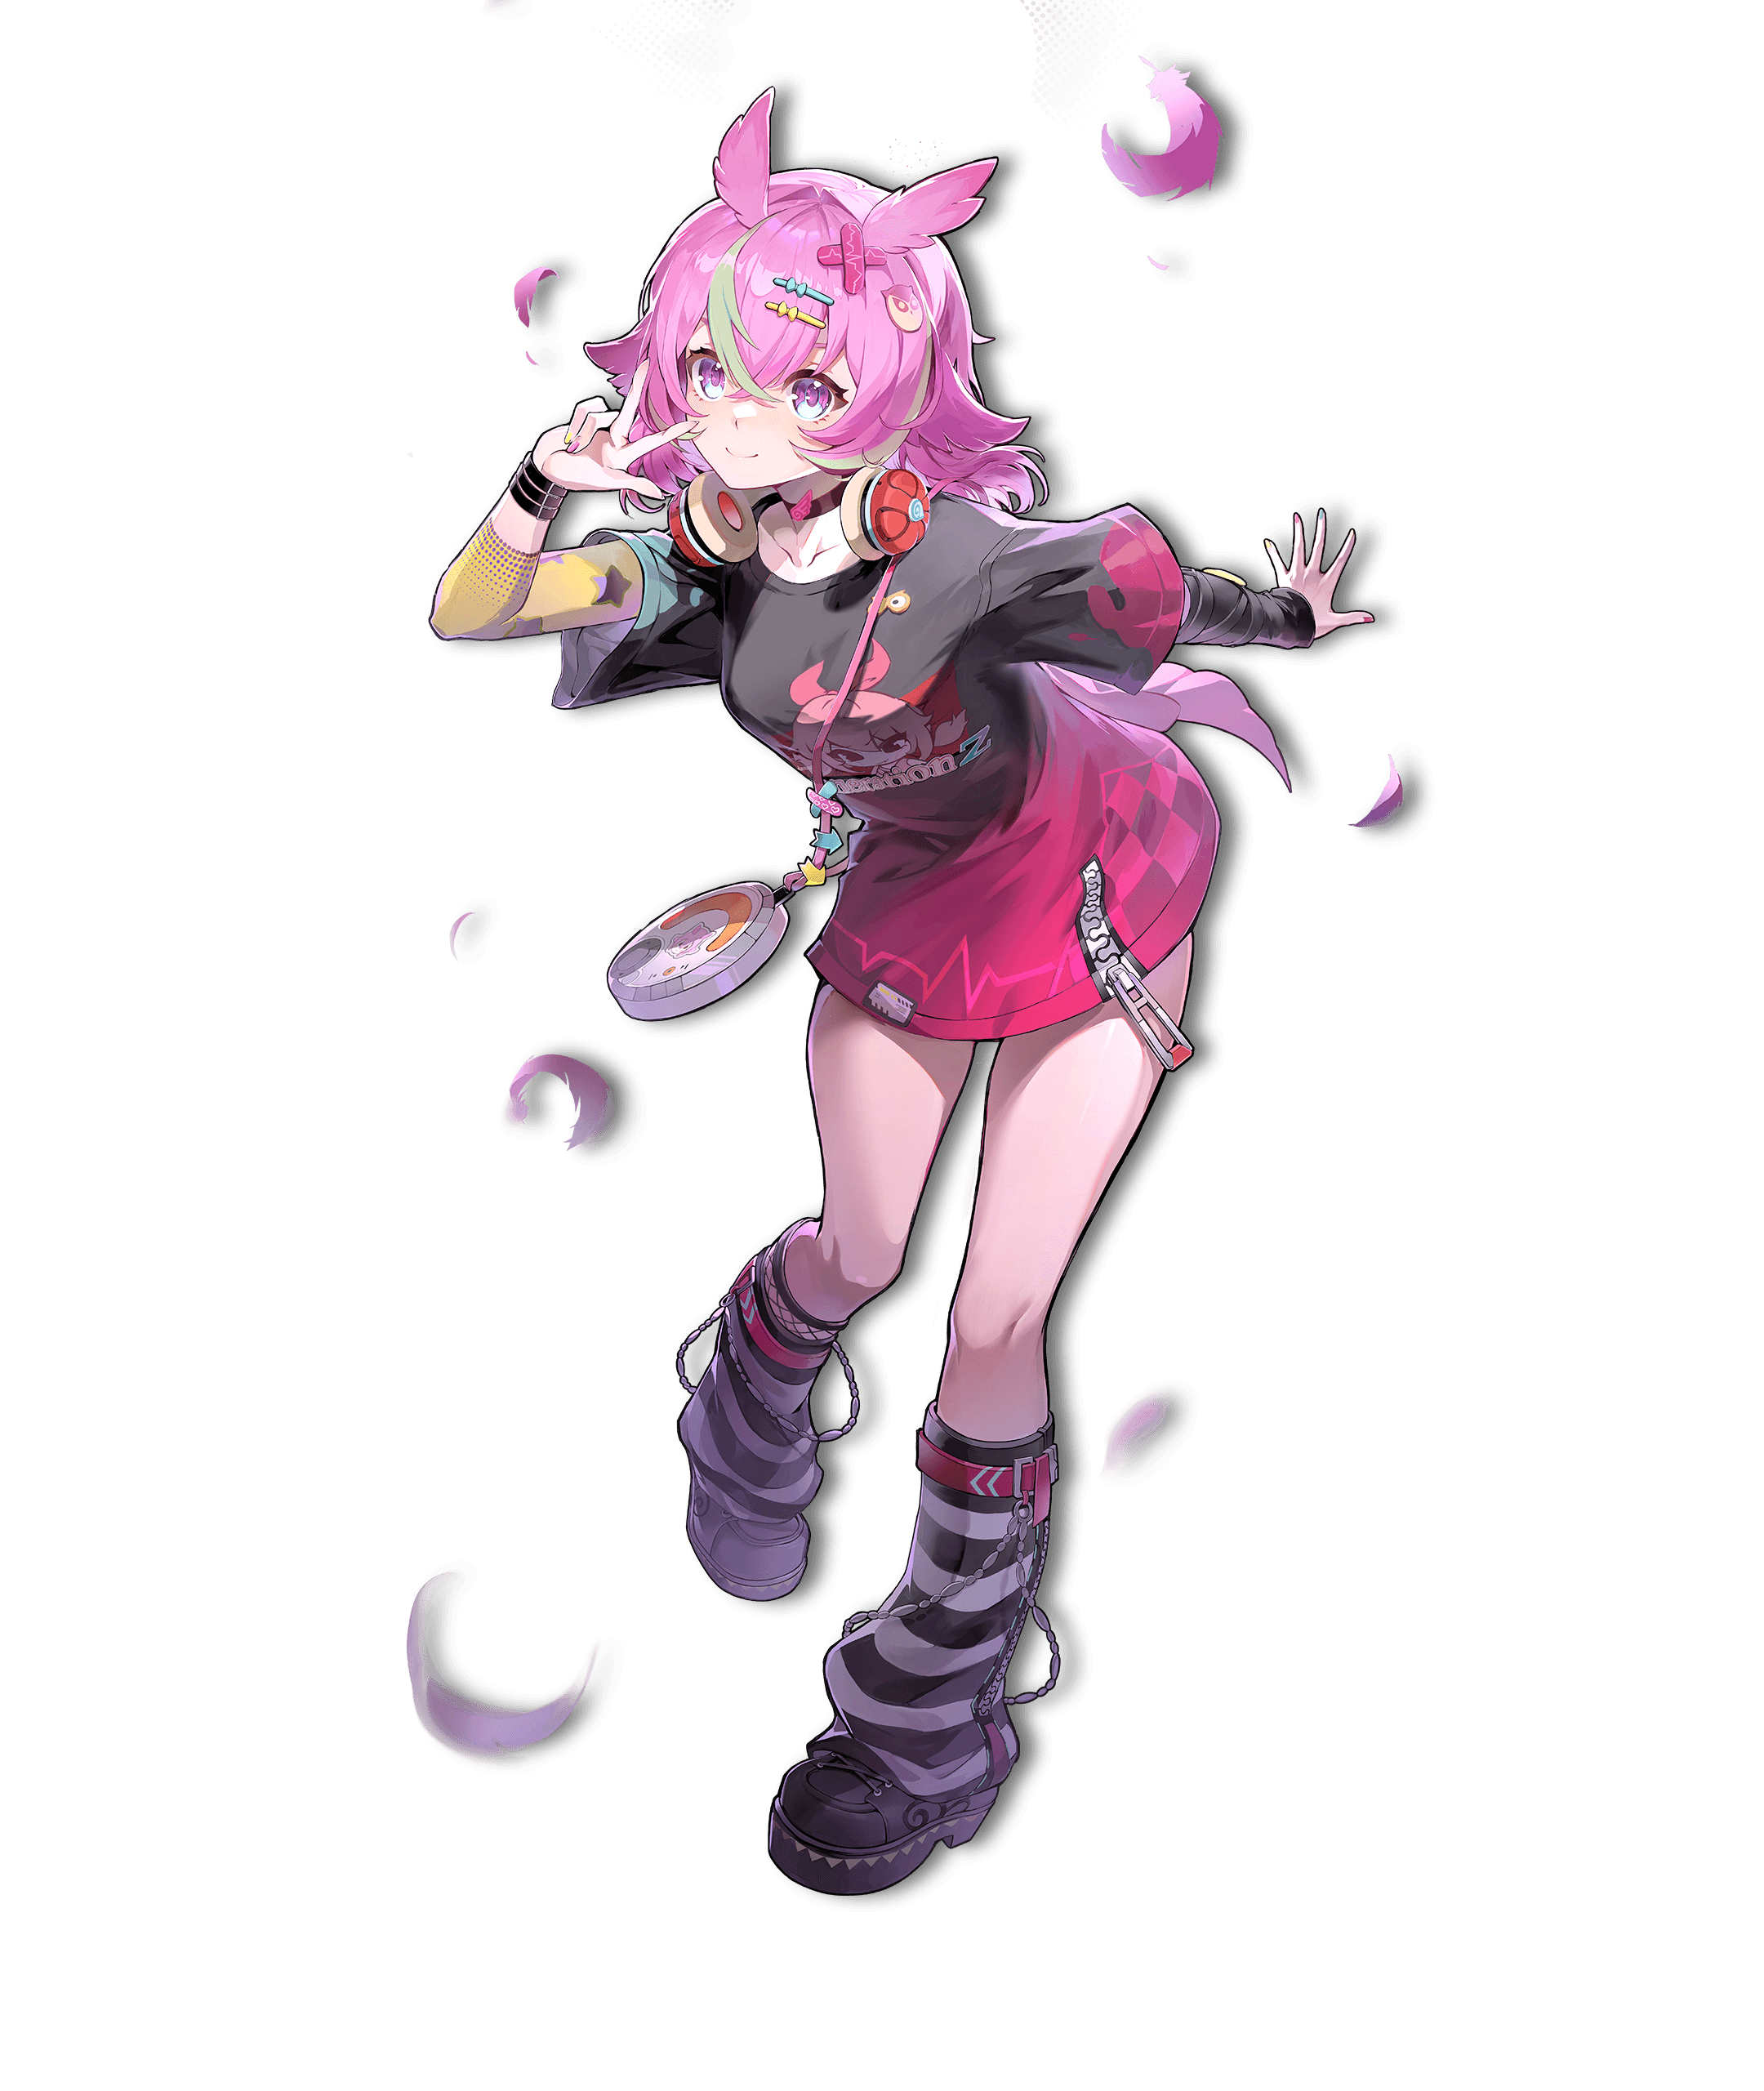
You want Haniel's A Melody Named Haniel + Summon take on Psyche Support over Fadia's Pain Gives Way to Ecstasy + Damage Share.

Your roster needs an Anima Support more than another Psyche Support.
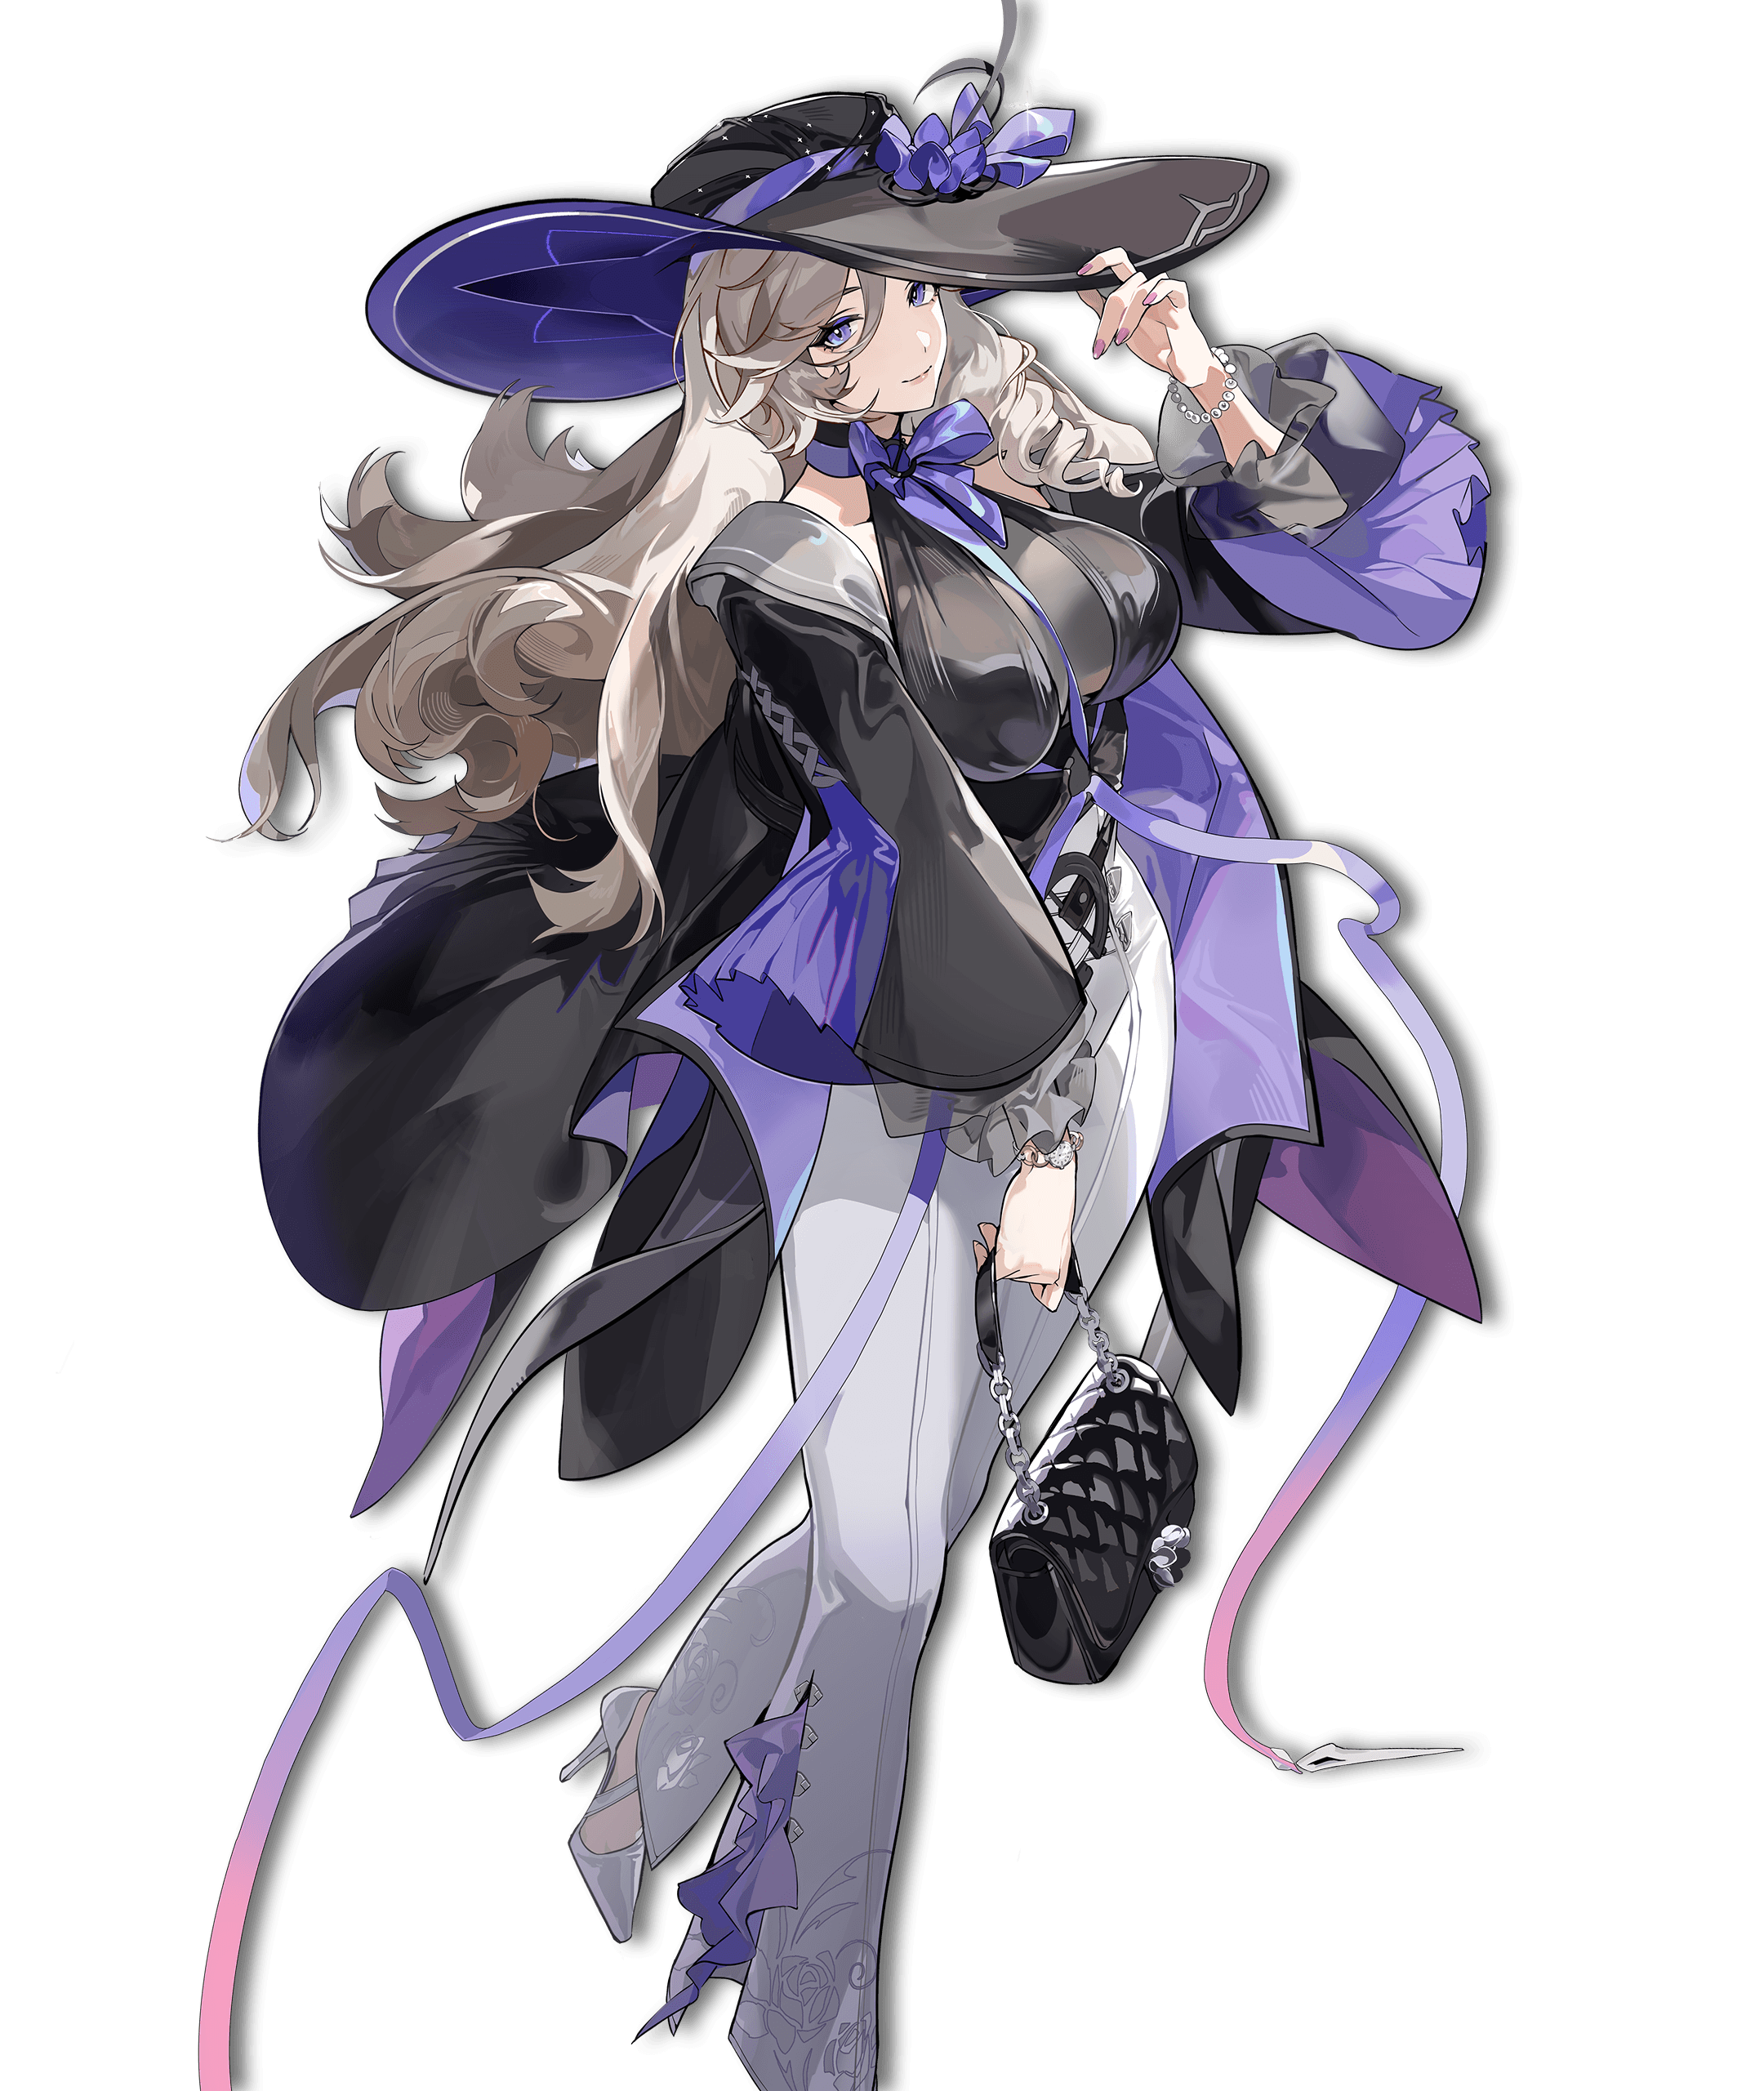
Your roster needs an Anima Support more than another Psyche Support.

Your roster needs an Incantation Support more than another Psyche Support.