
Daffodill
Eibon Antique Shop
Chaos stagger / shield-break specialist on the Standard Board. Worth a selector slot for Dissonance-style content; skip if you already own Lacrimosa as your Chaos carry.
Daffodill is an S-Rank Chaos unit from Eibon focused on stagger and shield pressure. Liquid Arc Chaos coverage without needing Lacrimosa’s DoT loop.
Overview
Quick Build
Arc
Youthful Fantasy
Best Liquid Arc for this kit.
Cartridge
Diabolos (4pc)
Primary endgame Cartridge set.
Main Stats
CRIT Rate / CRIT DMG · Chaos DMG · ATK%
Priority
Substats
CRIT Rate → CRIT DMG → ATK%
Farm order
Strengths
- Liquid Arc compatibility keeps gear shared with same-family characters.
- Chaos stagger and shield pressure on the Liquid Arc line.
Weaknesses
- Team comps above cover premium, alt, and budget shells — swap partners by what you own.
- Pull targets are editorial — weigh against your account needs and limited banner plans.
Skill Priority
Finale Chaos burst and stagger payoff — raise first.
Resonance Skill that builds into the finale window.
Still Water filler and shield pressure between Skills.
Sheath/cicada passives — fund after the damage trio.
Stat Priority
Basics / Skill to set up resources → Ultimate when ready → weave QTE on swap windows.
Exact timings vary by enemy and Arc — treat this as the intended loop, not a frame-perfect script.
Arcs
S-Rank · DEF
Increases Break Intensity by 60/67/74/81/88. Seals Arc: Black Tome with two chains by default. Unleashes 1 chain each time any character on the team casts a Support Skill. Makes Arc: Black Tome available when all two chains are unleashed. Arc: Black Tome — Summons the Black Tome for 20s. Designates an enemy every 5s. Increases the wearer's Chaos DMG dealt to designated enemies by 20/24/28/32/36%. Deals Chaos DMG equal to 2/2.3/2.6/2.9/3.2% of the wearer's ATK to designated enemies when they take Break Damage.
Best shared Liquid Arc for this kit.
S-Rank · ATK
Increases 5/6/7/8/9% ATK every 1s while the wearer is the active character, up to 5 stacks. Resets when the wearer leaves the field.
Competitive Liquid alternative when rank-1 is unavailable.
A-Rank · Break Intensity
Increases Break Intensity by 48/57/66/75/84. Increases DMG by 10/12/14/16/18% against Broken units.
Strong F2P / early Liquid stop while chasing S-Rank options.
A-Rank · Healing / HP
Increases Healing Bonus by 12/14/16/18/20% for 10s after the wearer casts a Redirect Skill. Effect does not stack.
Strong F2P / early Liquid stop while chasing S-Rank options.
A-Rank · ATK
Increases Anima DMG dealt by the wearer's Redirect Skill and Ultimate by 20/23.8/27.5/31.2/35%.
Strong F2P / early Liquid stop while chasing S-Rank options.
Cartridges
4pc · Cartridge + matching Modules
2pc: Chaos DMG +10%. / 4pc: Ignores 12% of enemies' Chaos Resistance. Ignores 24% of enemies' Chaos Resistance for 20s after the wearer participates in Nova or Scorch reactions.
Primary attribute set for Chaos damage — default 4pc for this kit.
4pc · Cartridge + matching Modules
2pc: ATK +10%. / 4pc: Increases wearer's ATK by 25% for 20s after casting a Skill.
ATK after Skill — best generalist while farming the attribute 4pc.
4pc · Cartridge + matching Modules
2pc: Charge Efficiency +12%. / 4pc: Increases all allies' ATK by 15% for 20s after the wearer casts Ultimate. Effect does not stack.
Charge Efficiency + team ATK on Ult — useful Ult-weaving kits.
4pc · Cartridge + matching Modules
2pc: ATK +10%. / 4pc: Increases wearer's ATK by 20% for 10s when Esper Cycle is triggered. CD: 20s.
Starter Cartridge — replace with an endgame 4pc ASAP.
Team Compositions



Daffodill scales with team Assists. Sakiri and Hotori provide Assist cadence; Lacrimosa adds Chaos DoT overlap; Iroi sustains.
Kit & Awakenings
Kit
Up to 5 Chaos dual-blade hits.
Damages the target. Each team Assist stacks Resonance (damage and Collapse value; max 2). At cap, Resonance upgrades to Echoing Response — a rope-blade assault for Chaos damage.
AoE Chaos damage and liberates the left eye — personal damage rises and enemies in range gain Insight. Unlocks Phantom Shift (2 charges; refreshed by this Ultimate).
Dissonance Enhancement: entering Dissonance also cuts the target’s Collapse cap by 10% for 30s (stacks to 20% of original). Phantom Shift damage +80%.
Blade slash for Chaos damage.
Awakenings
Each team Assist raises Skill: Resonance DMG amp to 100% and Break value to 250%.
Is it worth getting?
Worth taking if you already own them — early comfort / power stop.
If Phantom Transit fails to Critical Riposte, the final hit deals heavy DMG, generates Break, and fully charges Ultimate: See This Finale.
Is it worth getting?
Worth taking if you already own them — early comfort / power stop.
Insight is no longer removed on re-apply (except death / leave combat); stacks up to 2.
Is it worth getting?
Skip as a goal unless you are intentionally maxing vertical investment.
If the target Breaks during Insight, each Insight stack raises Daffodill’s bonus Break DMG by 15%.
Is it worth getting?
Pull if you want the mid vertical spike; skip as a hard goal otherwise.
If the target Breaks during Insight, each stack causes an extra Break DMG hit from Daffodill.
Is it worth getting?
Skip as a goal unless you are intentionally maxing vertical investment.
All of Daffodill’s DMG ignores 15% DEF.
Is it worth getting?
Skip as a goal unless you are intentionally maxing vertical investment.
A0 Daffodill is playable from the base kit. Awakenings add comfort and vertical damage — not a broken incomplete character. First stop: A2. Endgame target: A4.
Alternatives to Daffodill
Not sure Daffodill is right for you? Compare against other DPS Characters.

Your roster needs an Incantation DPS more than another Chaos DPS.

Your roster needs a Lakshana DPS more than another Chaos DPS.

Your roster needs a Cosmos DPS more than another Chaos DPS.
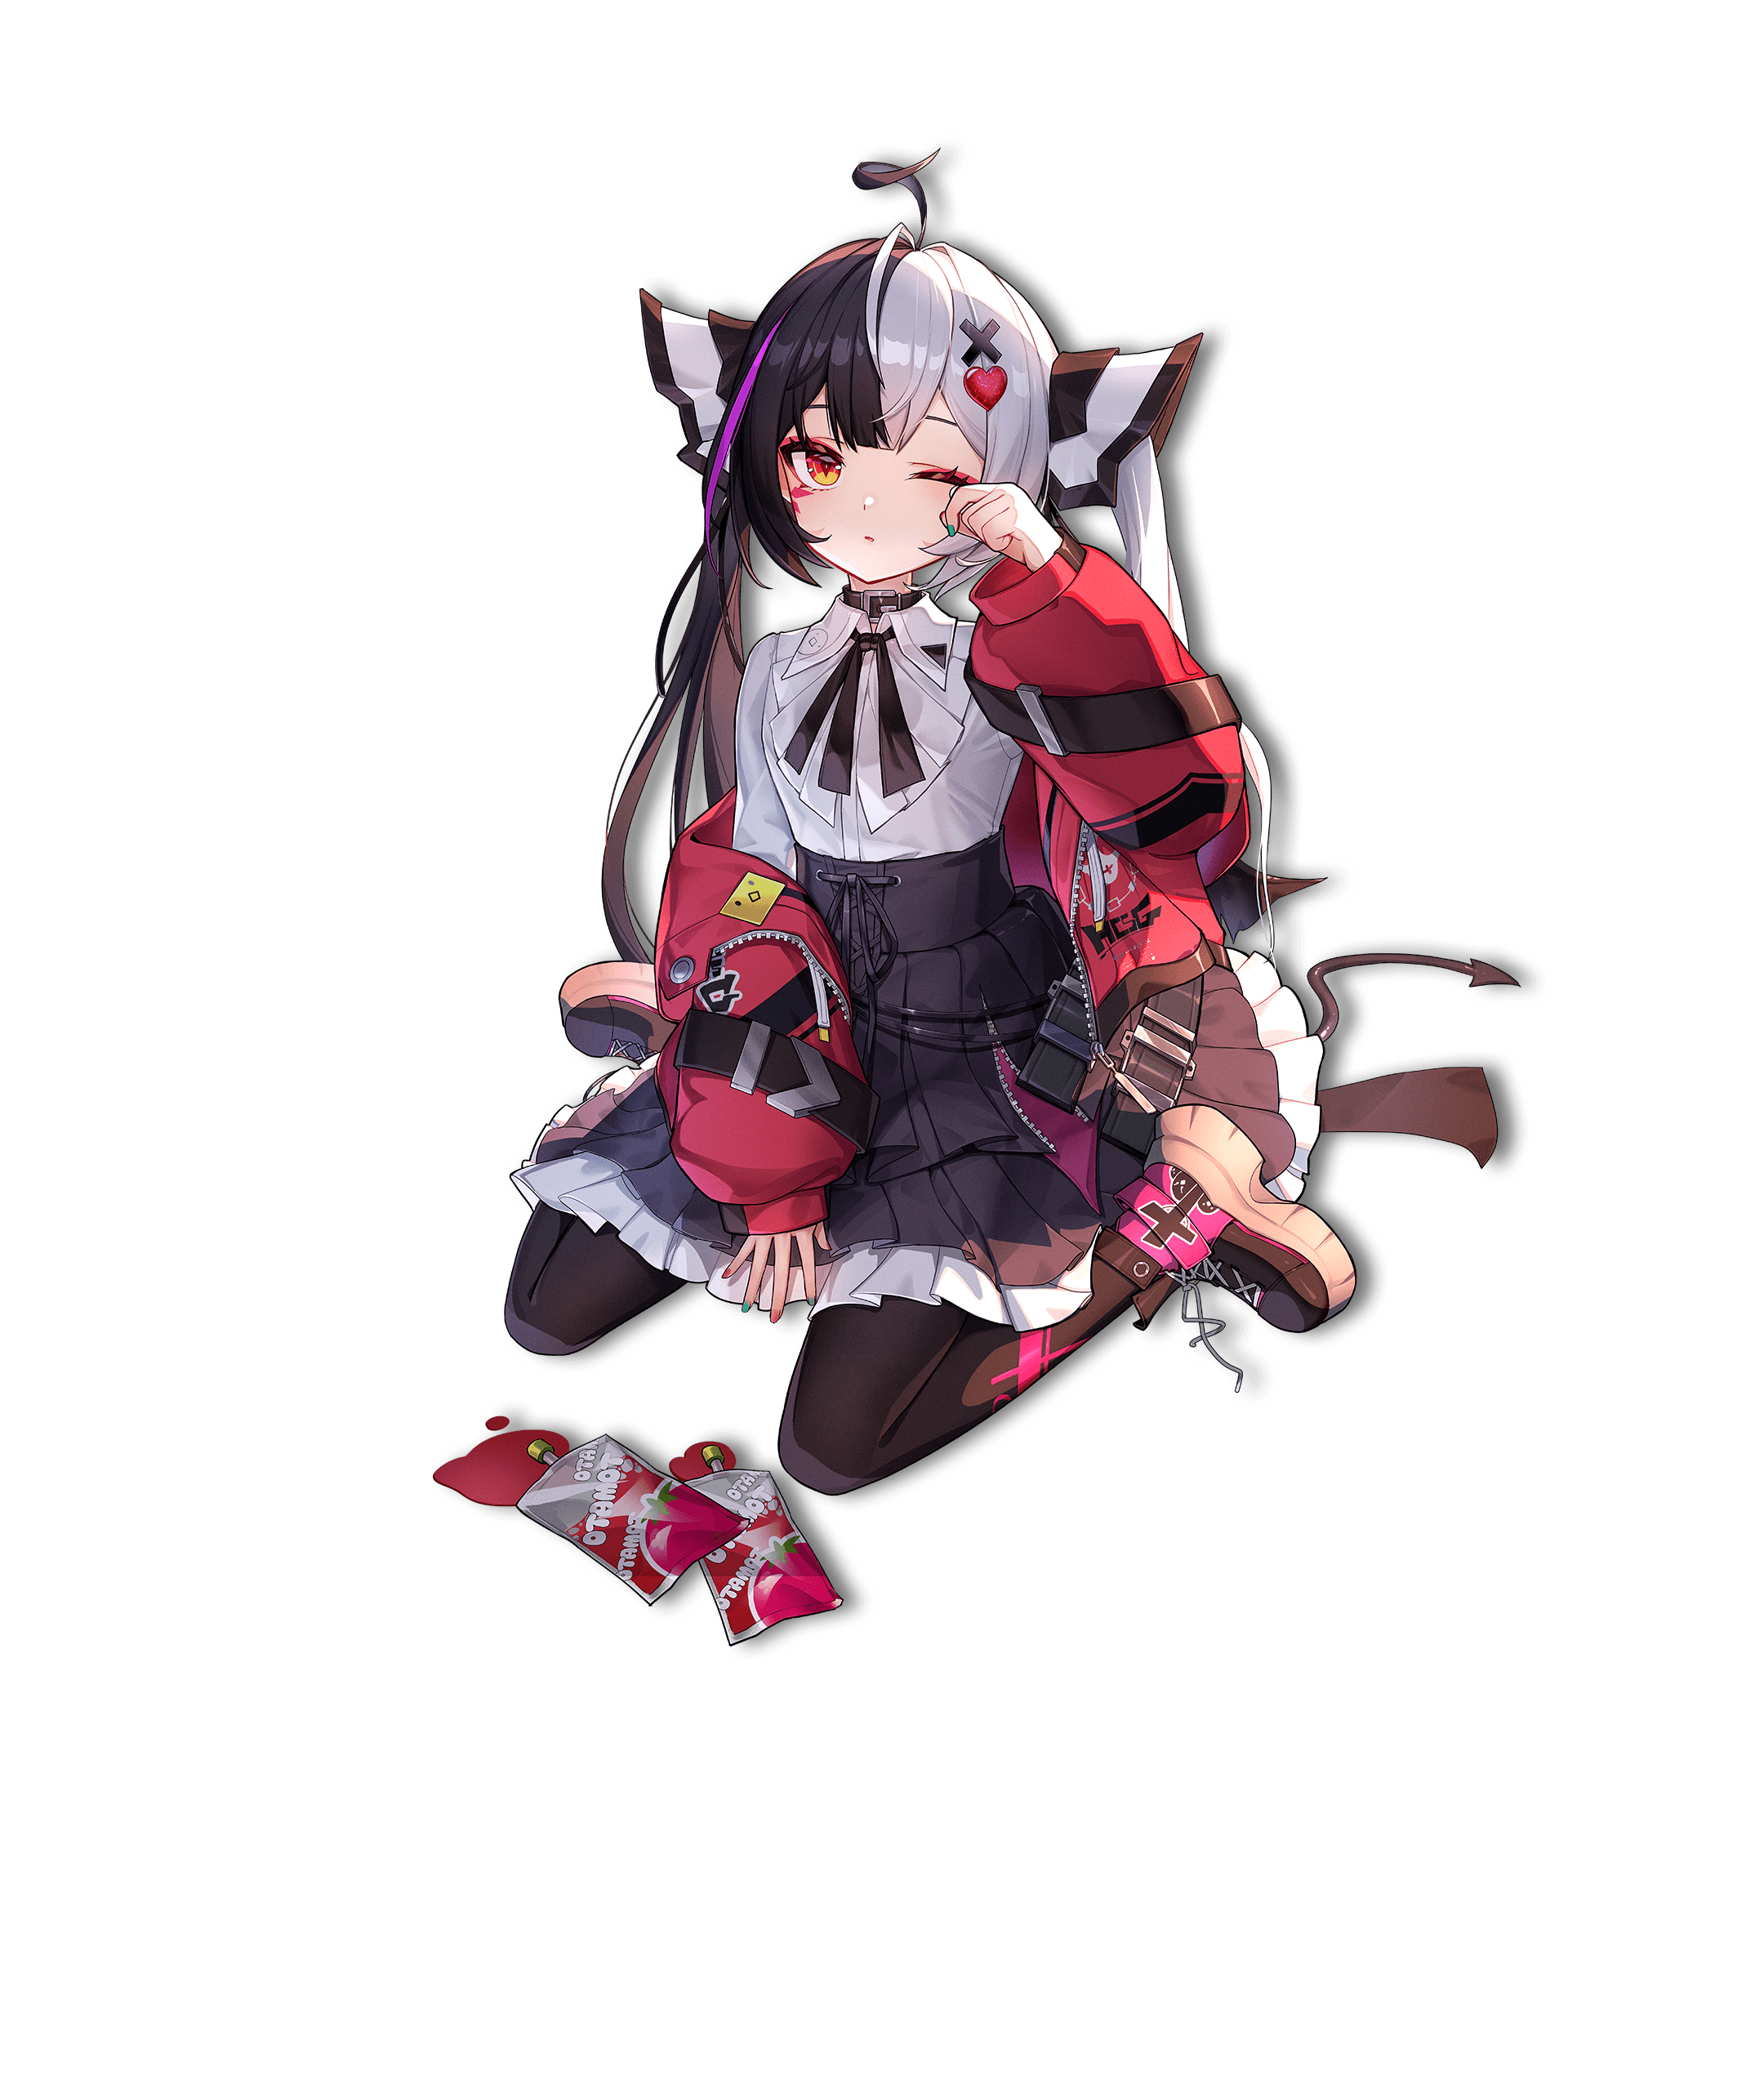
You want Lacrimosa's Weekday Final Judgment + Nightmare take on Chaos DPS over Daffodill's Witness This Finale + Assist Synergy.

Your roster needs an Anima DPS more than another Chaos DPS.

Your roster needs an Anima DPS more than another Chaos DPS.

Your roster needs a Cosmos DPS more than another Chaos DPS.

Your roster needs a Lakshana DPS more than another Chaos DPS.

Your roster needs a Cosmos DPS more than another Chaos DPS.

Your roster needs a Cosmos DPS more than another Chaos DPS.