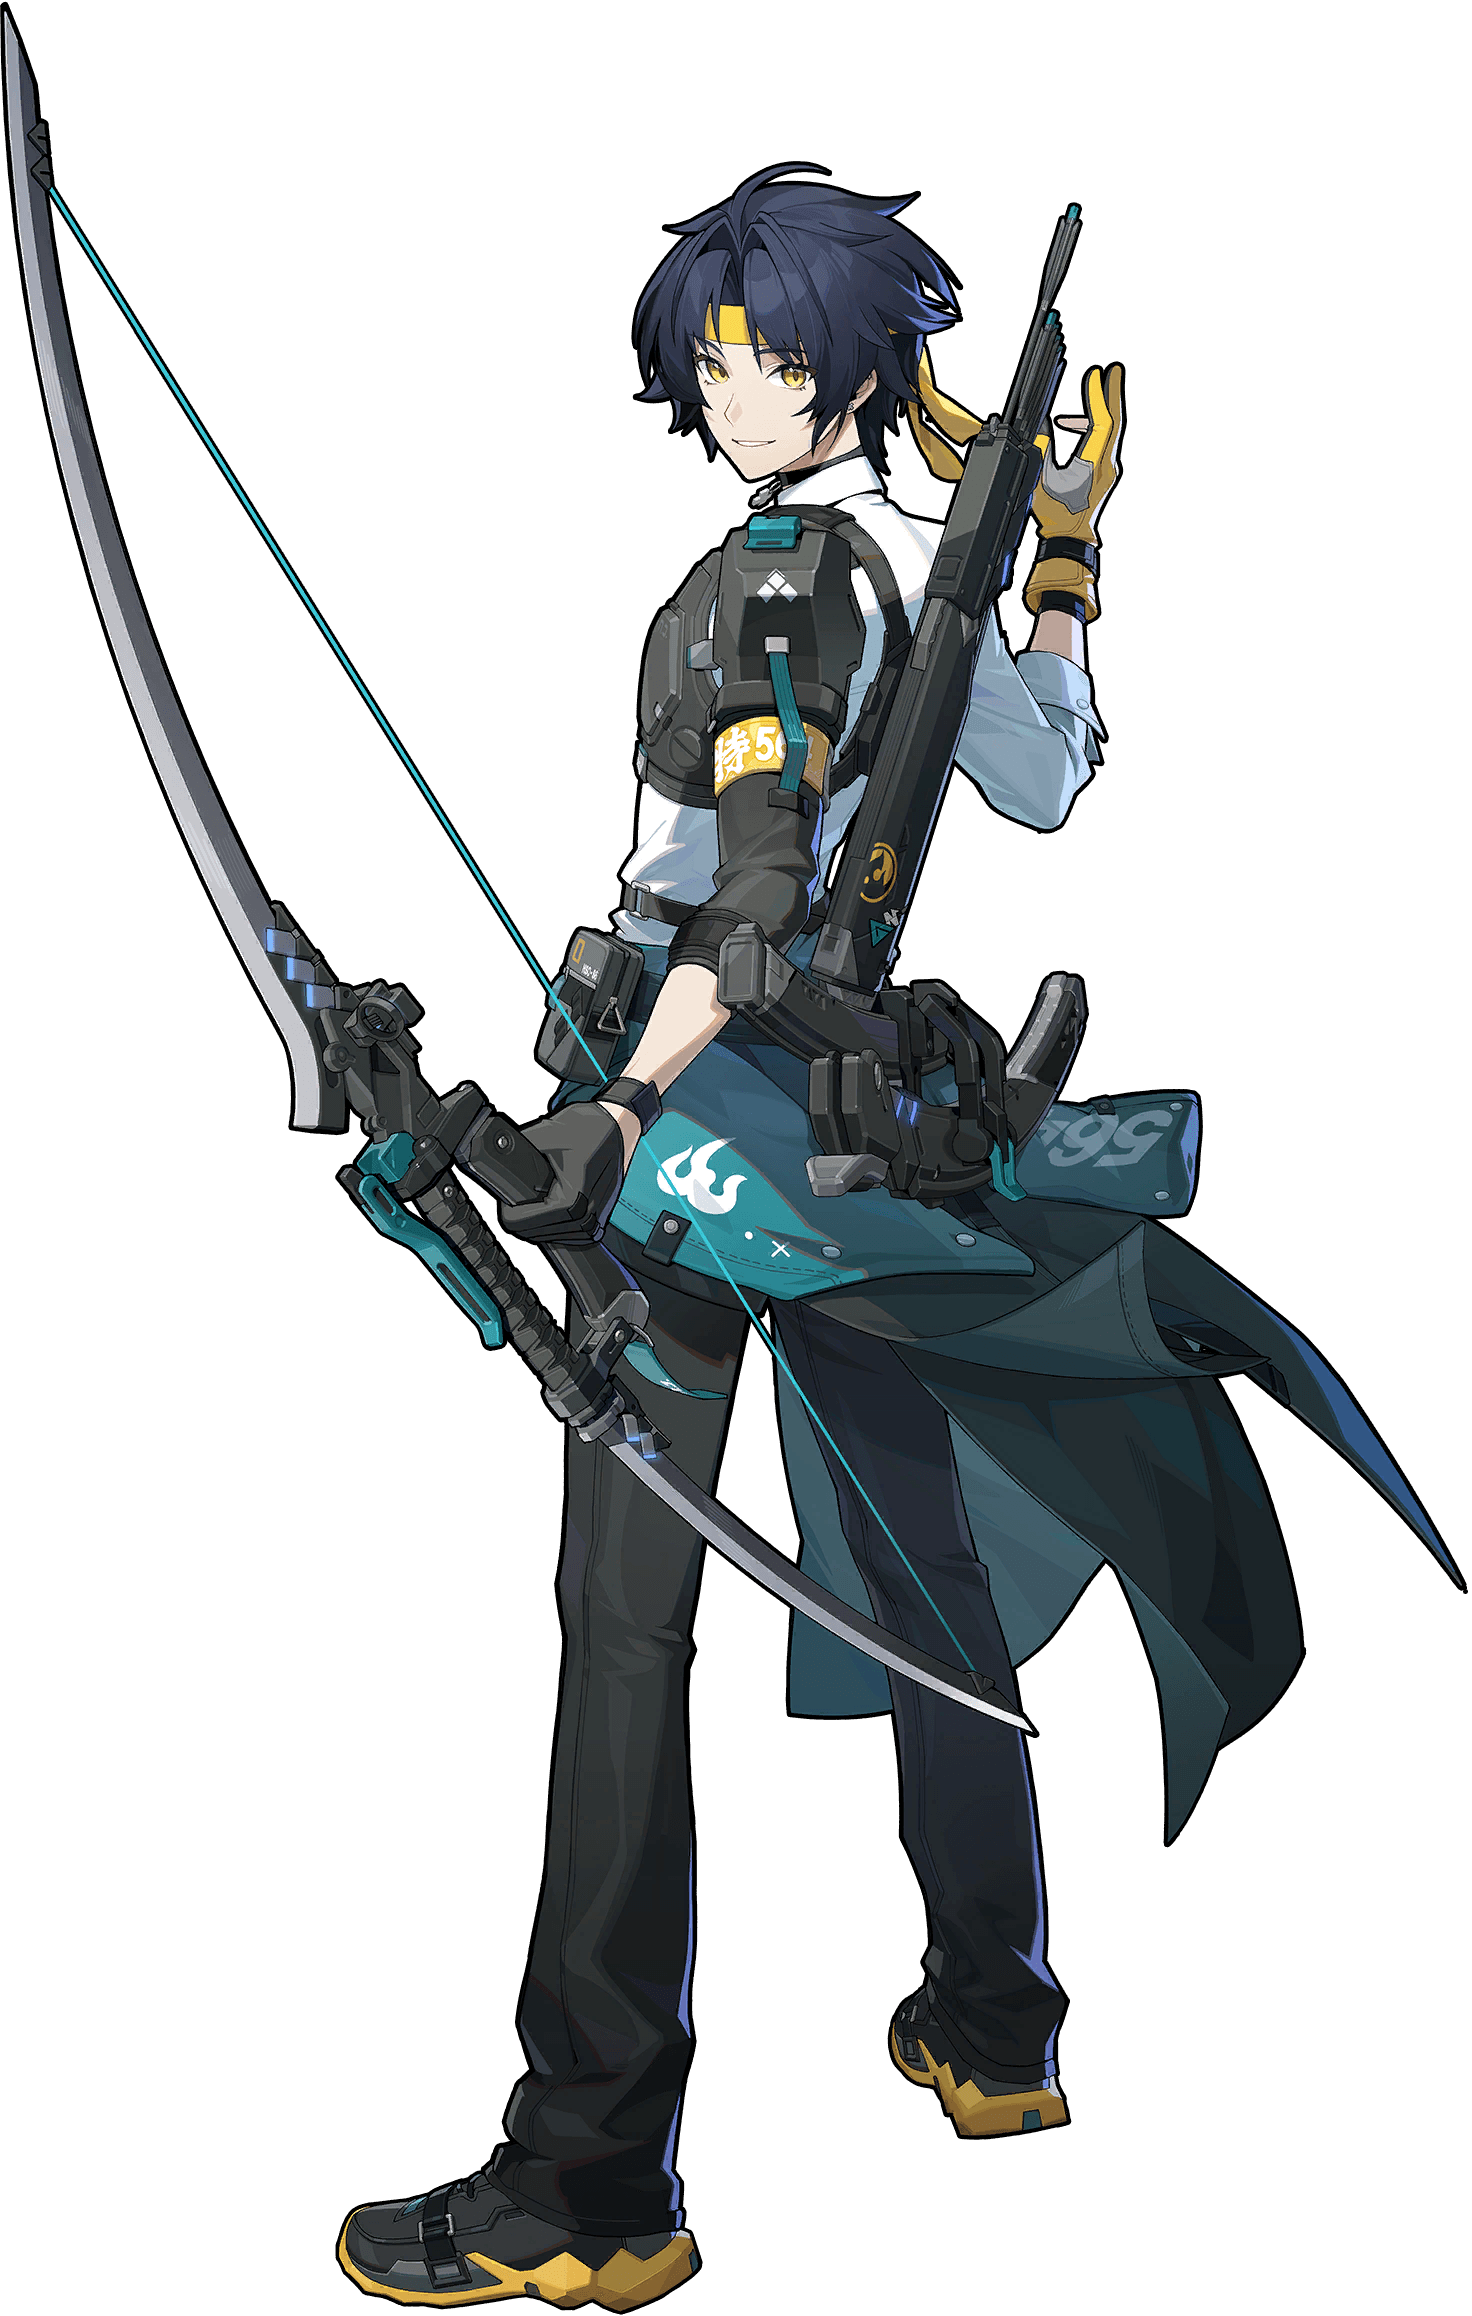
Harumasa
Harumasa is a top-tier Electric Attack unit with exceptional mobility and a high damage ceiling through his Awakened state mechanics. His ability to mark enemies and engage in repeated high-damage Dash attacks makes him a premier DPS choice for Section 6 teams.
Harumasa functions as a high-mobility attacker who utilizes Electro Quivers to apply Electro Prison stacks to enemies. By hitting these marked targets with his specialized Dash Attack, he enters an Awakened state to output significant Electric burst damage. The kit rewards strategic management of Quivers and precise timing of his dash-based offensive maneuvers.
Overview
Quick Build
W-Engine
Cordis Germina
S-rank — ATK, best in slot
Disk Set
Thunder Metal
4-PC · Best in slot
Disk 4
CRIT Rate%
Main stat
Disk 5
Electric DMG%
Main stat
Disk 6
ATK%
Substats
CRIT Rate >= CRIT DMG = ATK%
Strengths
- High invulnerability frames during Dash Attacks
- Strong burst damage via Awakened state
- Excellent synergy with Attribute Anomaly procs
- Anti-interrupt capabilities during key skills
- Flexible playstyle allowing for repositioning during offense
Weaknesses
- Requires constant stack management
- Dependent on X-Marked windows for optimal DPS
- Complex animation cancels required for peak performance
- Vulnerable when out of Awakened state
- Positioning can be challenging in chaotic encounters
Skill Priority
Primary damage source.
EX delivers strong damage.
Chain burst.
Passive enhancement.
Negligible.
Stat Priority
Start with Trigger/Sunna to build Attribute Anomalies, then rotate to Harumasa for the EX/Dash Attack loop.
Focus on keeping the X-Mark active by cycling through basic attack stacks before launching into the Dash Slash.
Review and adjust rotations based on your specific team composition.
W-Engines
S-Rank W-Engines
CRIT Rate
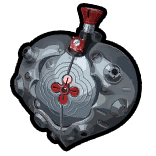
Increases CRIT Rate by 15/17/19/21/23%. When the equipper deals DMG with a Basic Attack or EX Special Attack, they gain 1 stack of a buff. Each stack increases the equipper's Electric DMG by 12.5/14.5/16.5/18.5/20%, up to 2 stacks. Each stack lasts 40s. The duration of each stack is calculated separately. Can trigger once per use of a skill. At 2 stacks, the wearer's Basic Attack and Ultimate DMG ignore 20/23/26/29/32% of enemy DEF.
Why it works —Cordis Germina offers superior CRIT Rate and significant Electric DMG buffs that align perfectly with his basic and EX attack loop.
CRIT Rate
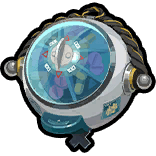
CRIT Rate increases by 10/11.5/13/14.5/16%. Dash Attack Electric DMG increases by 40/46/52/58/64%. When any squad member applies an Attribute Anomaly or Stuns an enemy, the equipper's CRIT Rate increases by an additional 10/11.5/13/14.5/16% for 15s.
Why it works —Zanshin Herb Case specifically amplifies his Dash Attack DMG, which is core to his primary damage output.
ATK%
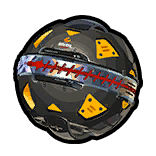
Upon hitting an enemy with a Basic Attack, Dash Attack, or Dodge Counter, the equipper's ATK increases by 3.5/4.4/5.2/6/7% for 8s, stacking up to 8 times. This effect can trigger once every 0.5s. The duration of each stack is calculated separately.
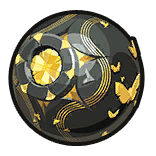
CRIT Rate
CRIT DMG increases by 50/57.5/65/72.5/80%. When the equipper enters the battlefield, or activates a Chain Attack or Ultimate, they gain 1 stack of Heartstring. Each stack of Heartstring allows the equipper's Chain Attack and Ultimate to ignore 12.5/14.5/16.5/18.5/20% of the target's Fire RES, stacking up to 2 times and lasting 30s. Repeated triggers reset the duration.
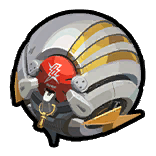
ATK%
CRIT DMG is increased by 30/34.5/39/43.5/48%. When the equipper lands a hit with a Basic Attack, Special Attack, or Aftershock, they gain 1 stack of a buff. Each stack increases the equipper's CRIT DMG by an additional 10/11.5/13/14.5/16%, stacking up to 3 times. The effect lasts for 30s, with each stack's duration calculated separately, and can only be triggered once per use of a skill. With all 3 stacks, the equipper's Electric DMG increases by 20/23/26/29/32%.
A-Rank W-Engines
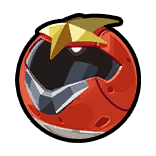
ATK%
Launching a Dodge Counter or Quick Assist increases the equipper's ATK by 12/13.8/15.6/17.4/19.2% for 12s.
Why it works —Starlight Engine provides a reliable ATK boost after dodges, remaining accessible for players not pulling for signature options.
Disk Drives

Disk 4
CRIT Rate%
Disk 5
Electric DMG%
Disk 6
ATK%
Disk 4
CRIT Rate%
Disk 5
Electric DMG%
Disk 6
ATK%
Team Compositions

Harumasa
DPS

Trigger
Stun

Rina
Support
Solid shell for Harumasa: Harumasa, Trigger, Rina. Keeps a clear stun / support / damage split around Harumasa.

Primary DPS — owns this squad's damage identity.

Opens stun windows for Harumasa's burst.

Buffs and enables Harumasa with low field time.
Skills & Mindscapes
Skills
Press or hold Basic Attack to activate: Launch up to five piercing attacks ahead, dealing Physical DMG and Electric DMG. When the 5th hit of the Basic Attack hits an enemy, it generates 2 Electro Quivers. After activating a Chain Attack, the next time Harumasa activates the 5th hit of Basic Attack: Cloud Piercer and hits an enemy with it, it generates 6 Electro Quivers.
During Basic Attack: Cloud Piercer, drag the stick/joystick and press Basic Attack to activate: Shoot a ranged piercing attack and reposition towards the corresponding drag direction, dealing Physical DMG.
After the 5th hit of Basic Attack: Cloud Piercer, a Special Attack, an EX Special Attack, or a Chain Attack, hold Special Attack to activate: Immediately shoot Falling Feather at enemies ahead, dealing Electric DMG. Hold Basic Attack to aim at a target and release Basic Attack to activate: After drawing the bowstring and aiming, shoot Falling Feather at the target, dealing Electric DMG.
When the 5th hit of Basic Attack: Cloud Piercer/EX Special Attack/Chain Attack hits an enemy or the ground, it can generate 2/6/6 Electro Quivers. If there are no Electro Quivers on the field when any squad member applies an Attribute Anomaly to an enemy, generate 6 Electro Quivers. This effect can trigger once every 12s. There can be up to 6 Electro Quivers present at a time. If there are any Electro Quivers present when Harumasa fires and hits enemies with Falling Feather, the Electro Quivers will activate and fire Ha-Oto no Ya at the enemies hit by Falling Feather, dealing Electric DMG. Ha-Oto no Ya will apply Electro Prison to enemies hit, stacking up to 8 times and lasting 10s, repeated triggers reset the duration. While a target has at least 2 stacks of Electro Prison, they will be X-Marked.
Press Dodge to activate. A quick dash dodge. Character is invulnerable while using this skill.
Press Basic Attack during a dodge to activate: Launch multiple piercing attacks ahead, dealing Physical DMG.
Press Basic Attack during a Perfect Dodge to activate. Pierces enemies in front, dealing Electric DMG. Character is invulnerable while using this skill.
While there are X-Marked enemies on the field, Harumasa will enter the Awakened state, switching Dash Attack: Hiten no Tsuru for Dash Attack: Hiten no Tsuru - Slash. While in the Awakened state, press Basic Attack during a dodge to activate: Rush forwards to the closest X-Marked enemy and execute a powerful slash, dealing Electric DMG. When the slash hits the target, it consumes 2 stacks of Electro Prison. With less than 2 stacks of Electro Prison, X-Marked will be removed from the enemy. Before X-Marked is removed, repeatedly press Basic Attack to repeatedly use Dash Attack: Hiten no Tsuru - Slash. While no X-Marked enemies exist on the field, Harumasa leaves the Awakened state. While in the Awakened state, press Basic Attack after Basic Attack: Falling Featherto quickly follow up with Dash Attack: Hiten no Tsuru - Slash. During skill activation, Anti-Interrupt level increases, and DMG taken is reduced by 40%.
Press Special Attack to activate. Launch an arrow forward, dealing Electric DMG. Anti-Interrupt level is increased while using this skill.
With enough energy, press Special Attack to activate: Launch daggers and an enhanced arrow ahead, dealing massive Electric DMG. When the enhanced arrow hits an enemy or the ground, it generates 6 Electro Quivers. Character is invulnerable while using this skill
Mindscapes
The maximum stack limit of Electro Prison from Basic Attack: Ha-Oto no Ya increases to **14** stacks. When an Electro Quiver is triggered, **2** consecutive Ha-Oto no Ya will be fired at the target.
Is it worth getting?
Greatly improves stack generation and consistency for his primary loop.
When using an Chain Attack or Ultimate, Harumasa gains **7** stacks of Electro Blitz, up to a max of **7** stacks. While possessing Electro Blitz, the DMG of Dash Attack: Hiten no Tsuru - Slash increases by **50%**. Consume **1** stack of Electro Blitz once Dash Attack: Hiten no Tsuru - Slash ends.
Is it worth getting?
Significant damage increase for Dash Attack mechanics.
Basic Attack, Assist, Dodge, Special Attack, and Chain Attack Lv. **+2**
Is it worth getting?
Skill-level bump only — fine on the path to higher Mindscapes, not a pull goal by itself.
Electro Prison now lasts for **20s**. When Dash Attack: Hiten no Tsuru - Slash hits enemies, Harumasa gains **30** Decibels once per use of this skill. Upon activating Ultimate, apply maximum stacks of Electro Prison to all on-field enemies.
Is it worth getting?
Useful tempo upgrade — smoother resources, stun windows, or rotation uptime.
Basic Attack, Assist, Dodge, Special Attack, and Chain Attack Lv. **+2**
Is it worth getting?
Skill-level bump only — fine on the path to higher Mindscapes, not a pull goal by itself.
After Ha-Oto no Ya hits Stunned enemies or enemies under Attribute Anomalies, Harumasa will ignore **15%** of the target's Electric RES for **12s**. Every **12** times an enemy is hit by Ha-Oto no Ya, trigger an extra electromagnetic explosion, dealing **1500%** of Harumasa's ATK to the target as Electric DMG.
Is it worth getting?
High investment, reserved for min-maxers.
Harumasa is viable and competitive at M0. First stop: M2. Endgame target: M2.
Alternatives to Harumasa
Not sure Harumasa is right for you? Compare against other Attack agents to find your best pull.
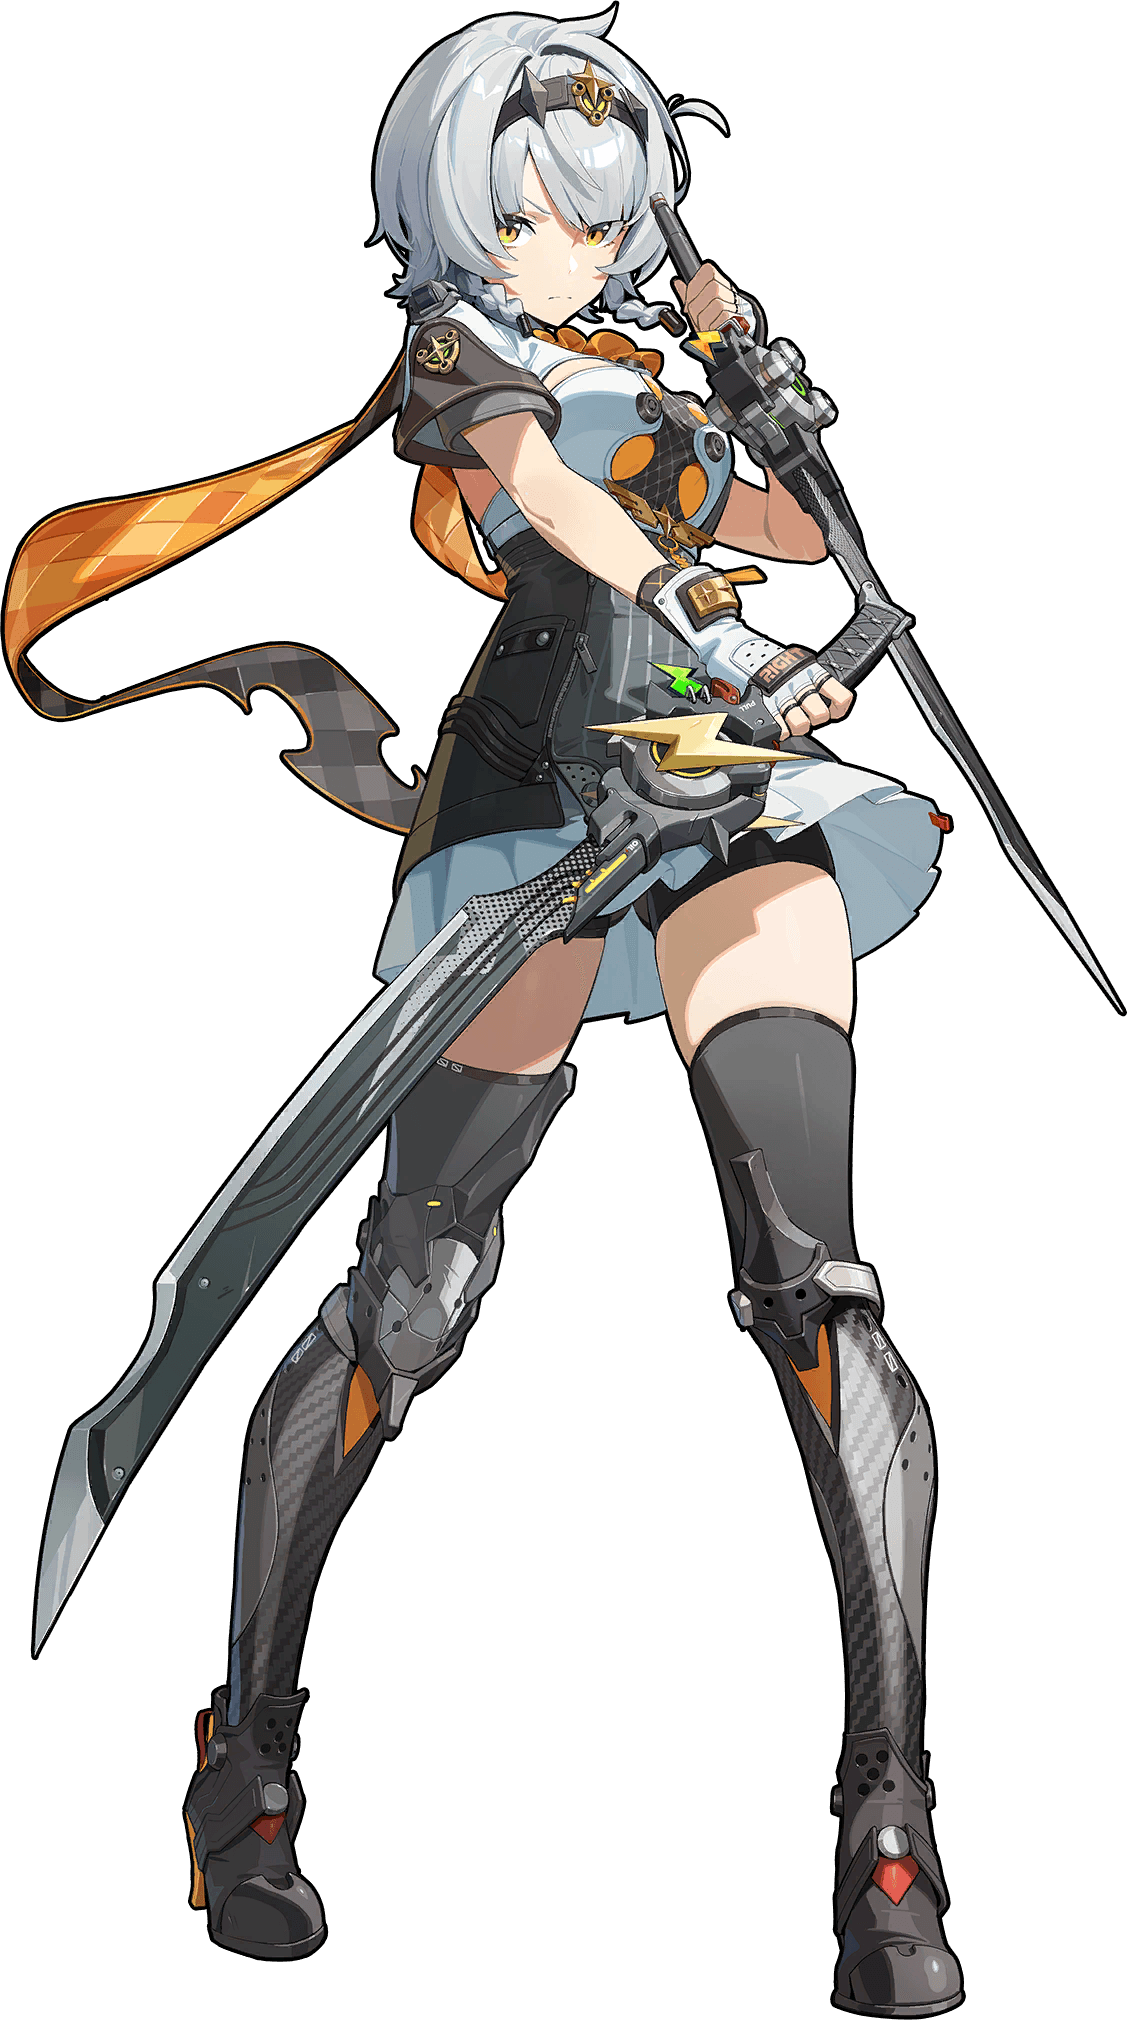
You need a Electric Attack agent and Anby: Soldier 0's kit matches your account gap.
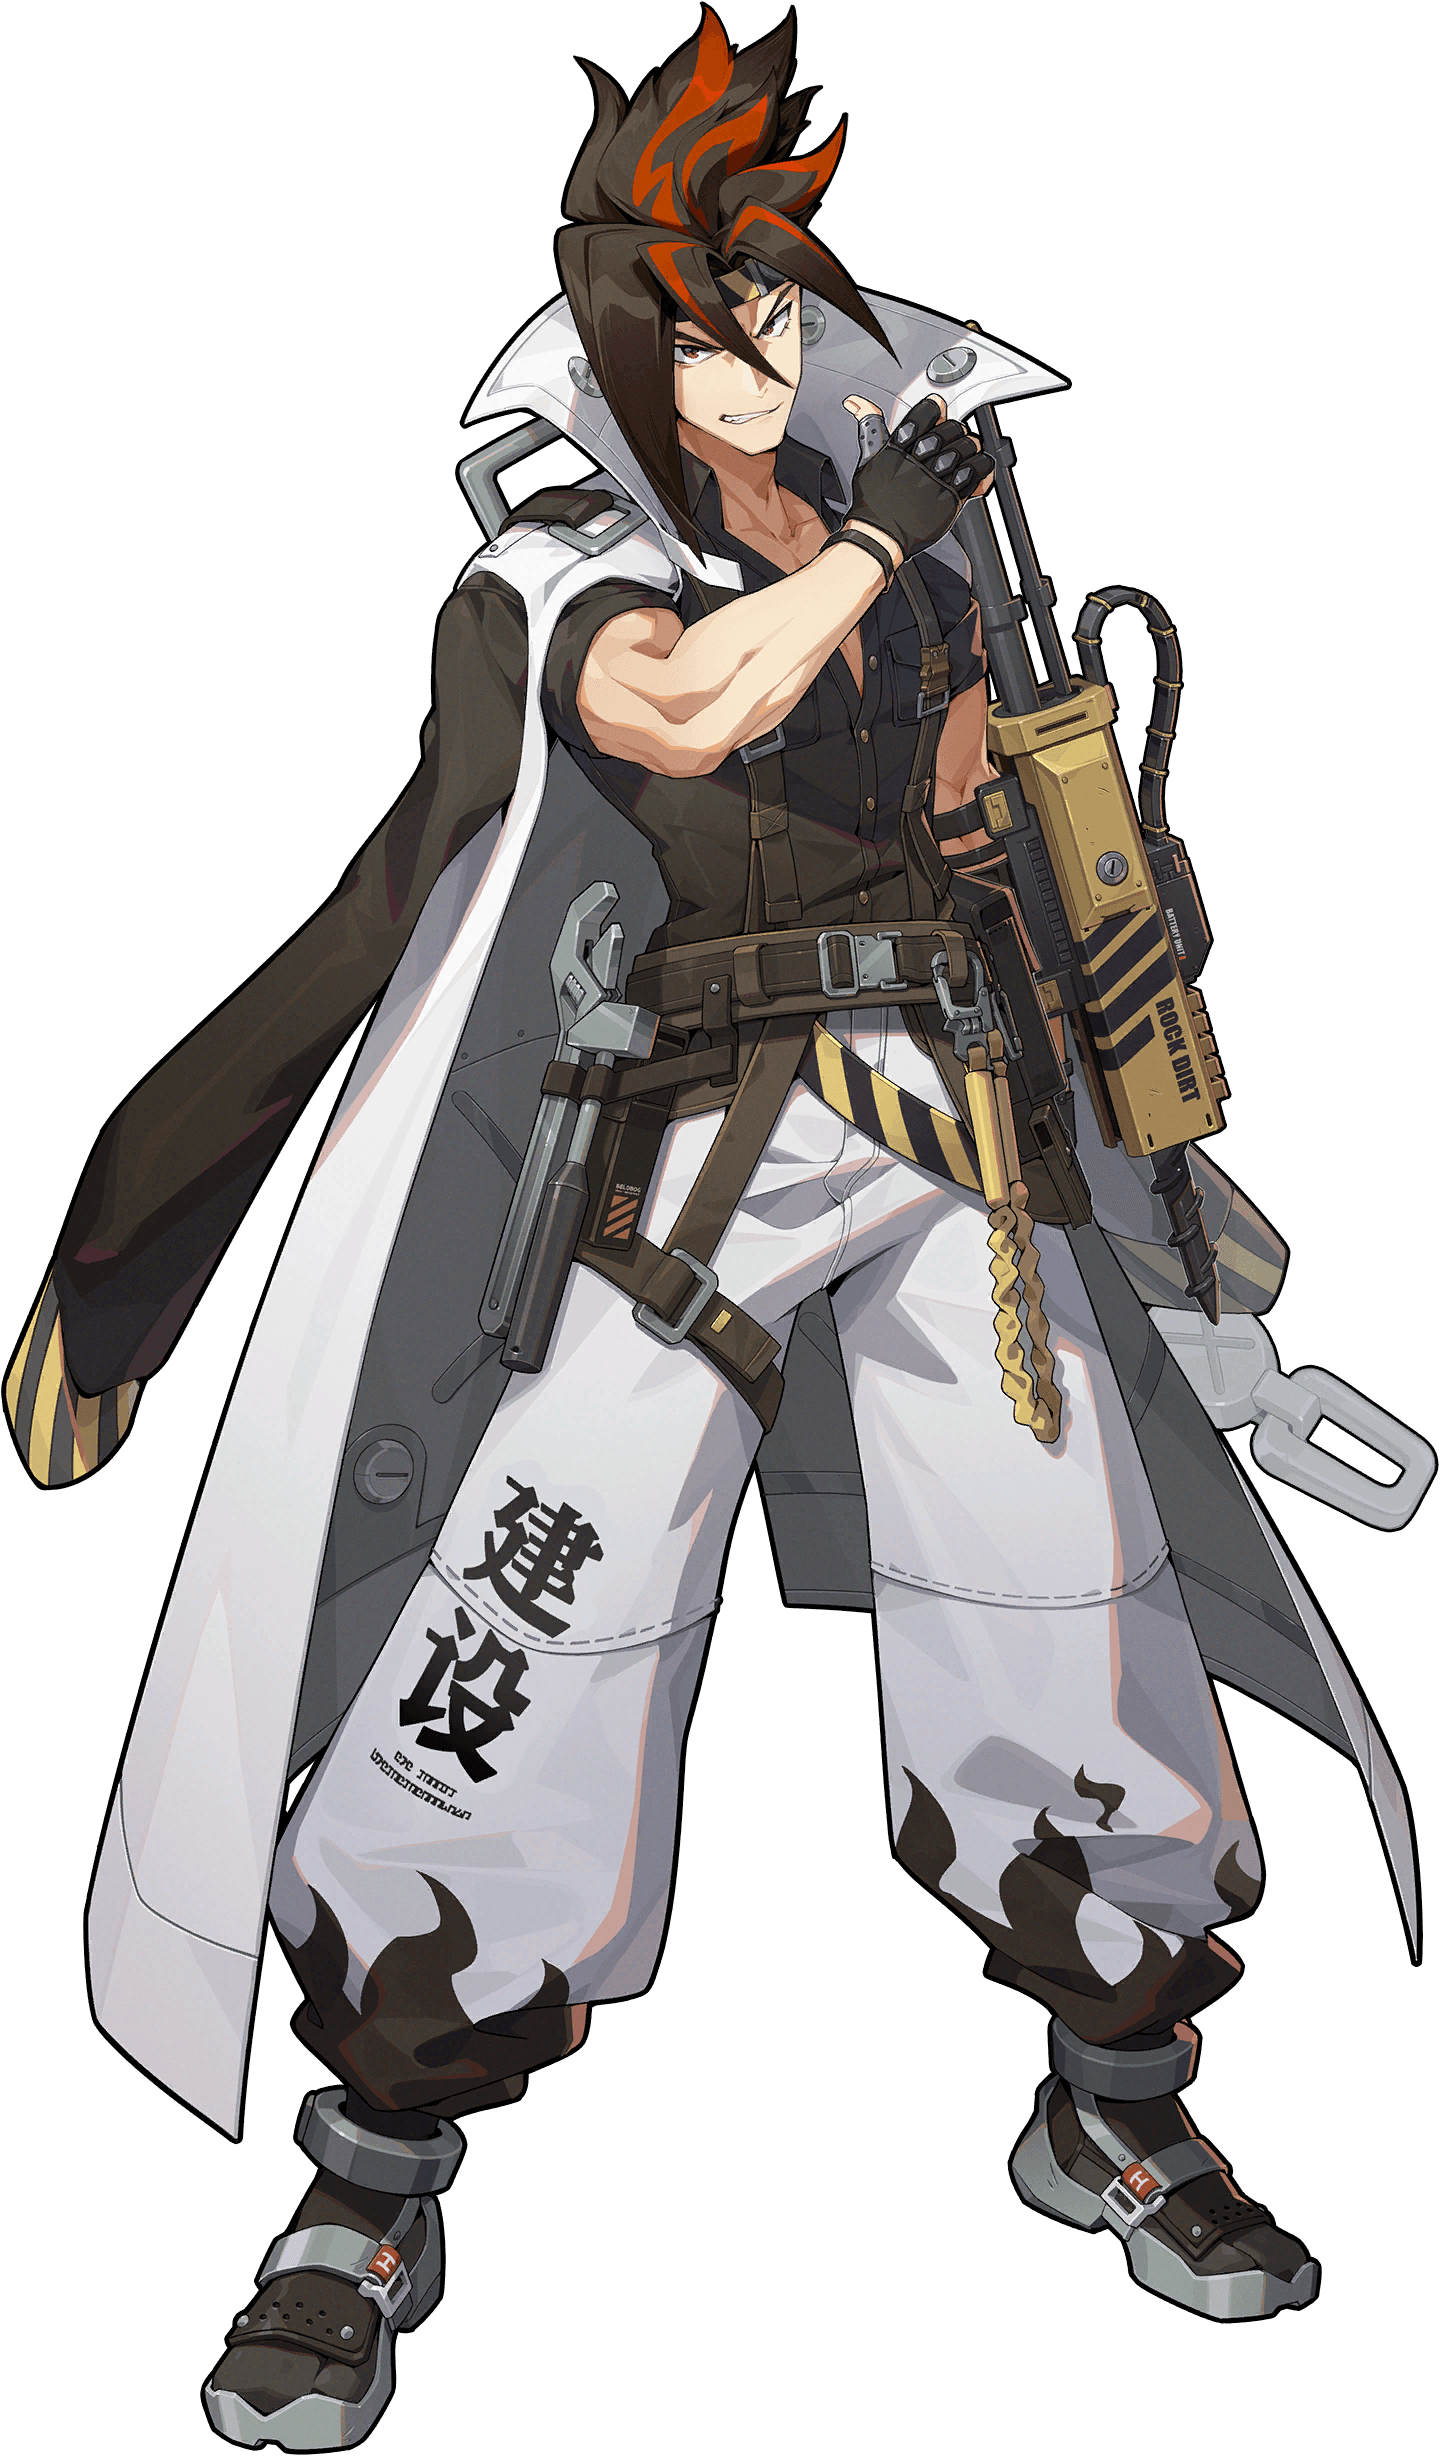
You need a Electric Attack agent and Anton's kit matches your account gap.

You need a Electric Attack agent and Cissia's kit matches your account gap.
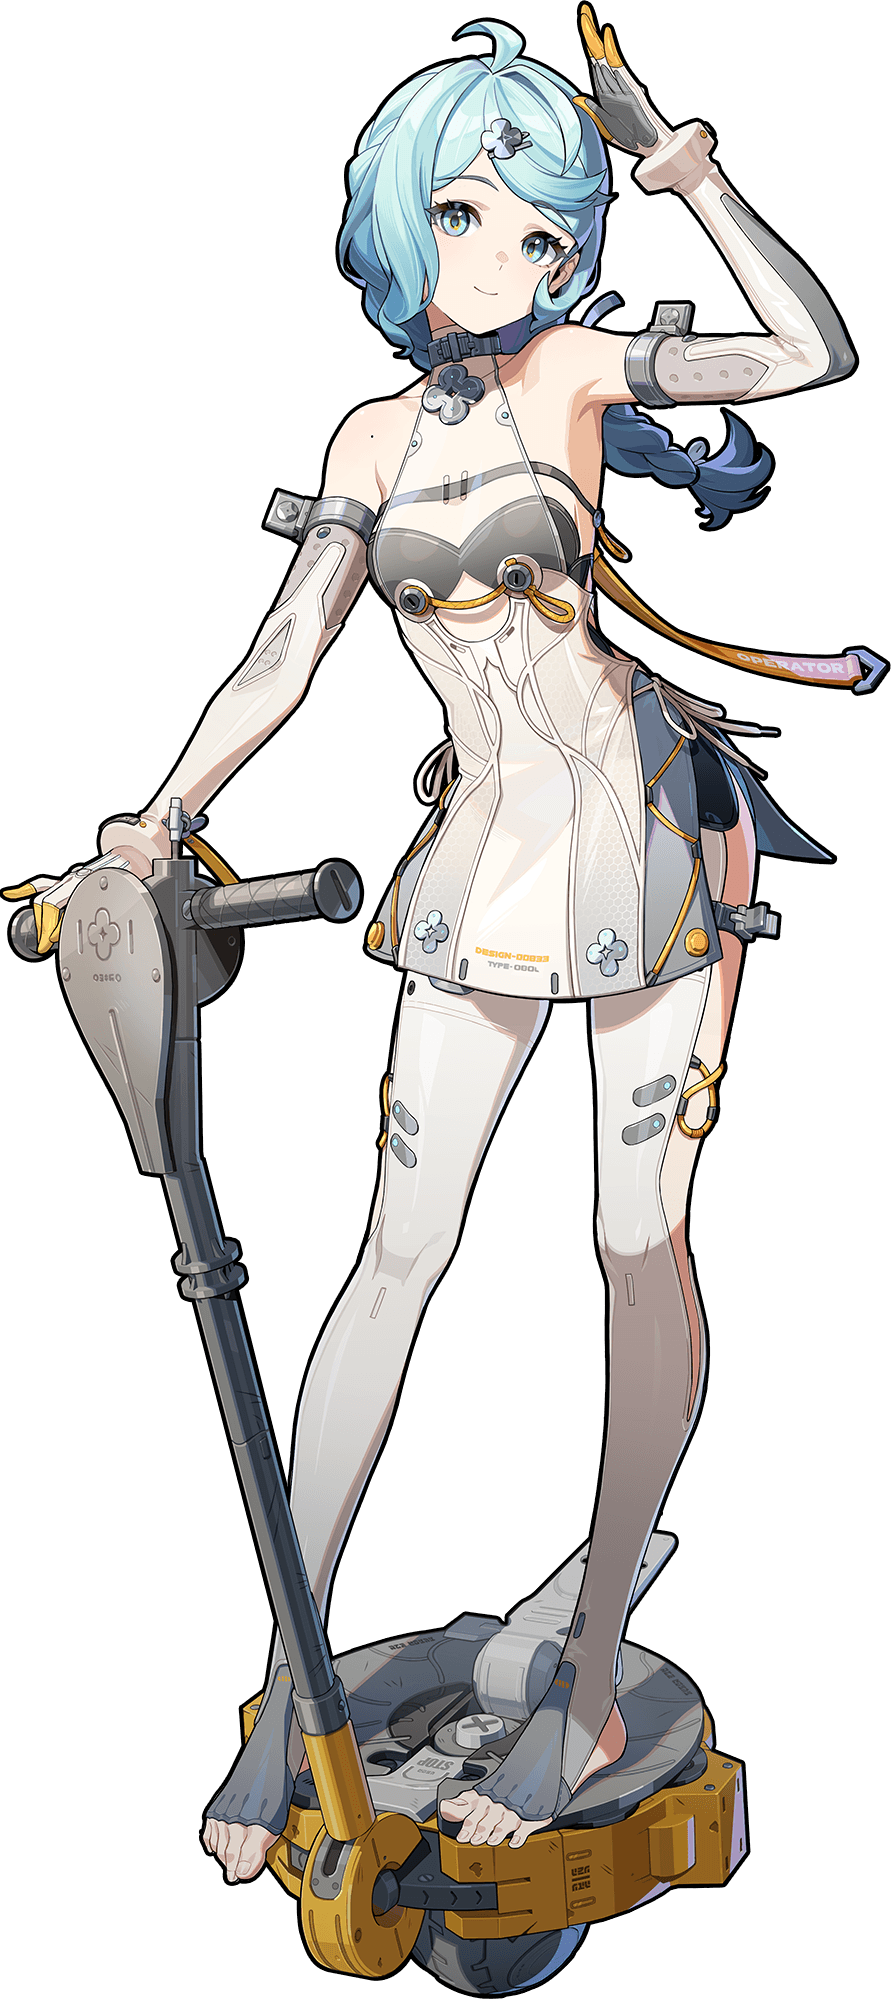
You need a Electric Attack agent and Seed's kit matches your account gap.
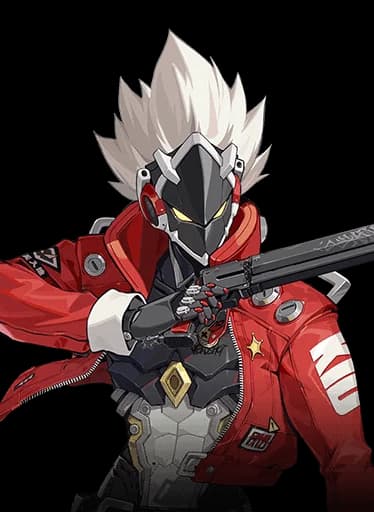
You need a Physical Attack agent and Billy's kit matches your account gap.
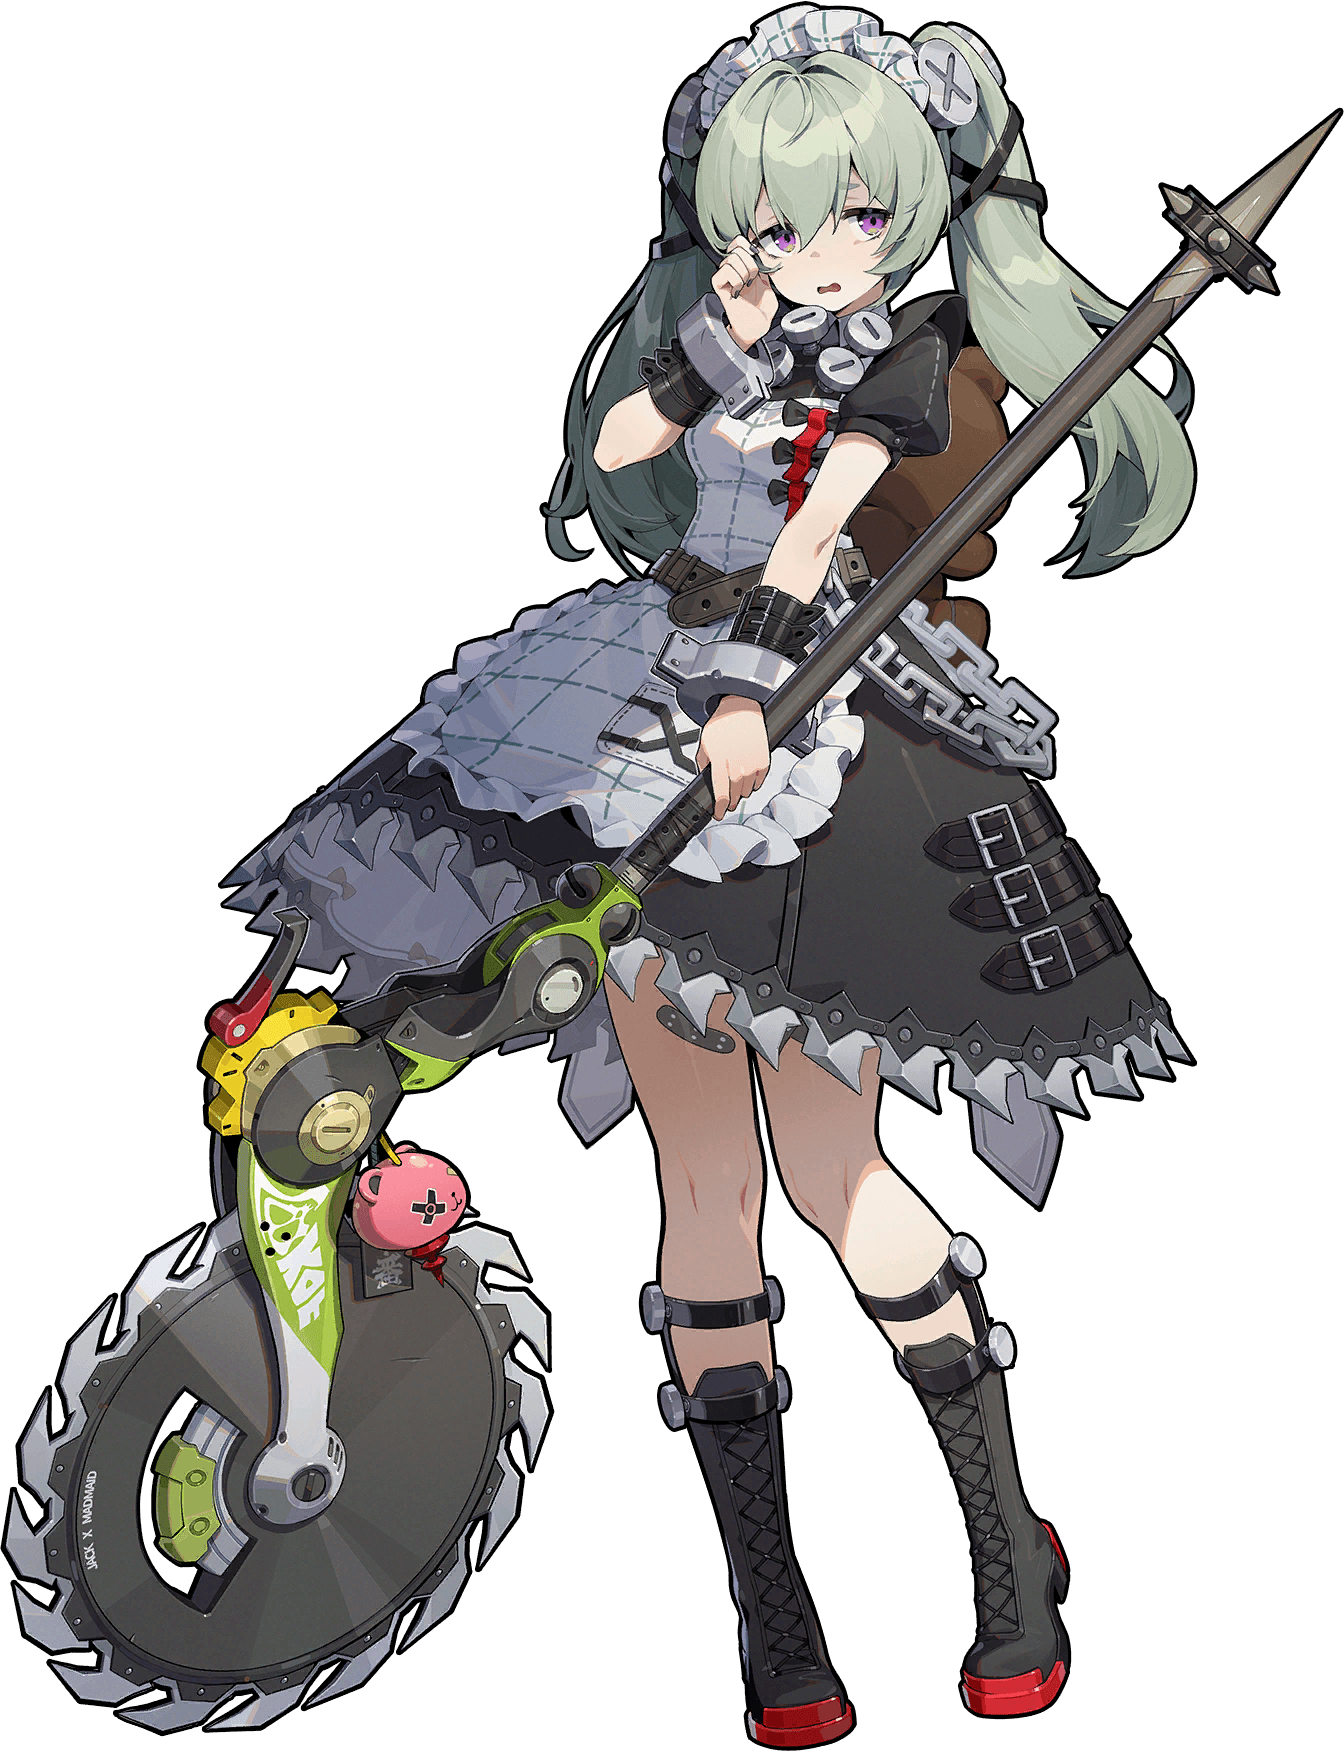
You need a Physical Attack agent and Corin's kit matches your account gap.
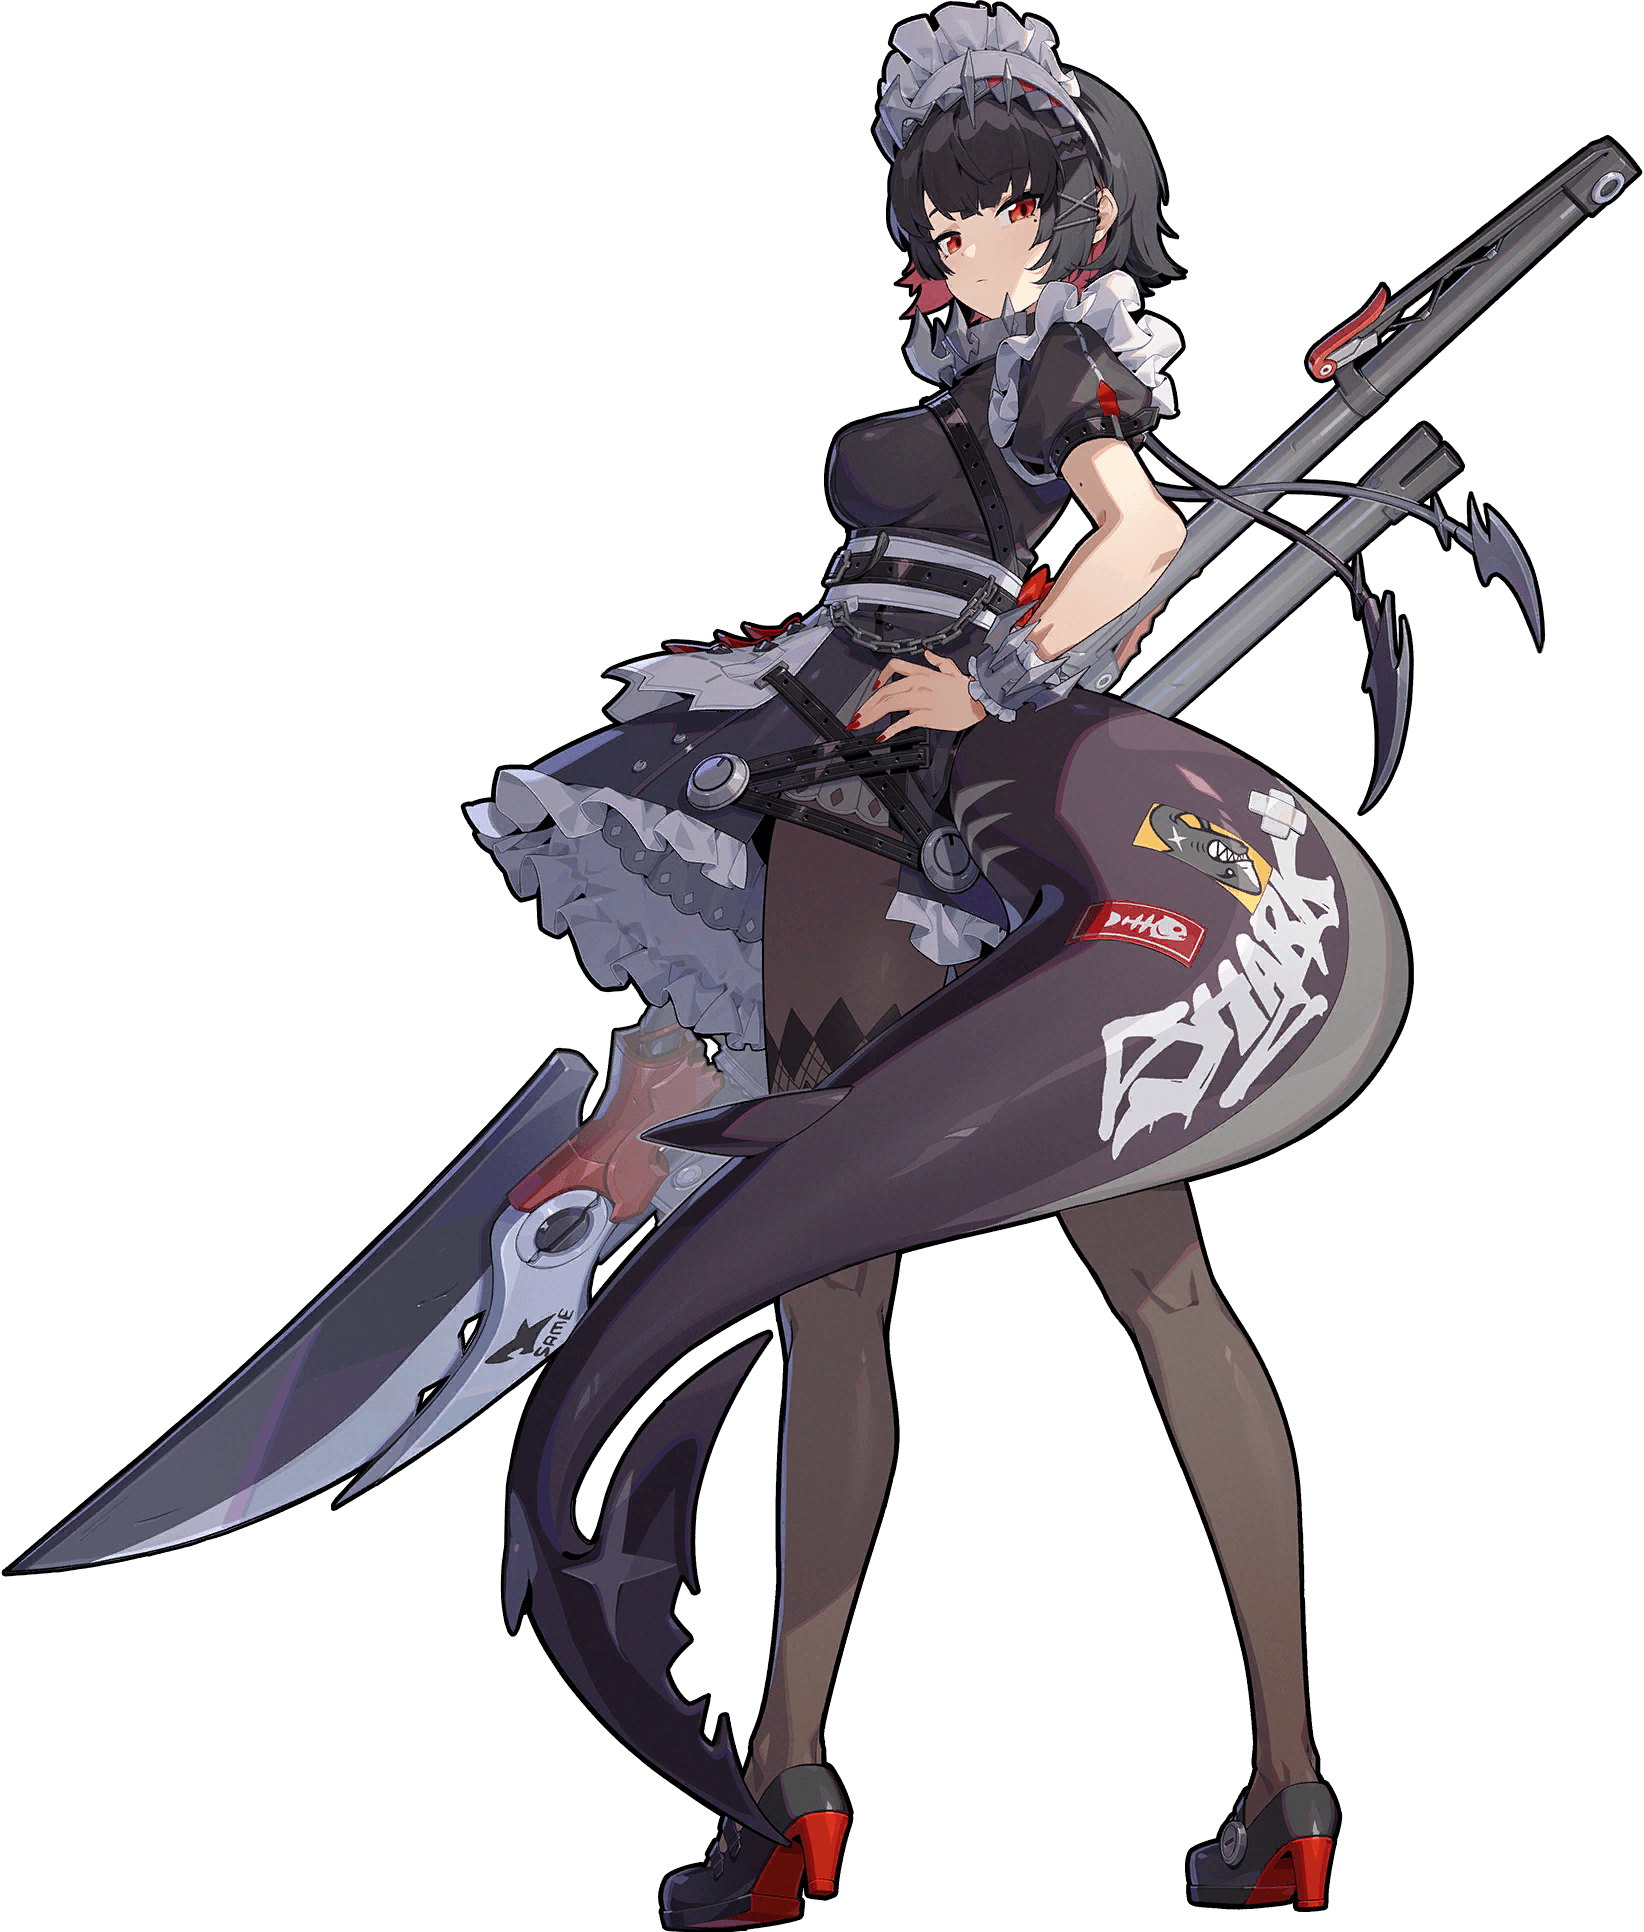
You need a Ice Attack agent and Ellen's kit matches your account gap.
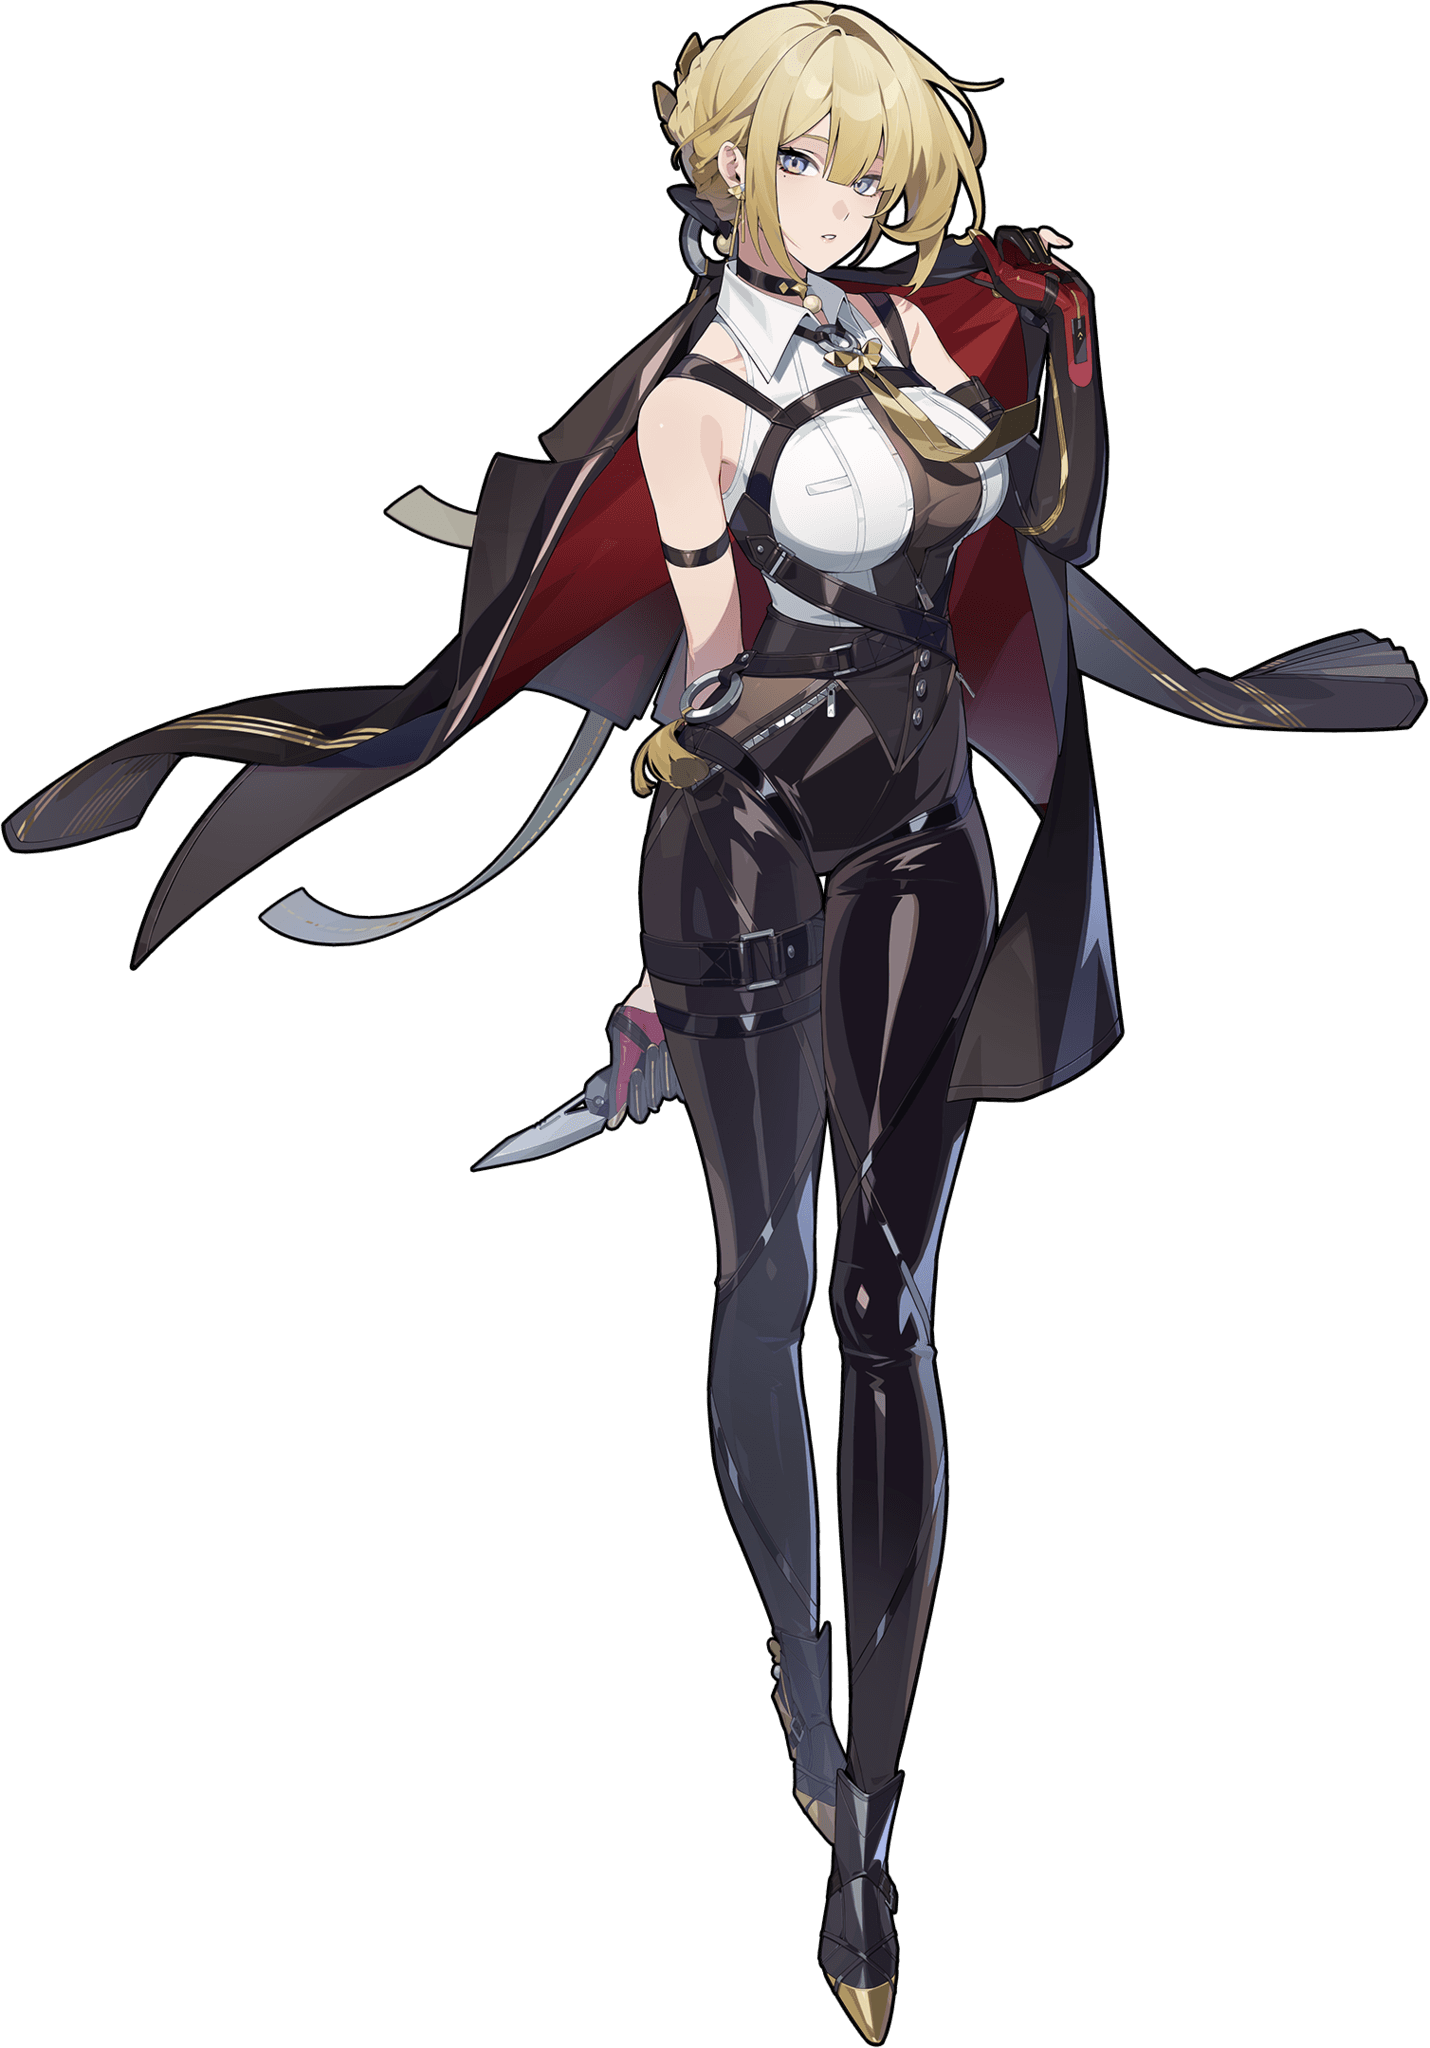
You need a Fire Attack agent and Evelyn's kit matches your account gap.
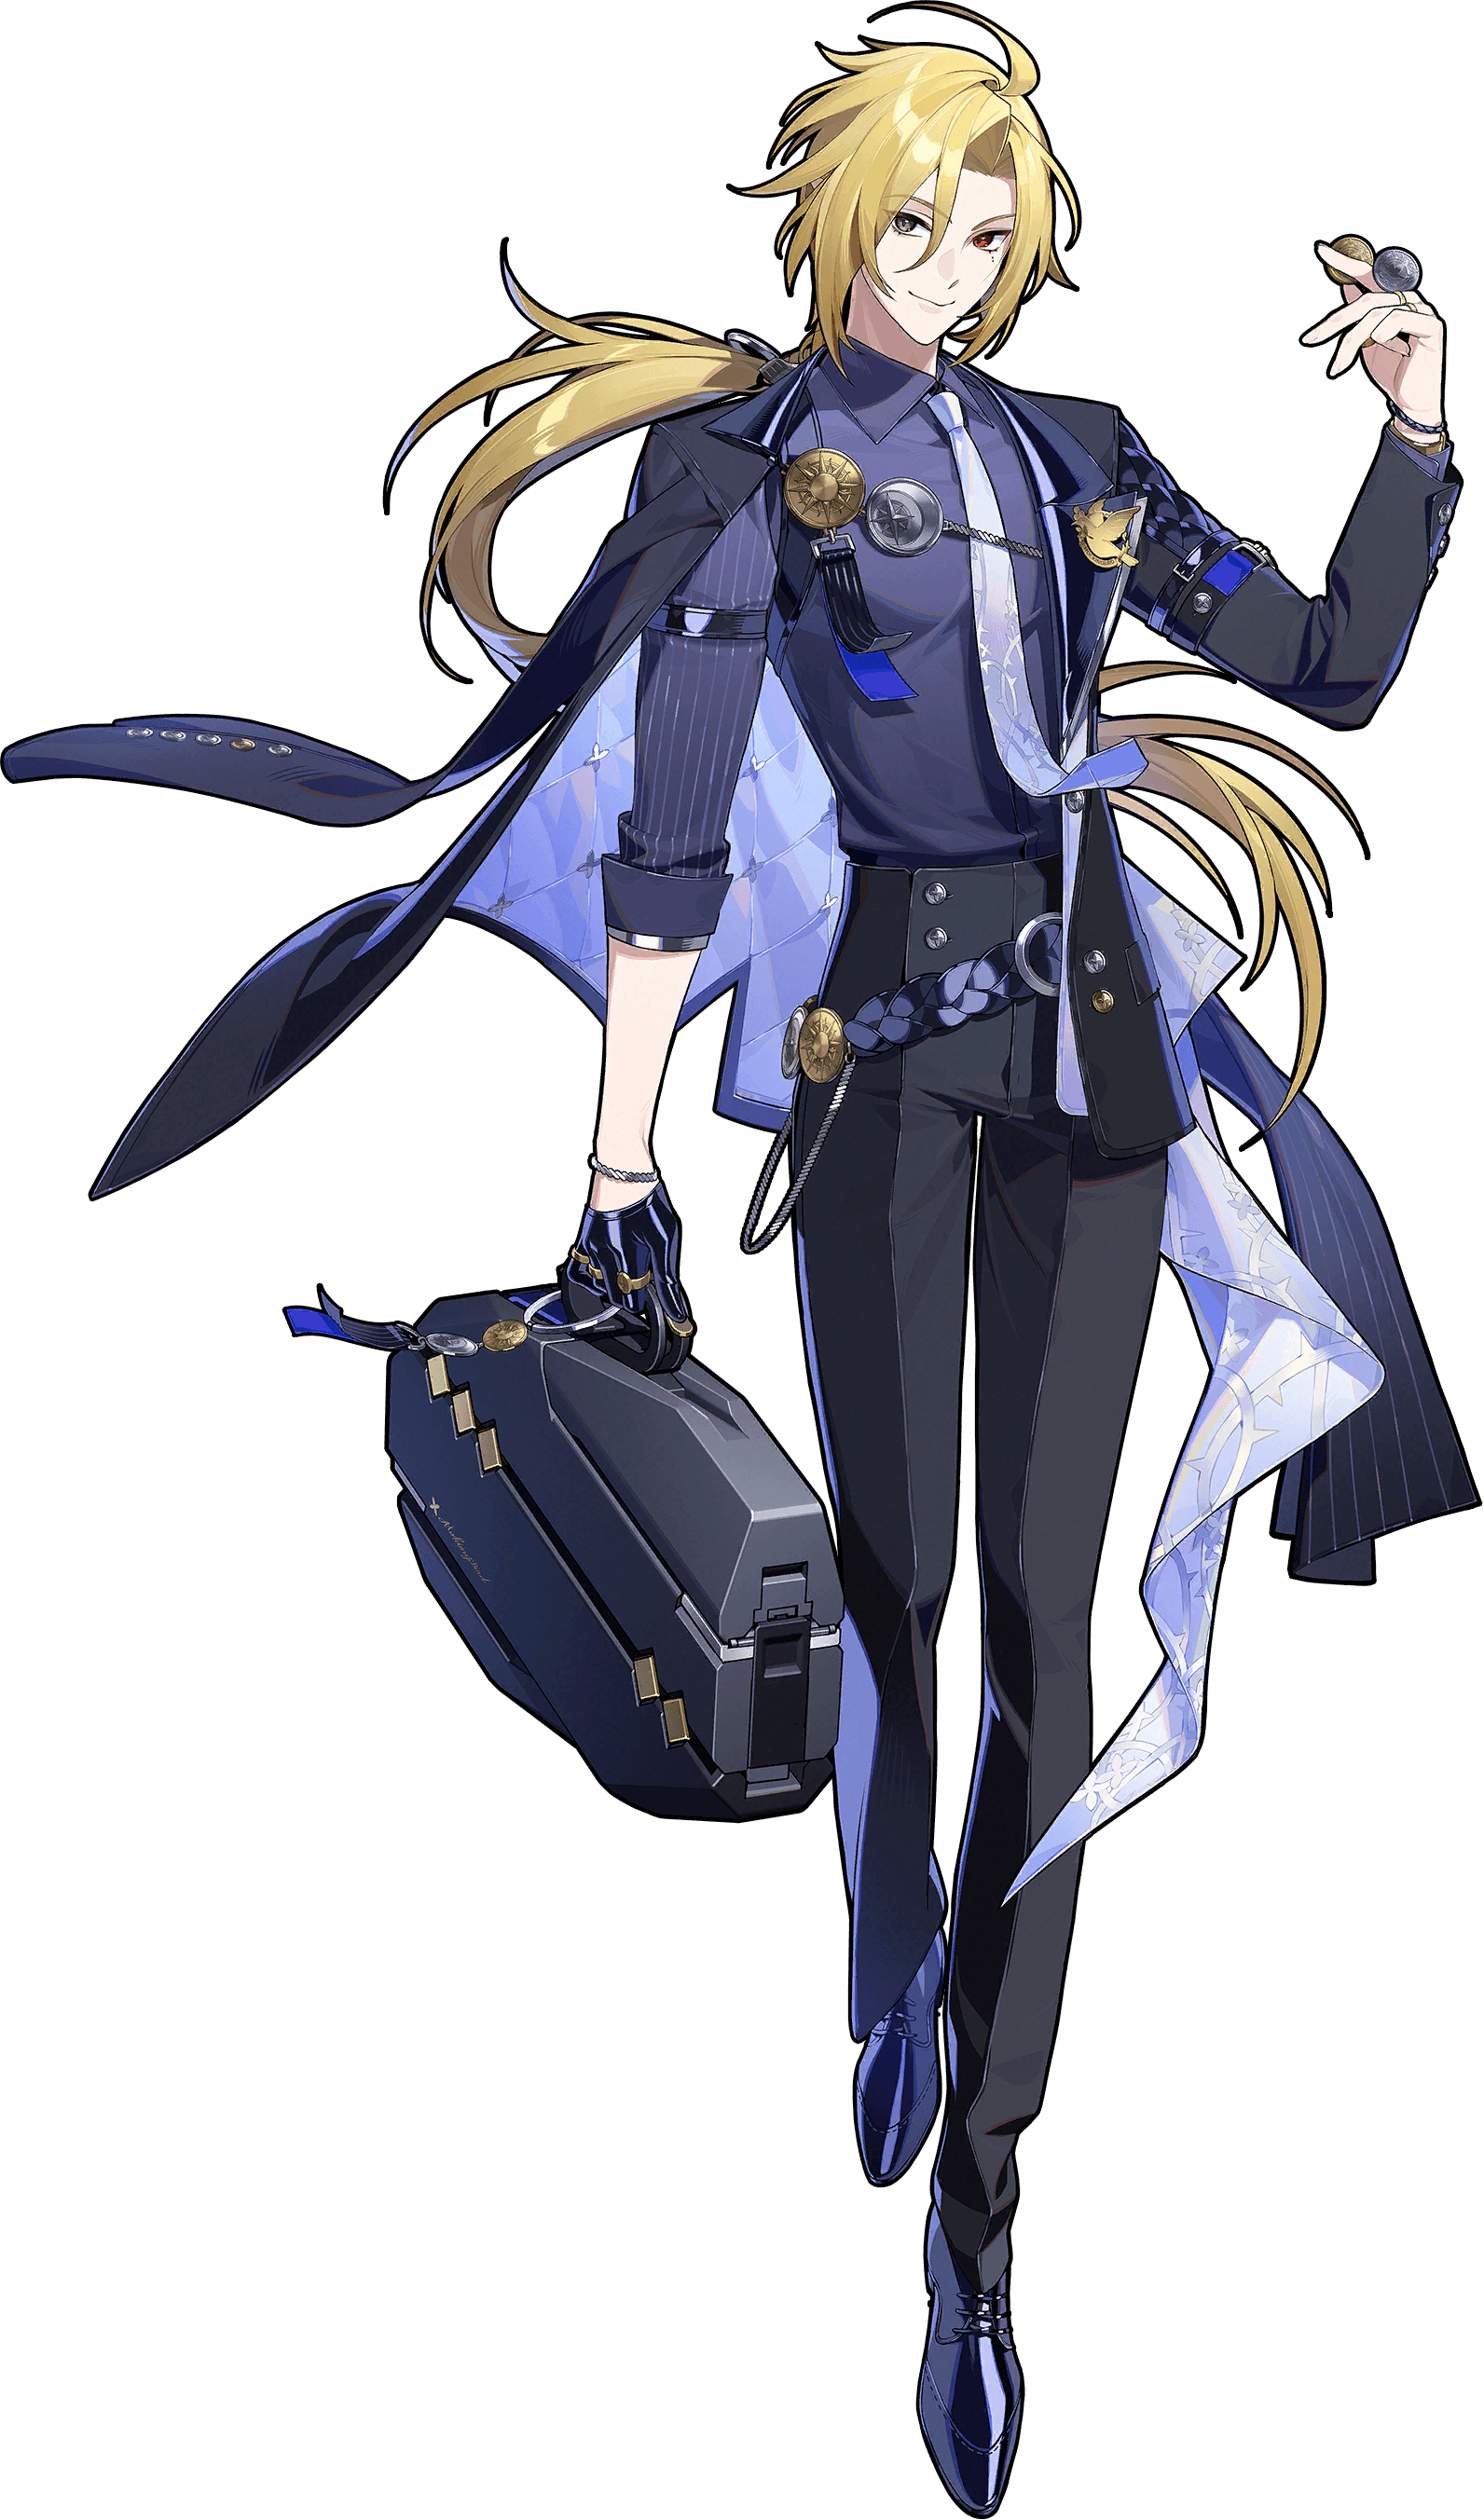
You need a Ice Attack agent and Hugo's kit matches your account gap.
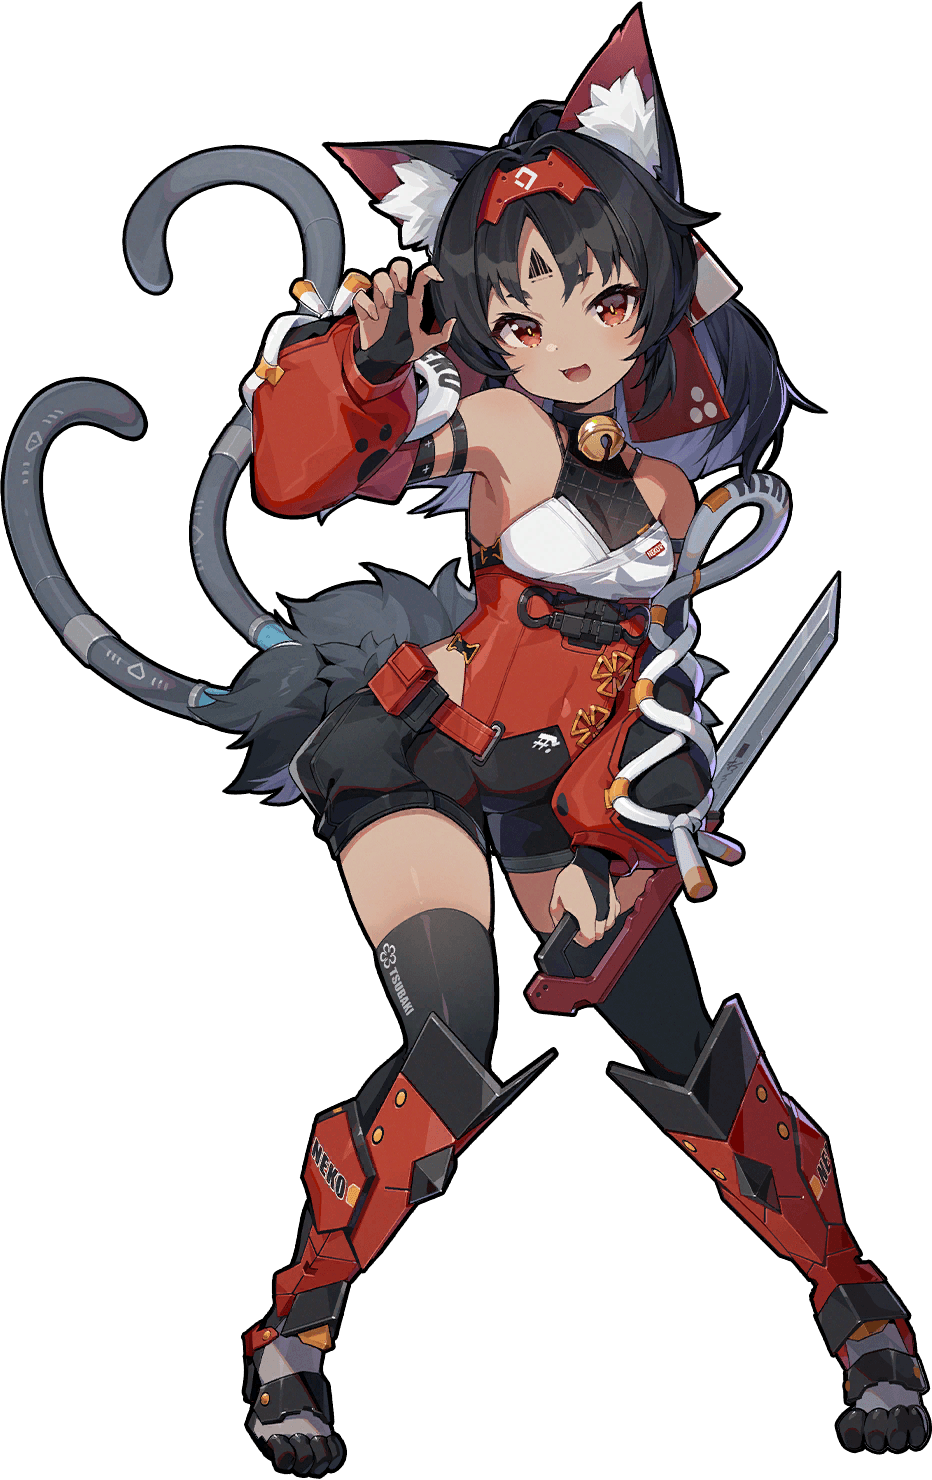
You need a Physical Attack agent and Nekomata's kit matches your account gap.
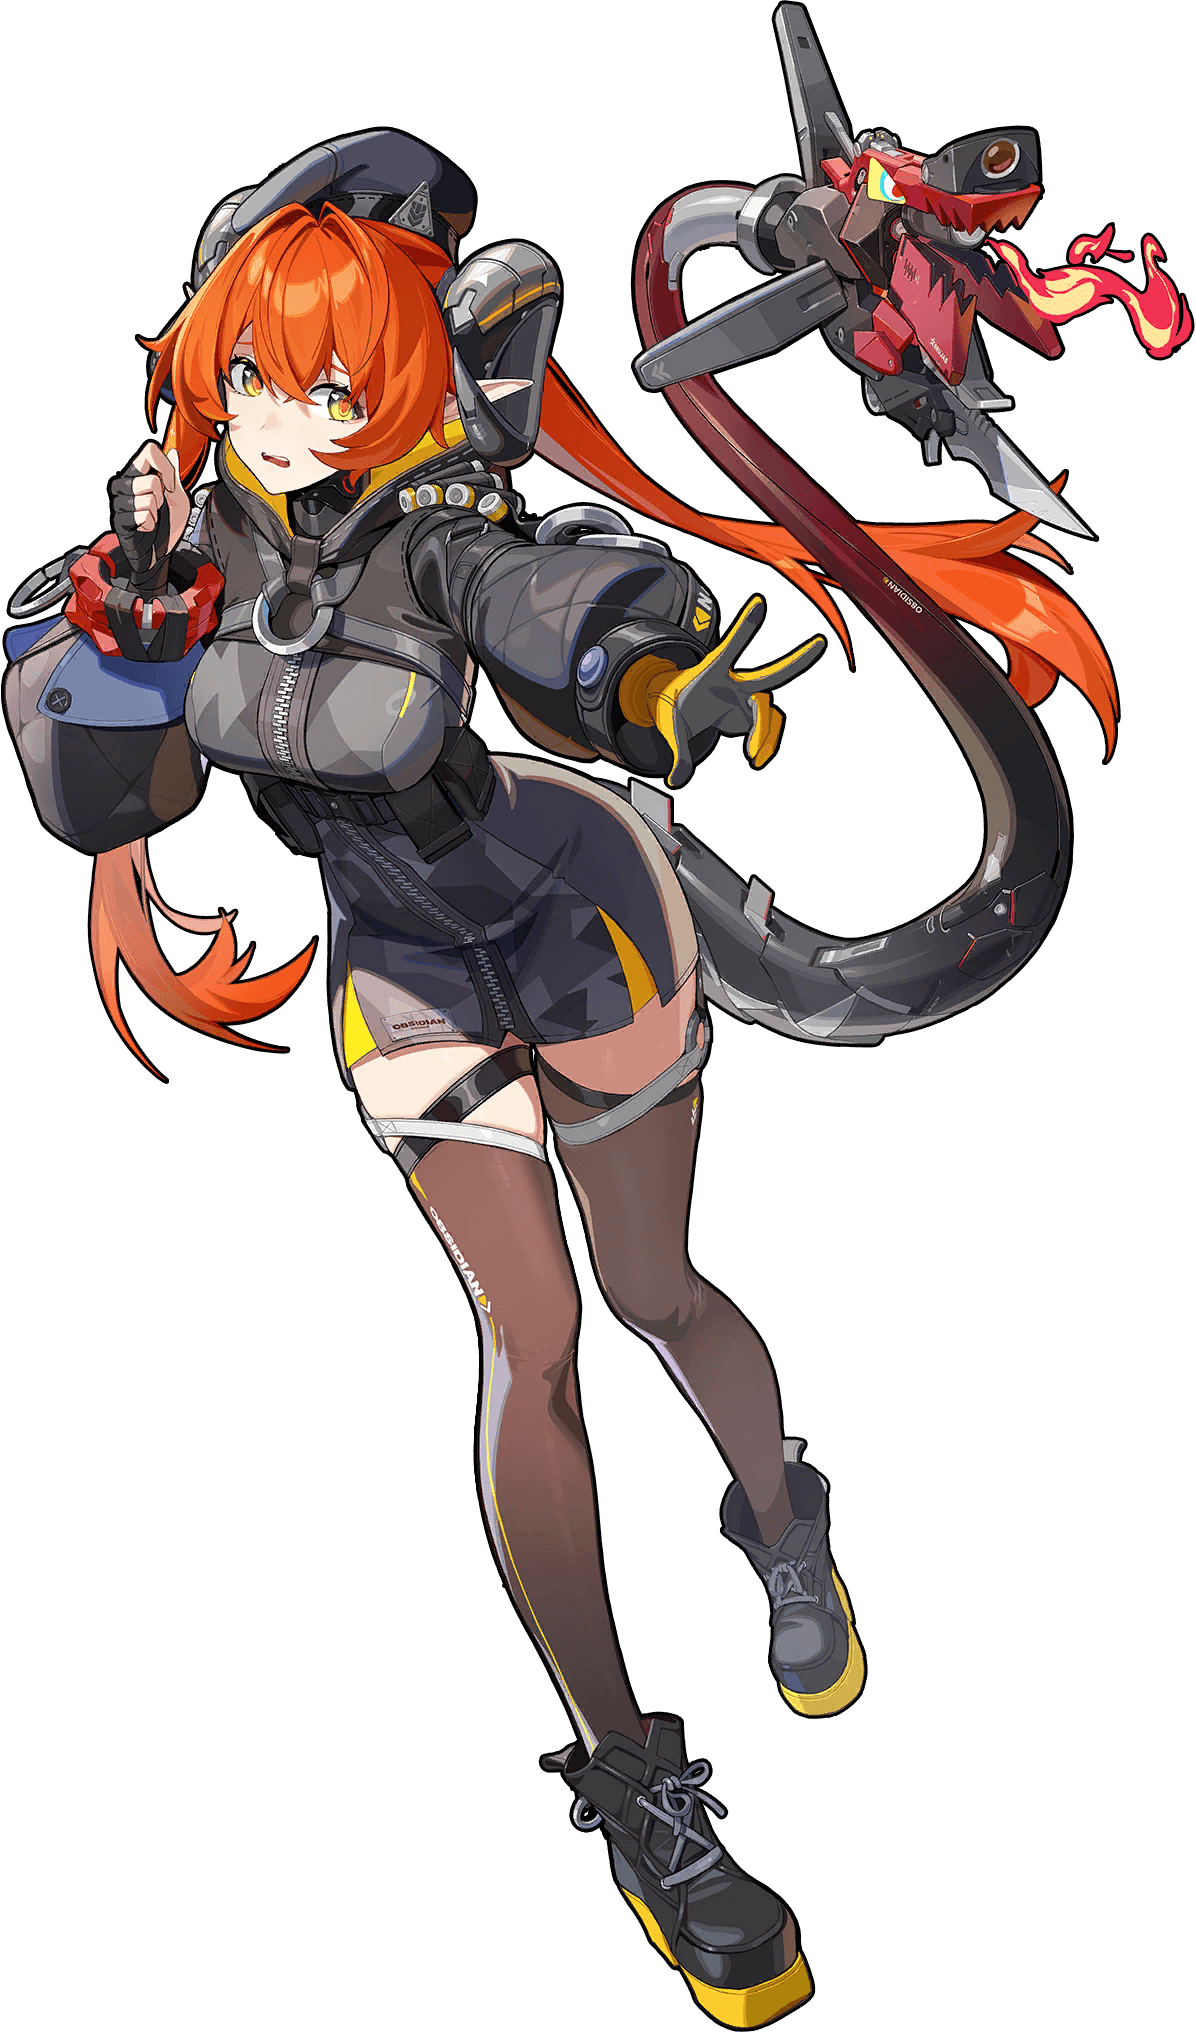
You need a Fire Attack agent and Orphie & Magus's kit matches your account gap.
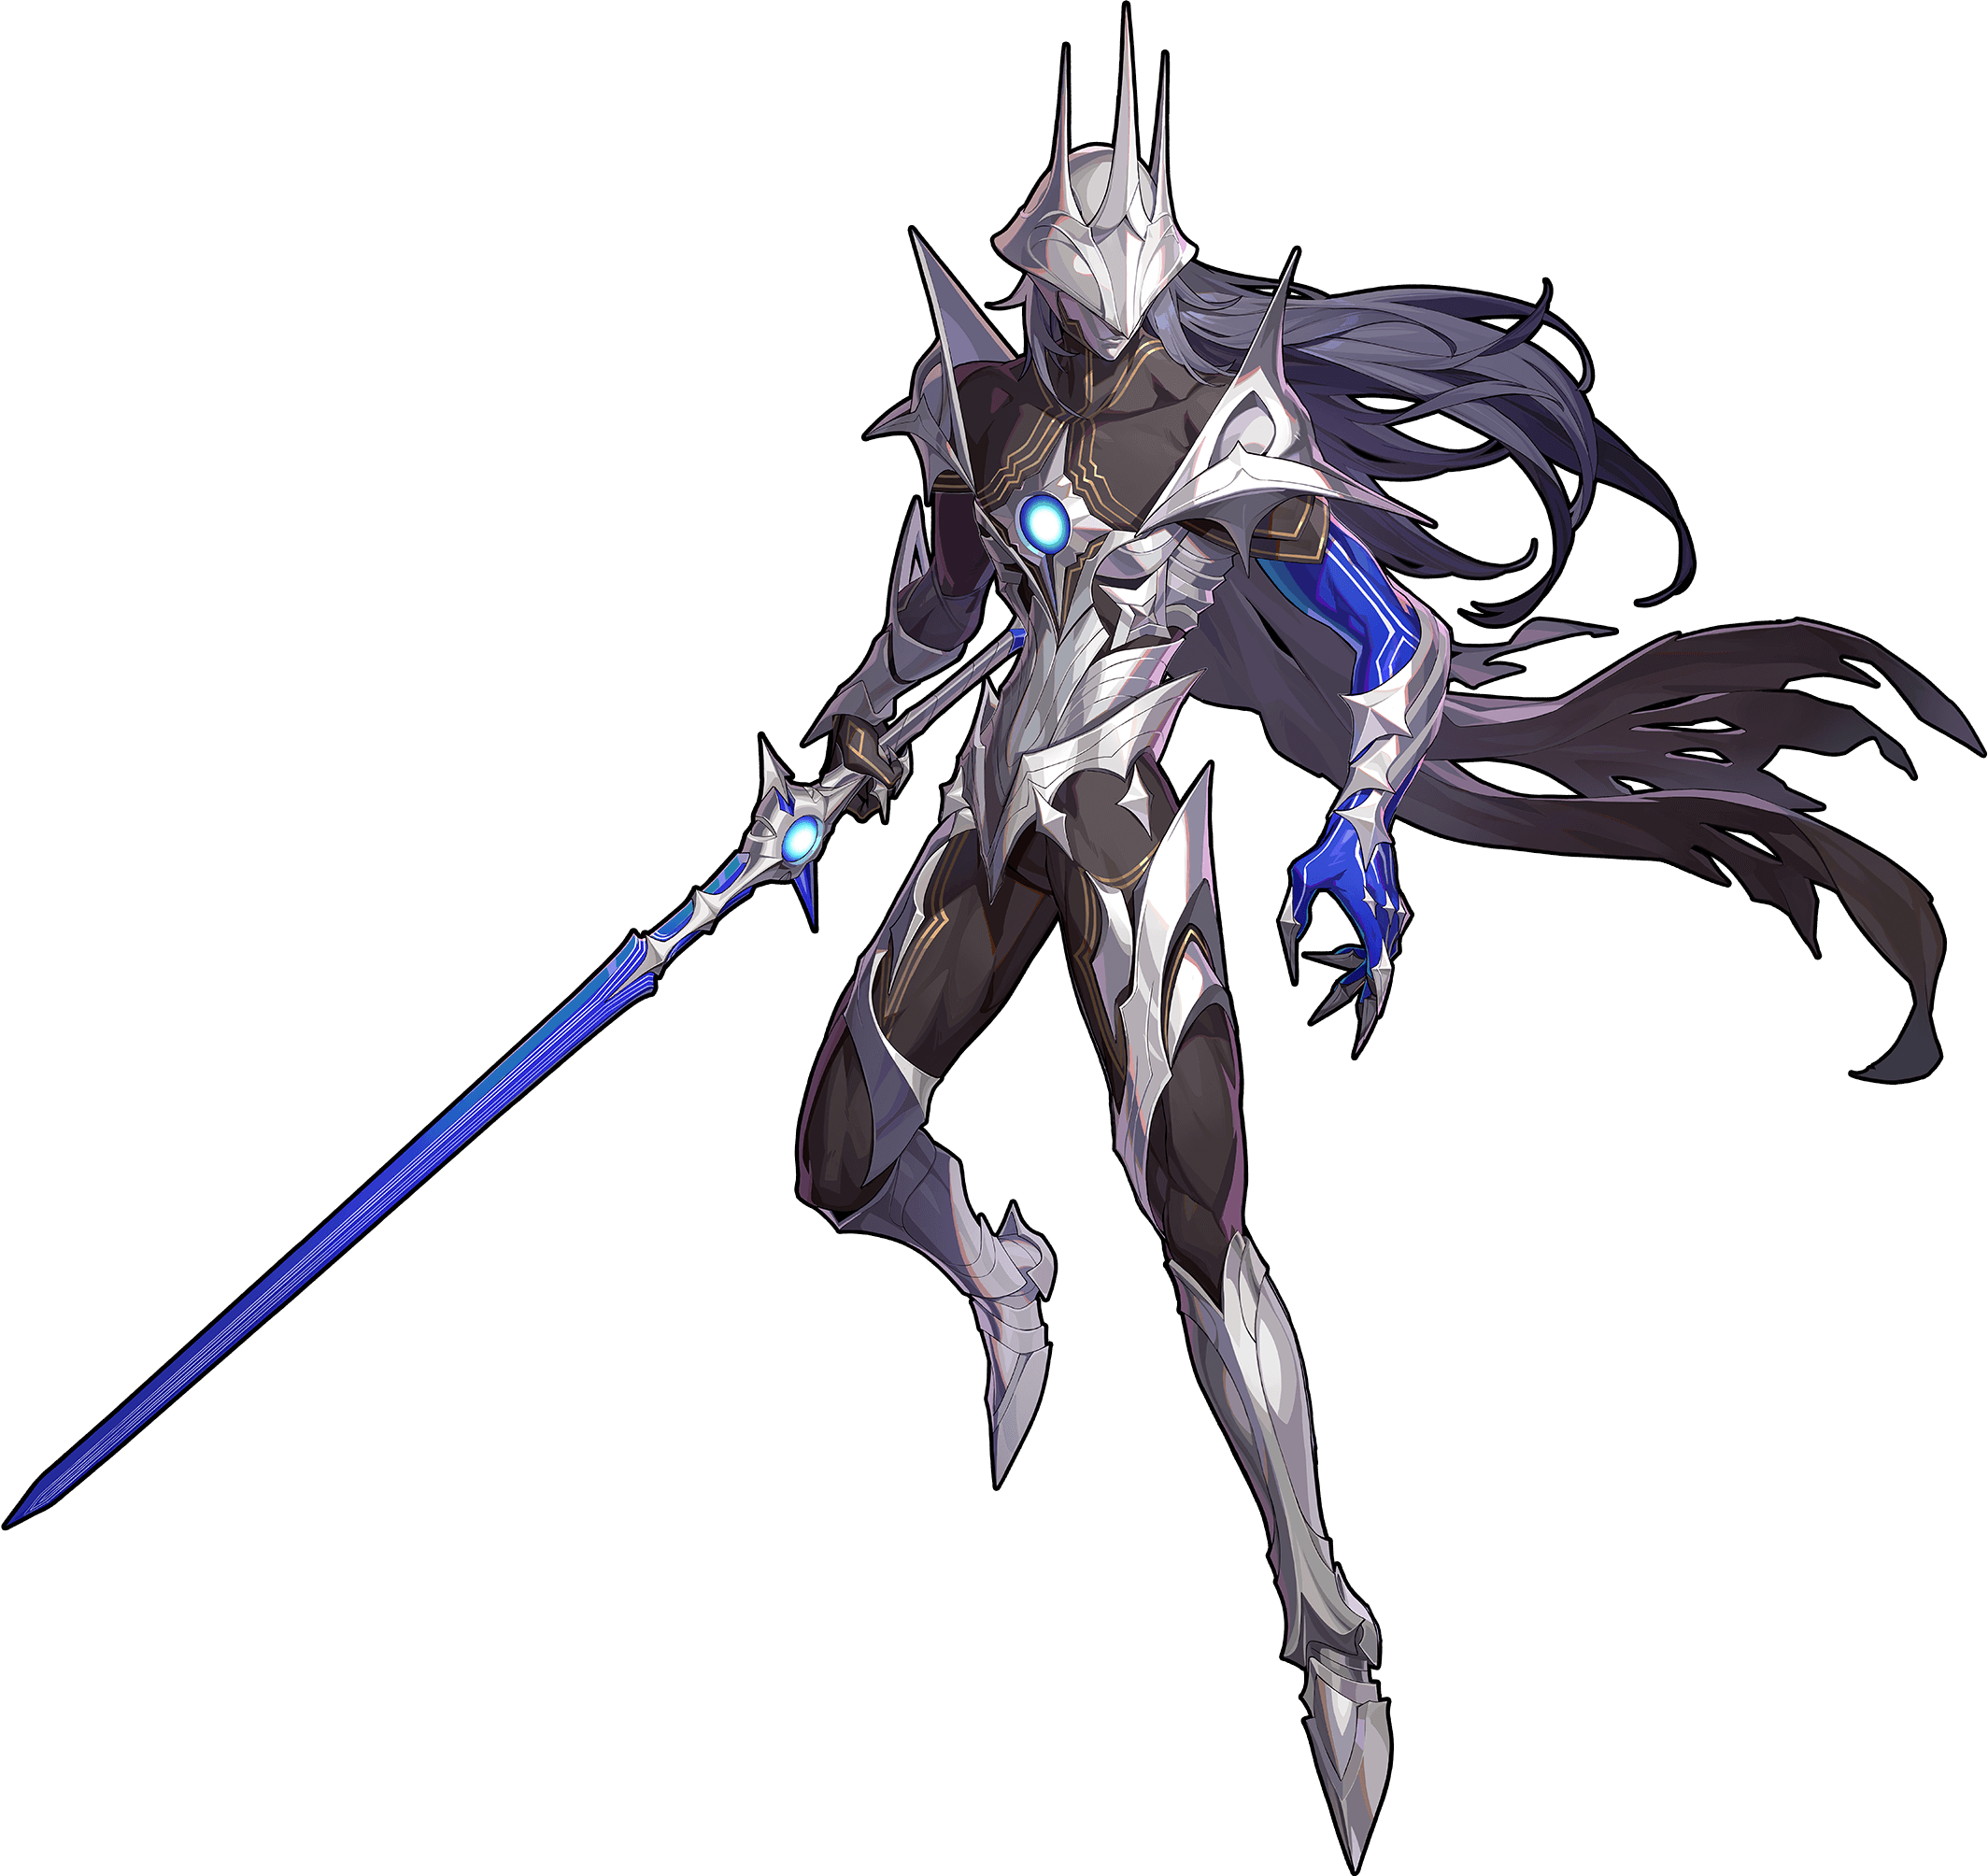
You need a Ether Attack agent and Pyrois's kit matches your account gap.
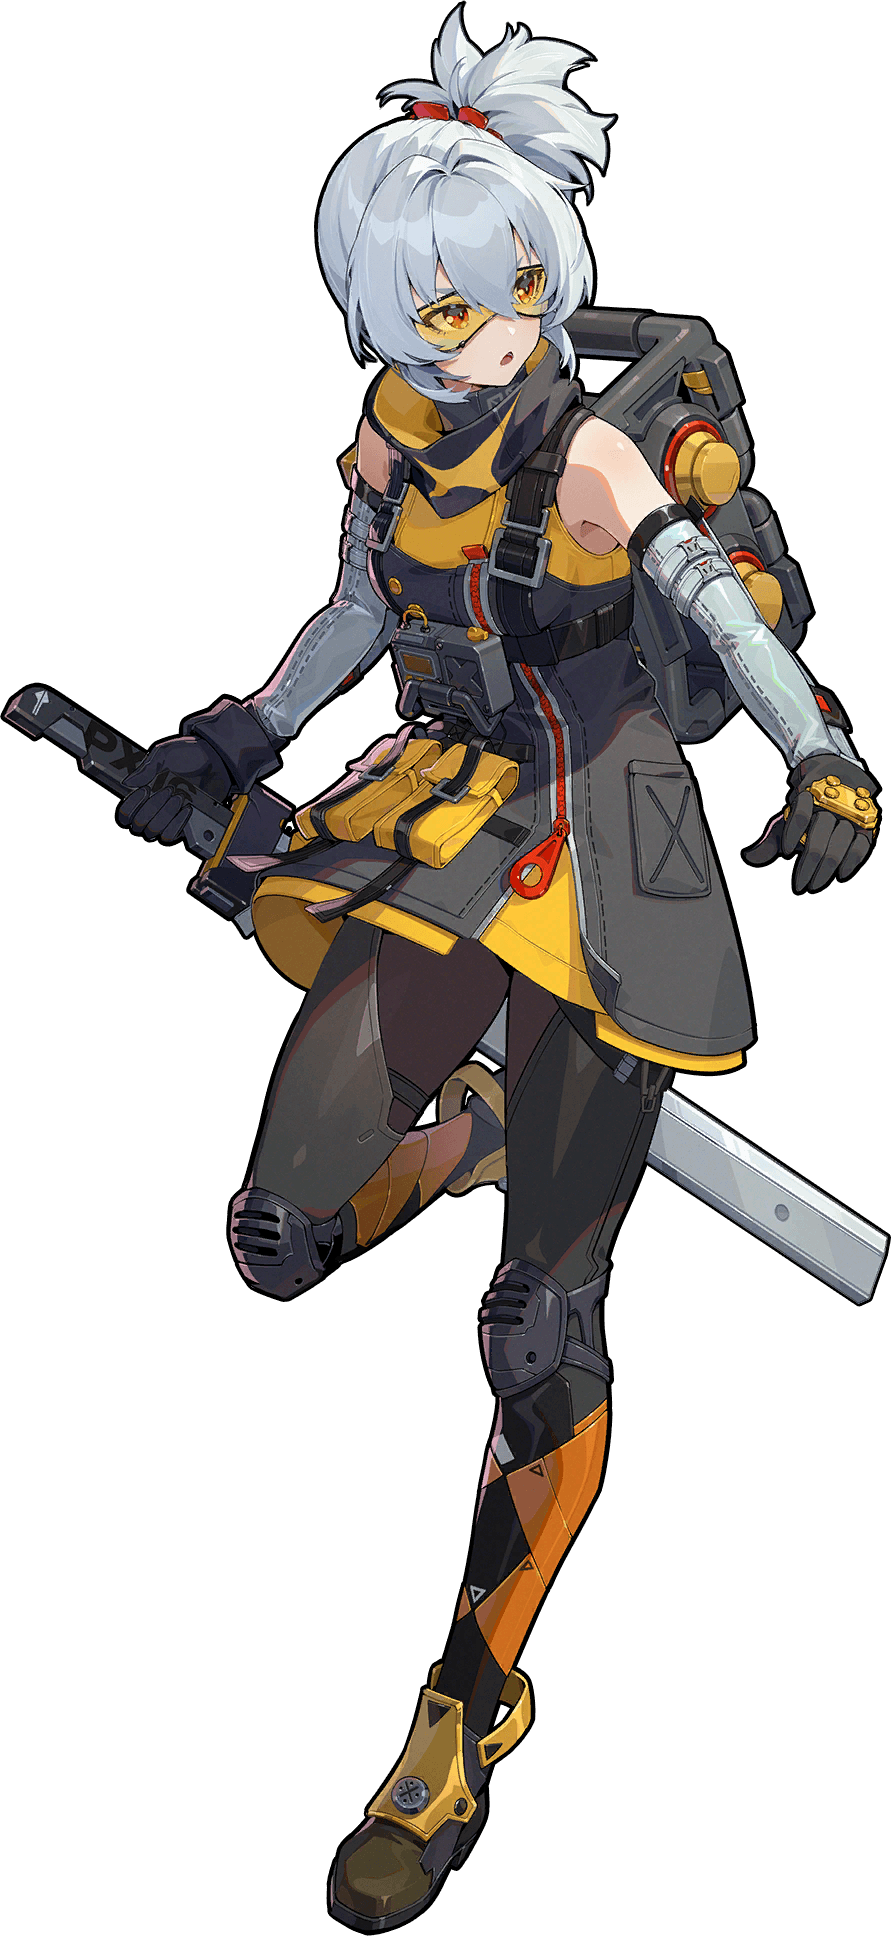
You need a Fire Attack agent and Soldier 11's kit matches your account gap.
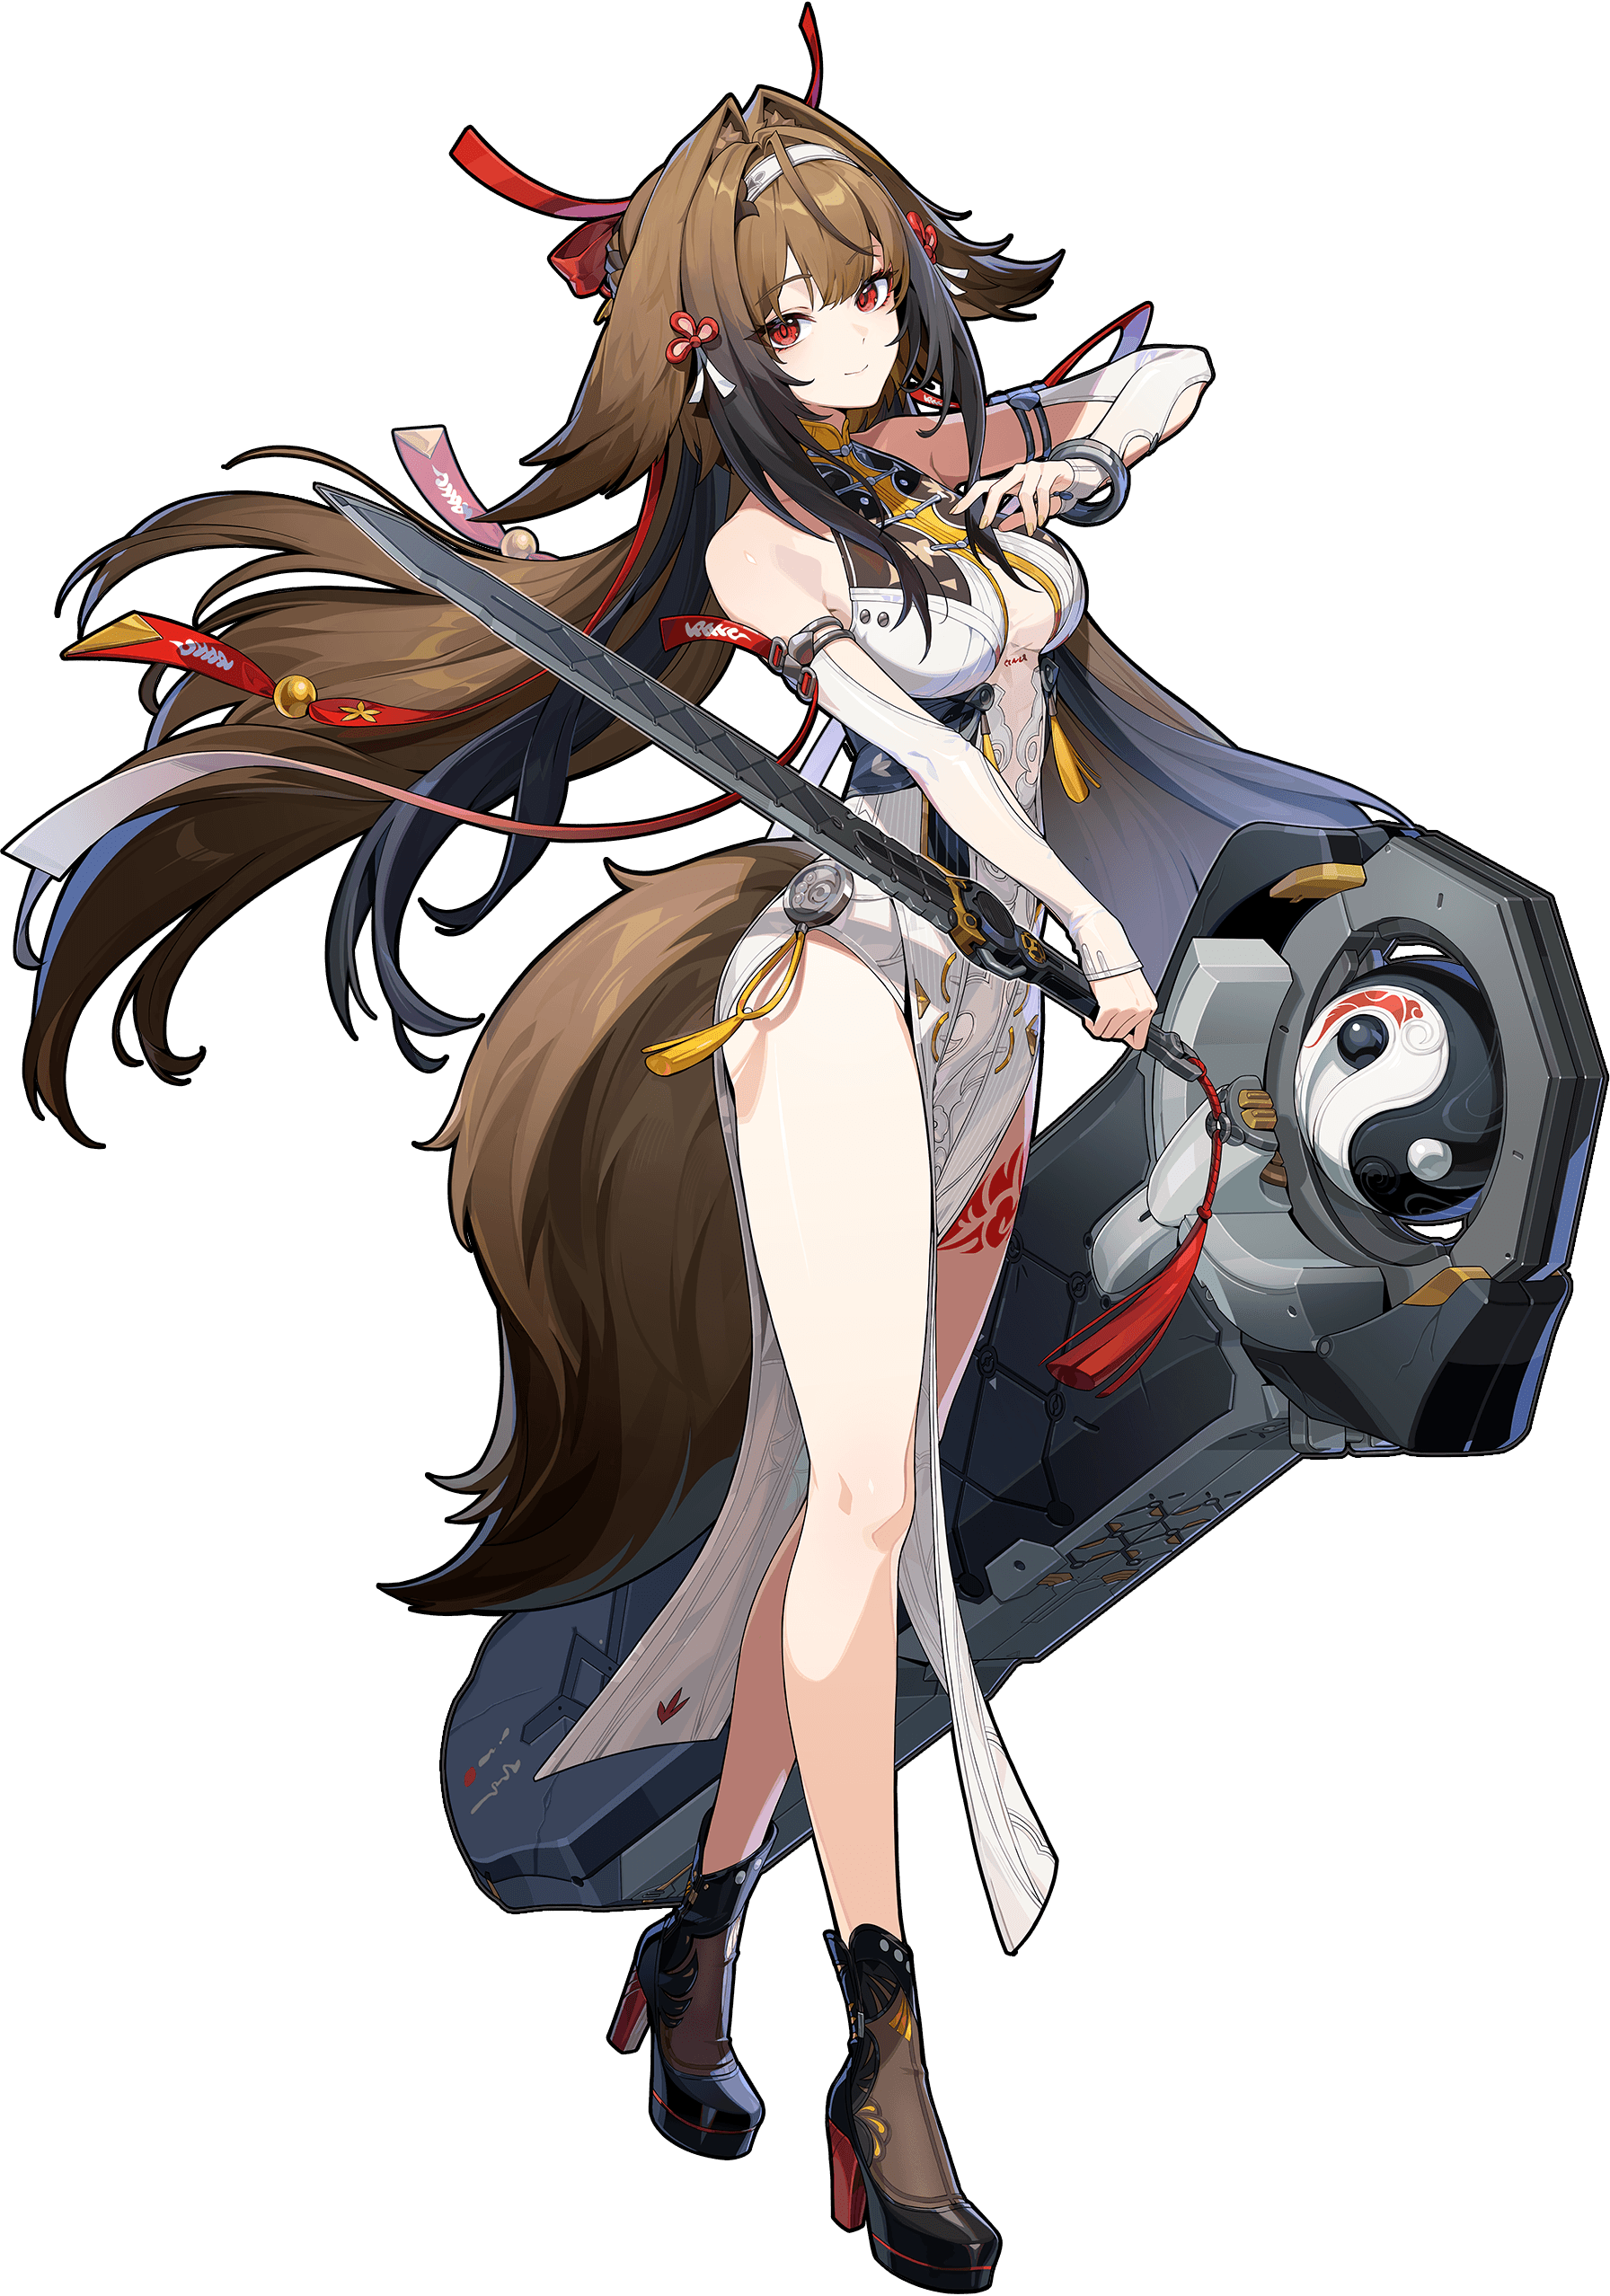
You need a Physical Attack agent and Ye Shunguang's kit matches your account gap.
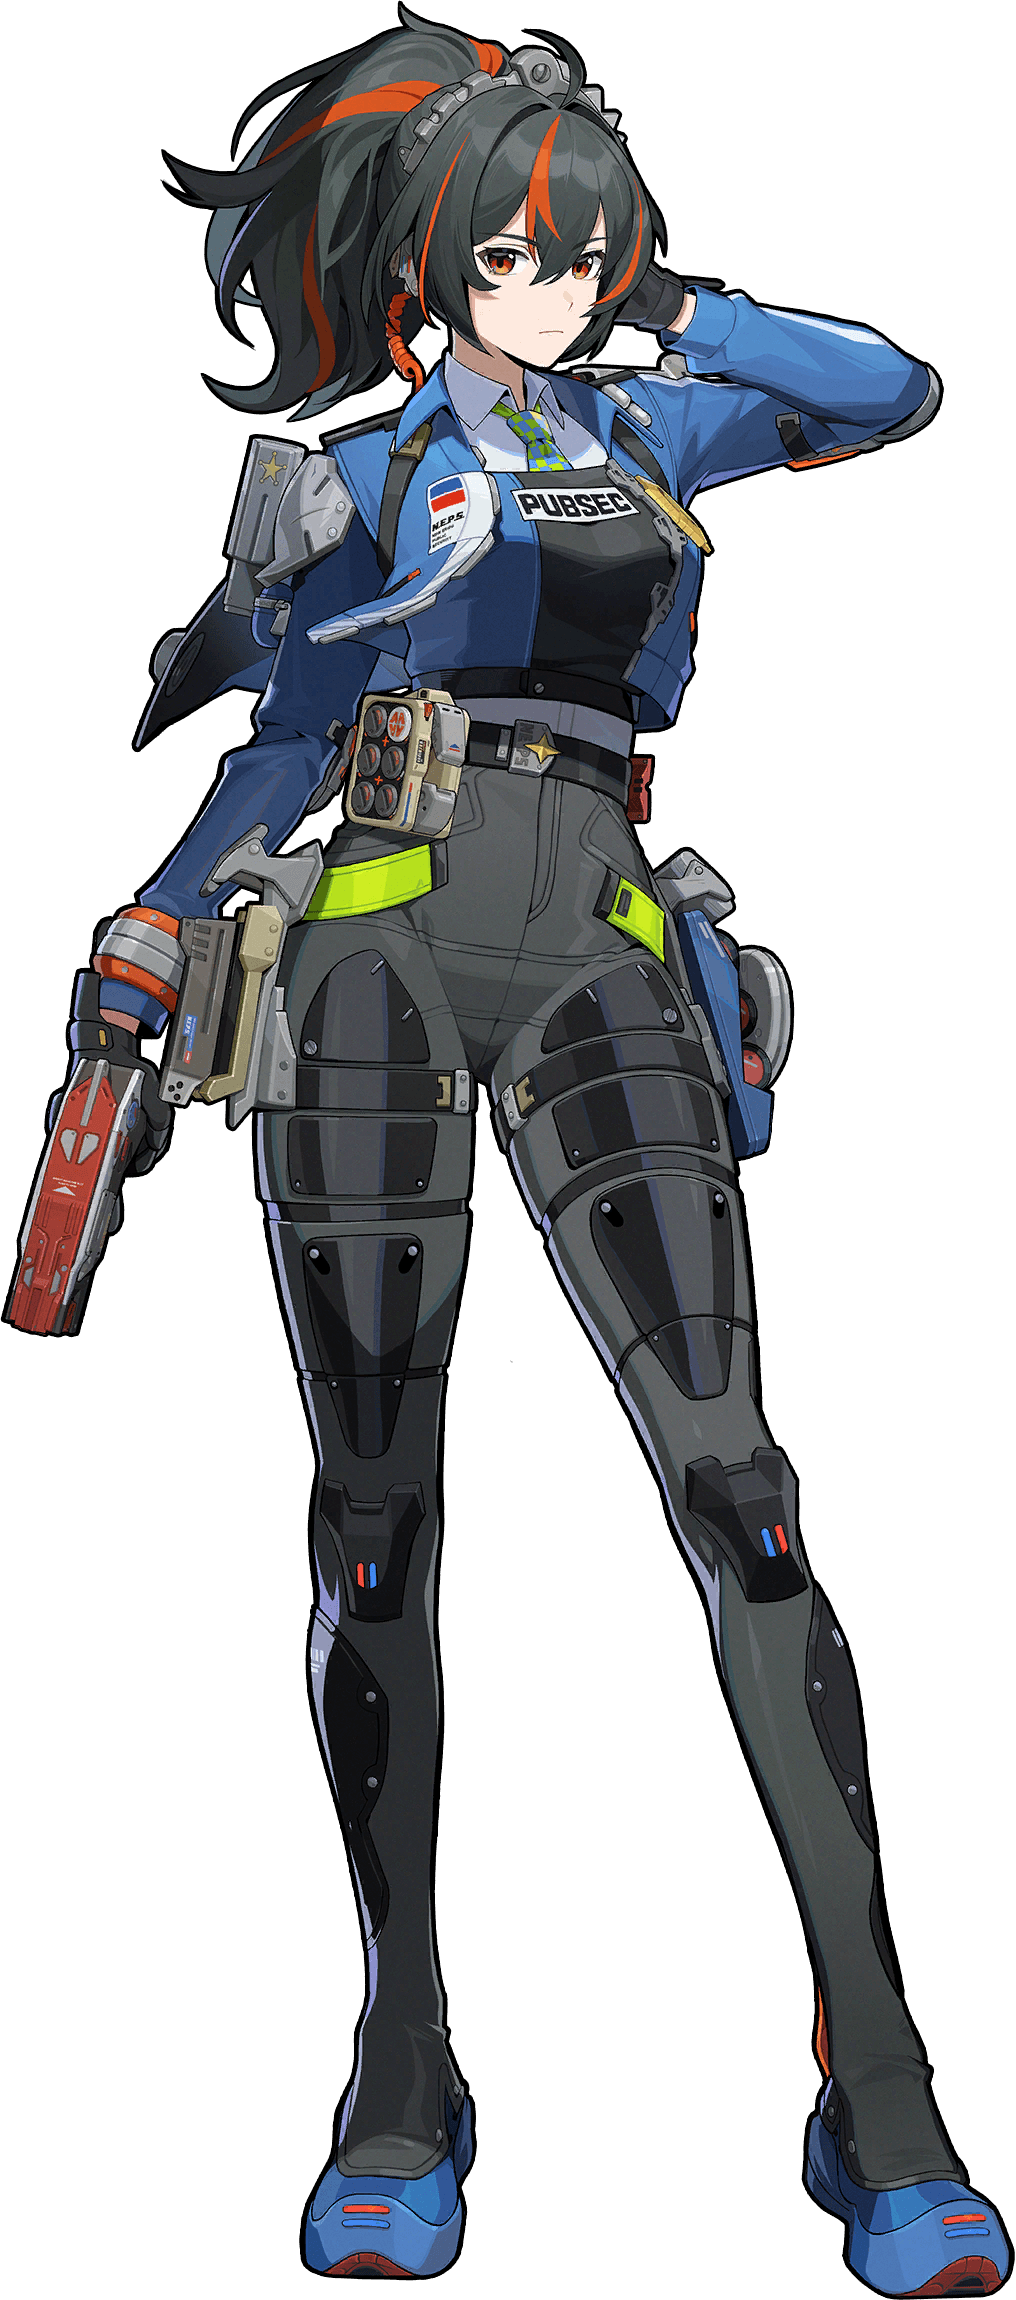
You need a Ether Attack agent and Zhu Yuan's kit matches your account gap.